Leather Armor
Learning how to make leather armor can be a ton of fun. It’s a great skill to have if you need a costume for halloween, a cosplay event, renaissance festival (or in Minecraft, World of Warcraft (WoW), or some other game), because let’s face it, those are probably the main ways we encounter leather armor these days. Our son has helped out in our leather shop over the years and he’s been working on a real leather armor set for his kids. We asked him to share his experience with all of you! He’s created a leather armor pattern to make a leather armor vest and leather helm. This leather armor set is his own design. So, without further ado, we’ll let him tell you about his journey in making leather armor!
Hiccup's Armor
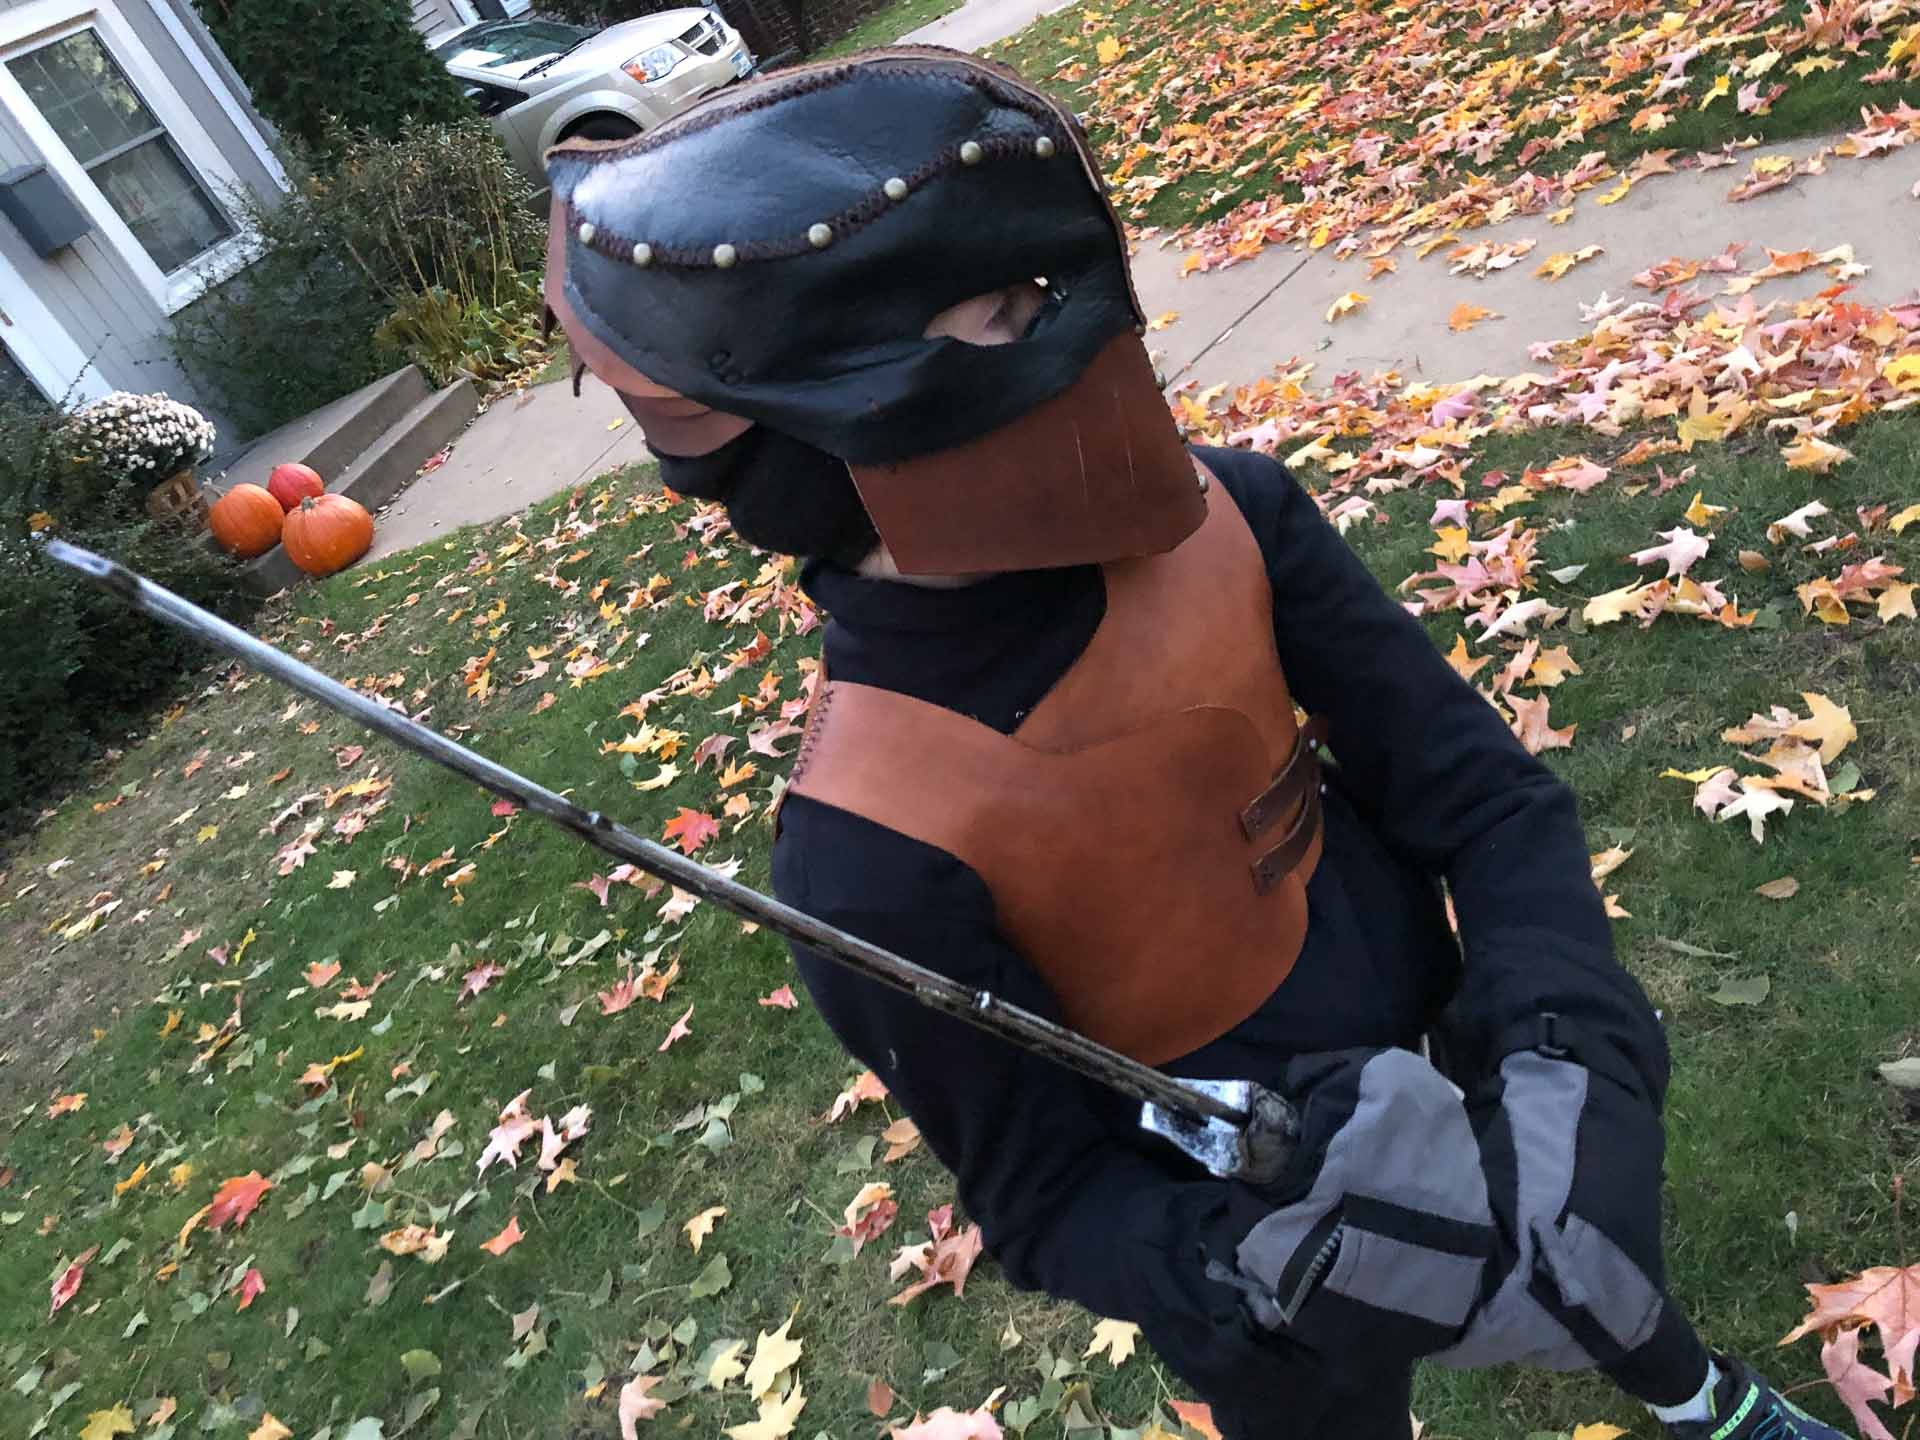
I got creative and surprised my son by crafting Hiccup’s leather armor this Halloween. For those of you that don’t know, Hiccup is a character in the “How to train your dragon” movie series and the tv series “Dragon’s: Race to the edge.” In the series, Hiccup wears different types of leather armor and I chose to make Hiccup’s armor from the second movie, “How to Train Your Dragon 2.”
I took a bit of creative license in the design to use the items at my disposal. I used Buffalo Billfold Company’s custom tanned American Bison leather and cowhide leather, which I dyed brown. My other son was so excited that he decided he needed to be Toothless (Hiccup’s dragon). Below I’ll show the photos and steps I took to create the leather vest and helm in this leather armor set.
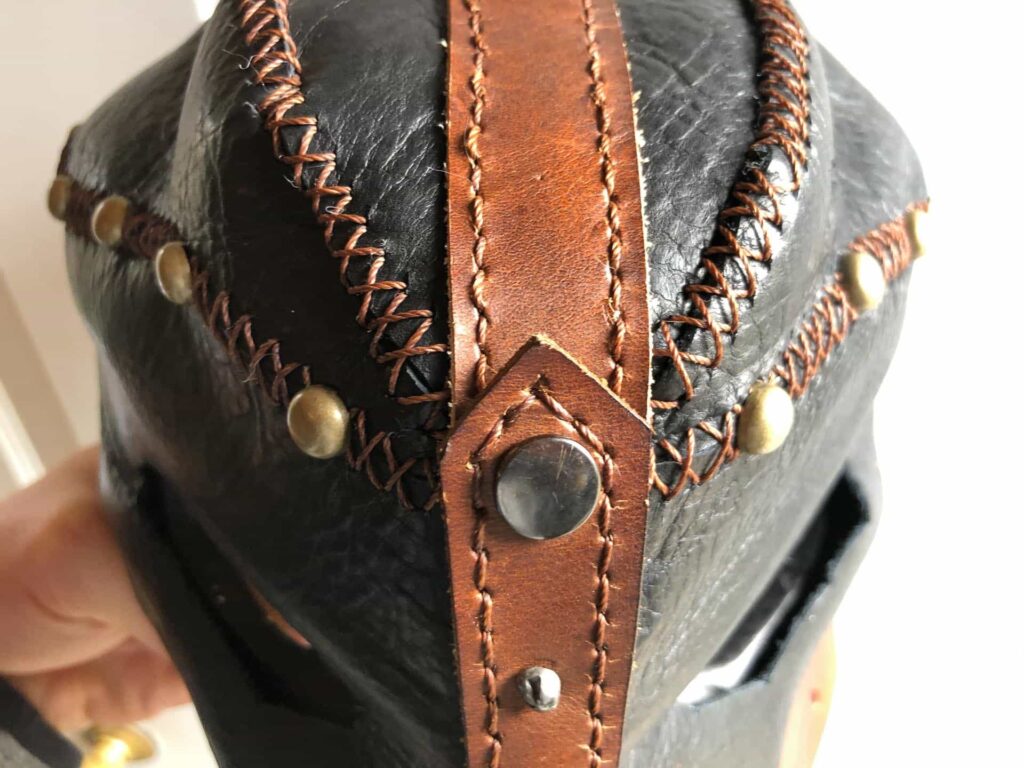
Leather Helm with Face Guard
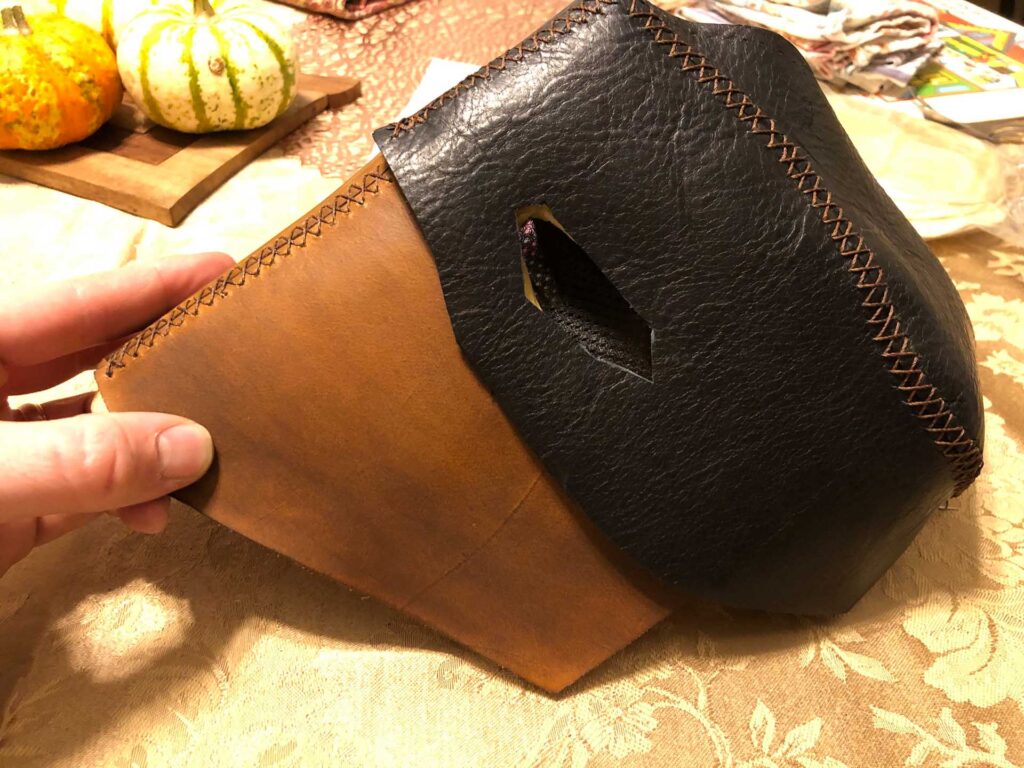
The helm for this leather armor set is composed of three sections: the face guard, the top, and the nosepiece. To create these pieces I used cowhide, which I dyed, and Buffalo Billfold Company’s custom tanned American Bison leather. I used two types of leather because the face guard needed to be rigid and sturdy while the leather pieces in the top part of the helmet needed to bend and flex to achieve the design I was going for. Below I’ll discuss the steps I took to create this leather helm and how to dye leather used in the face guard.
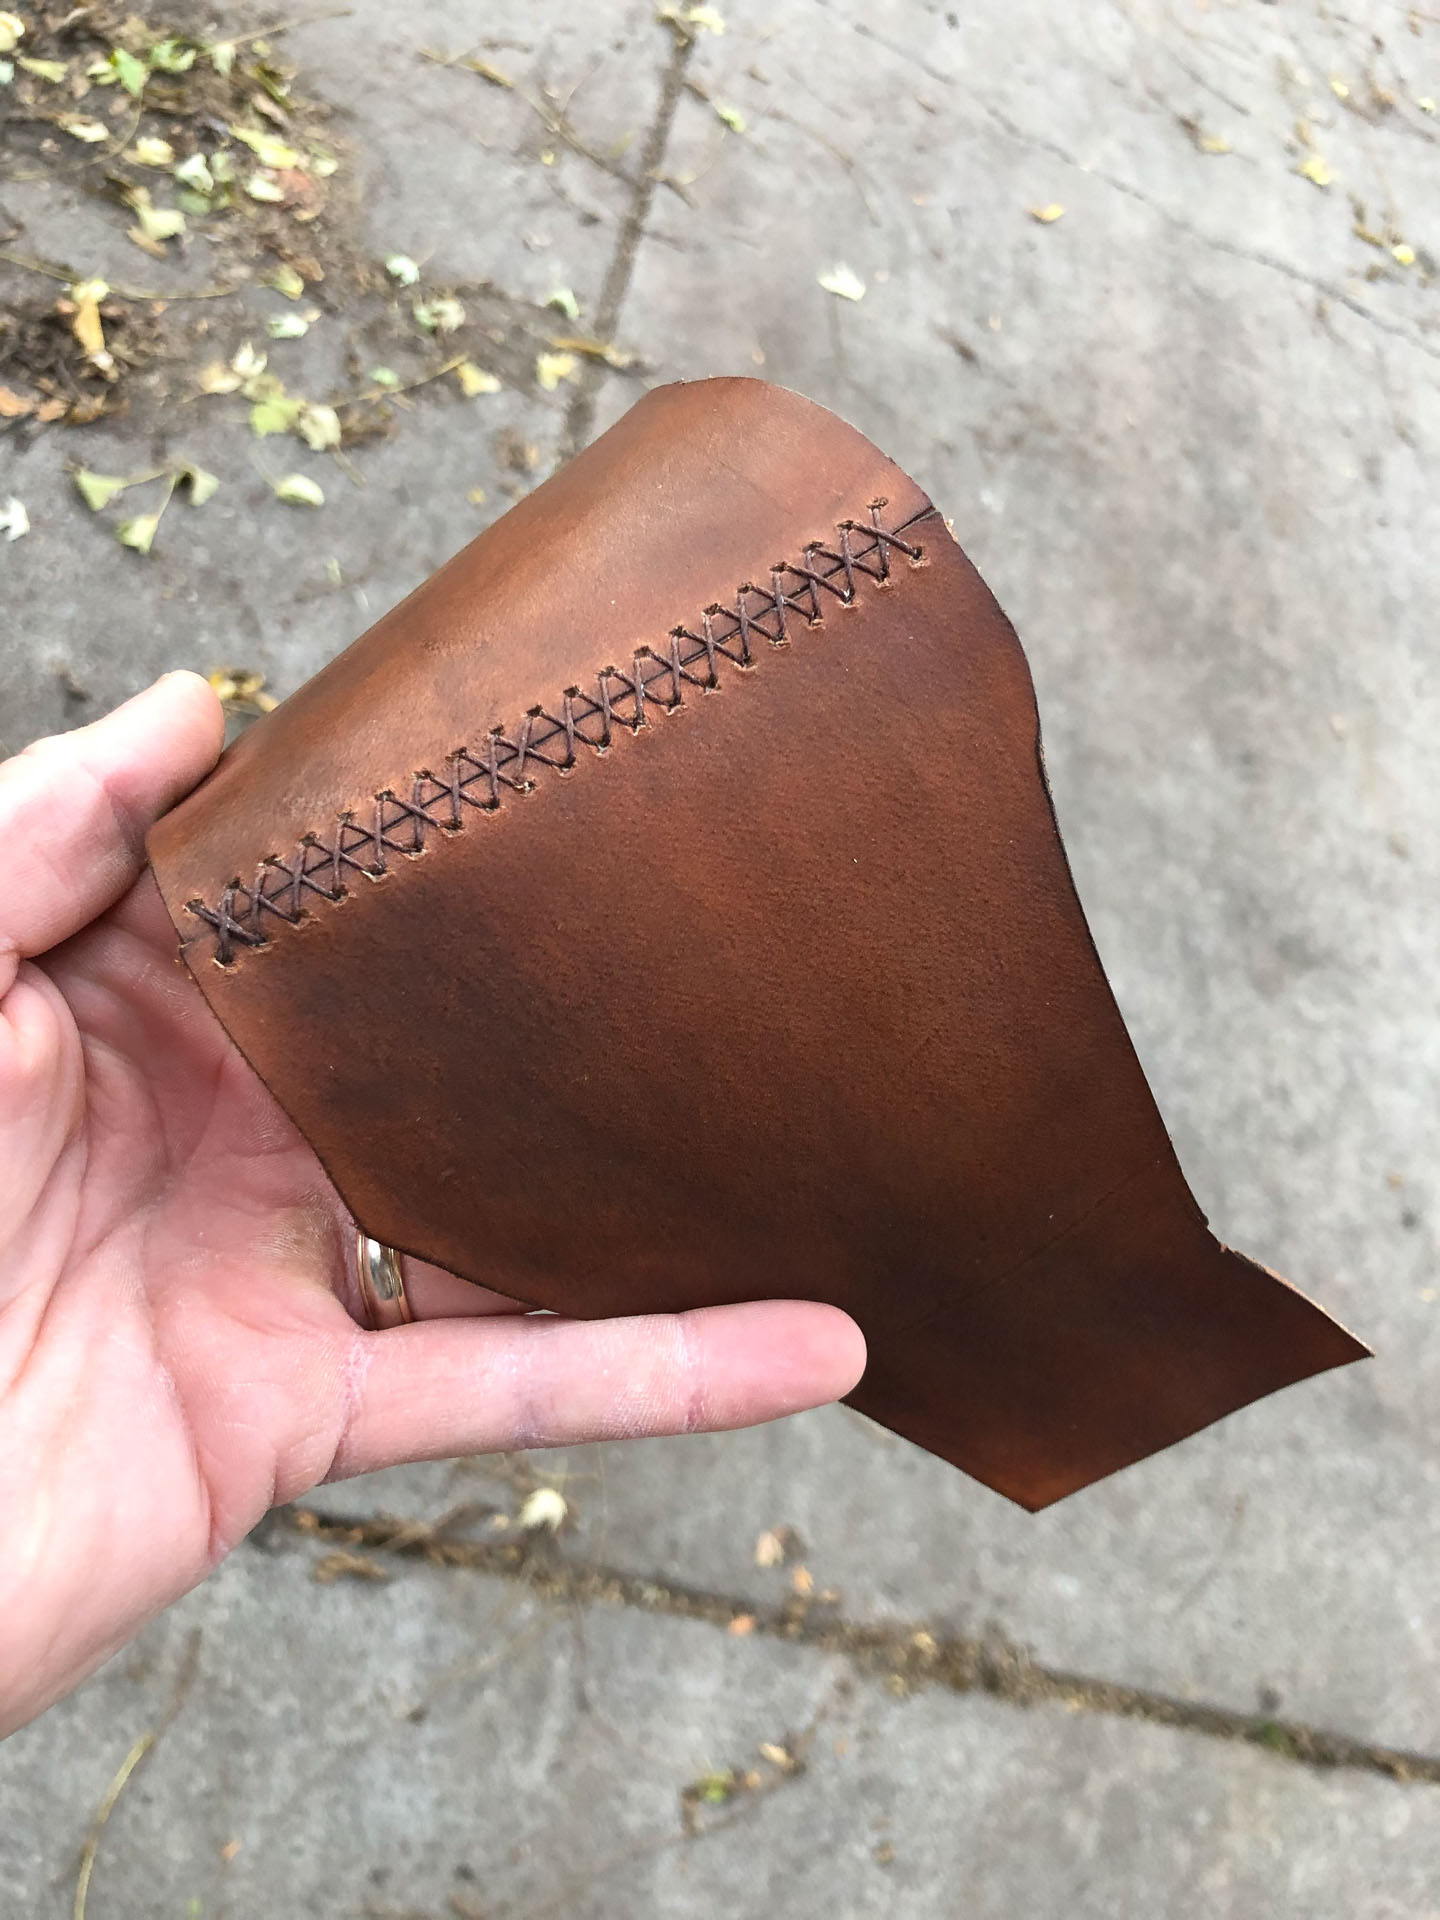
The leather face guard for this helm was created from thick cowhide leather. I used top grain leather to make the face guard (and nosepiece) stand out from the rest of the helm. This type of leather stands out because it has a smooth appearance. It’s looks this way because the top layer of leather that includes that natural (and strongest grains) has been sanded and buffed off. I traced the pattern on a sheet of paper, cut it out and made sure it fit well around the base helm.
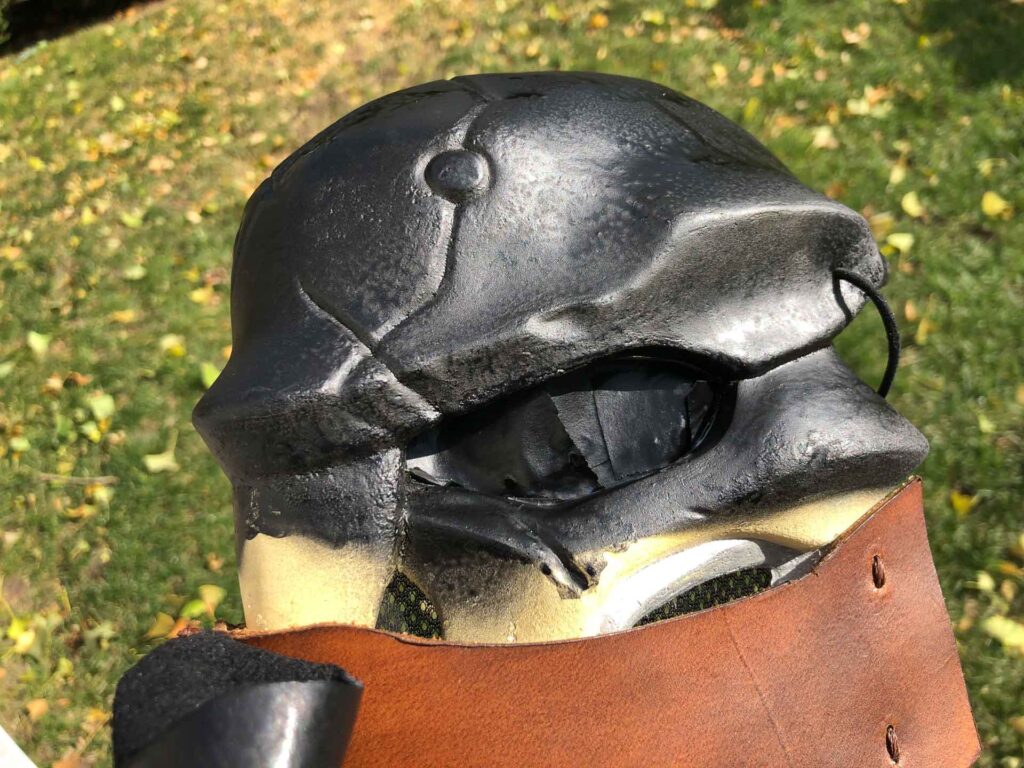
The base was a halloween skull mask I picked up. We formed the leather around it so it would be easy to take on and off. After a few tries, the face guard fit snug and well. This part of the real leather armor helm was done and now it was time to work on the top.
Top of the Helm
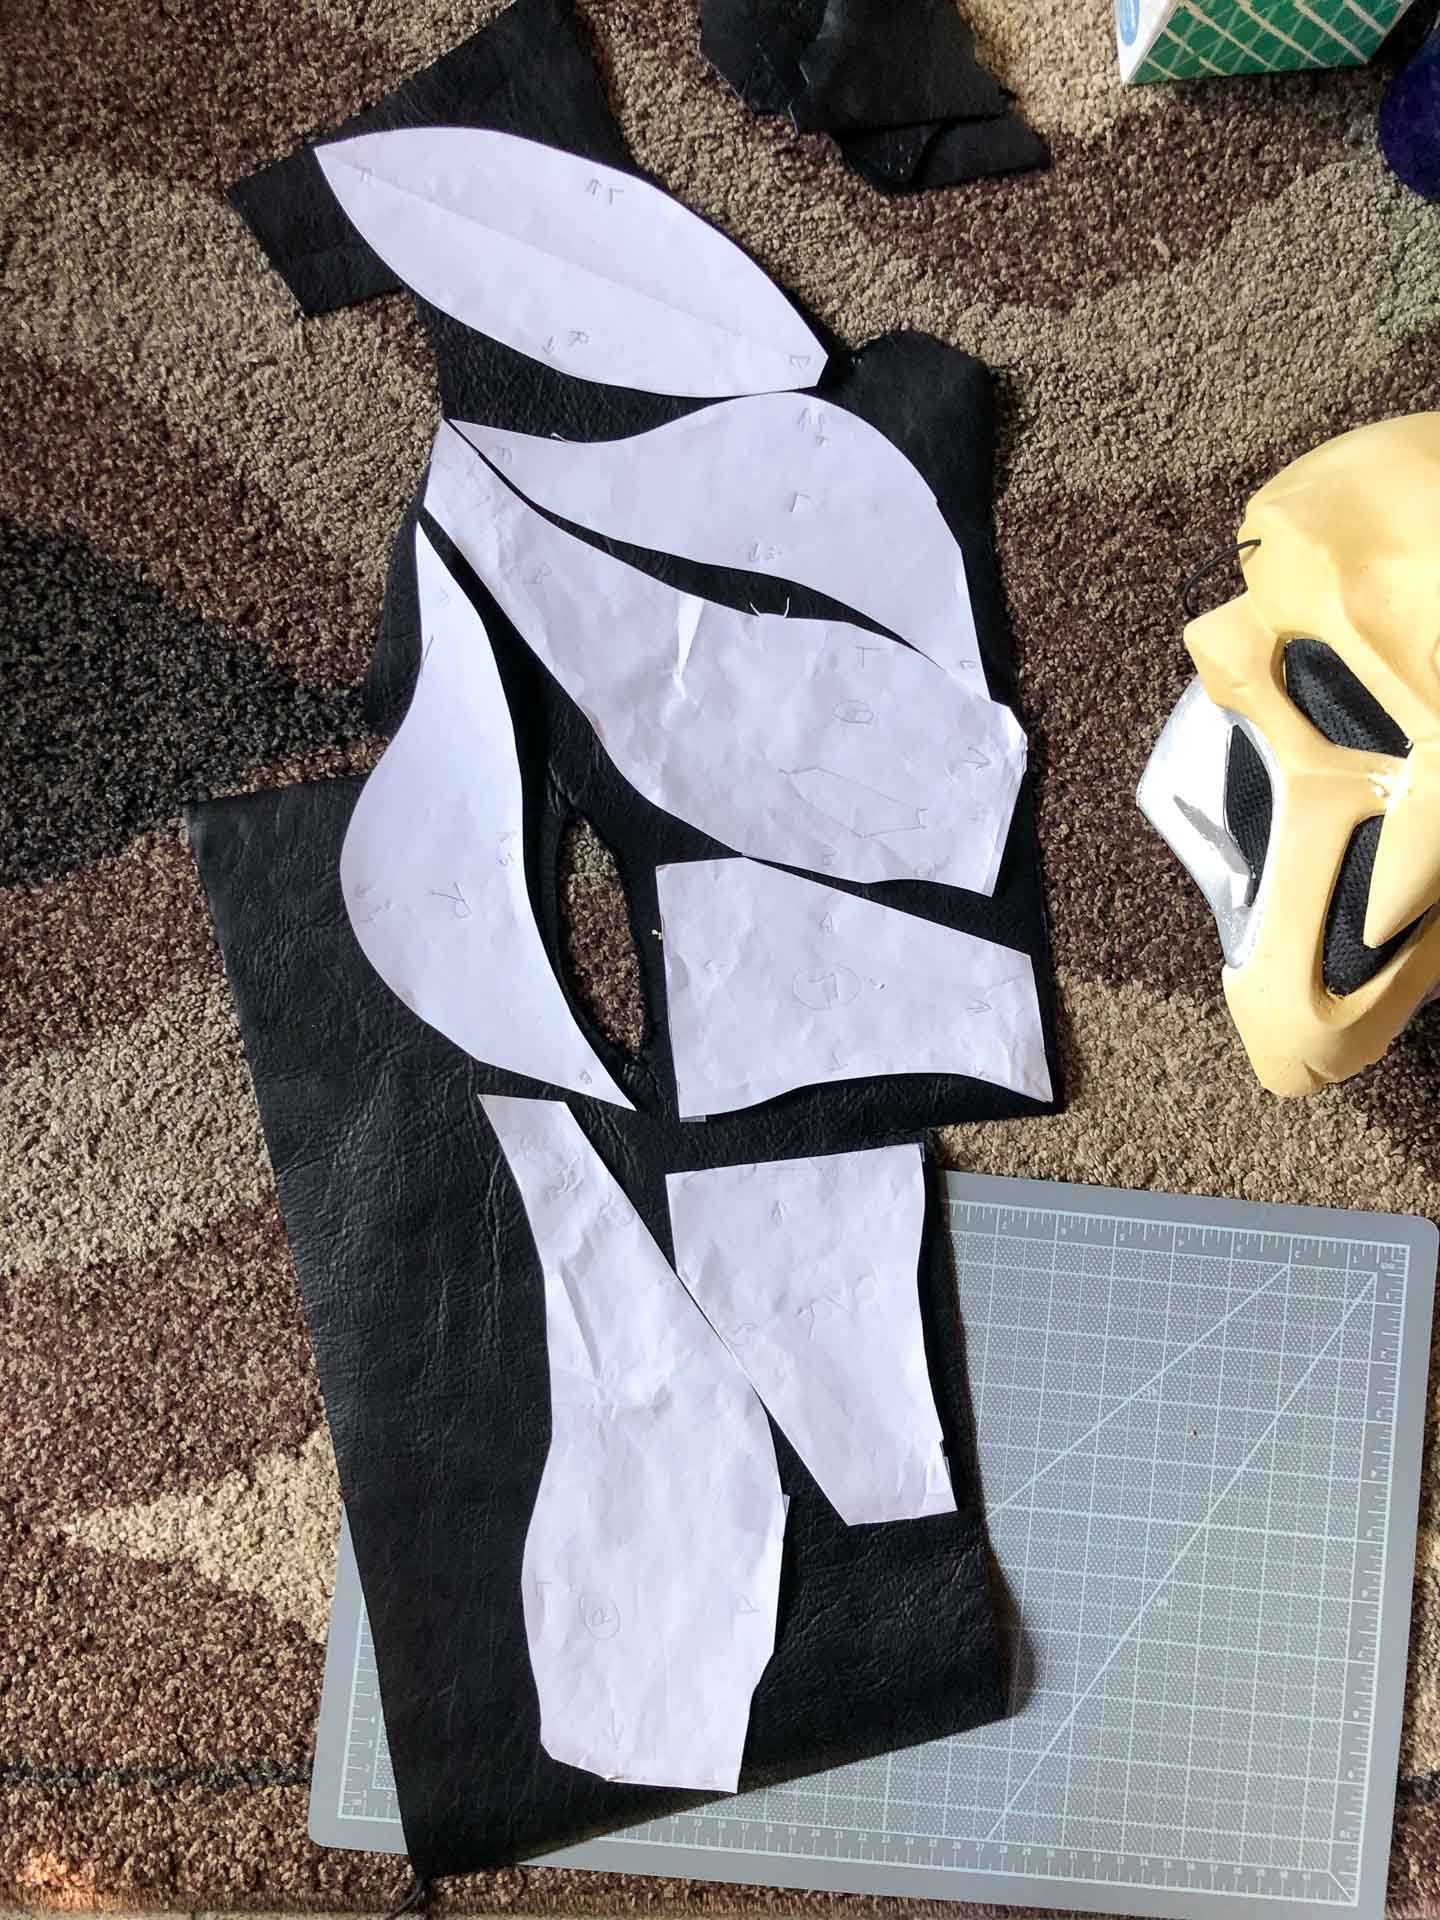
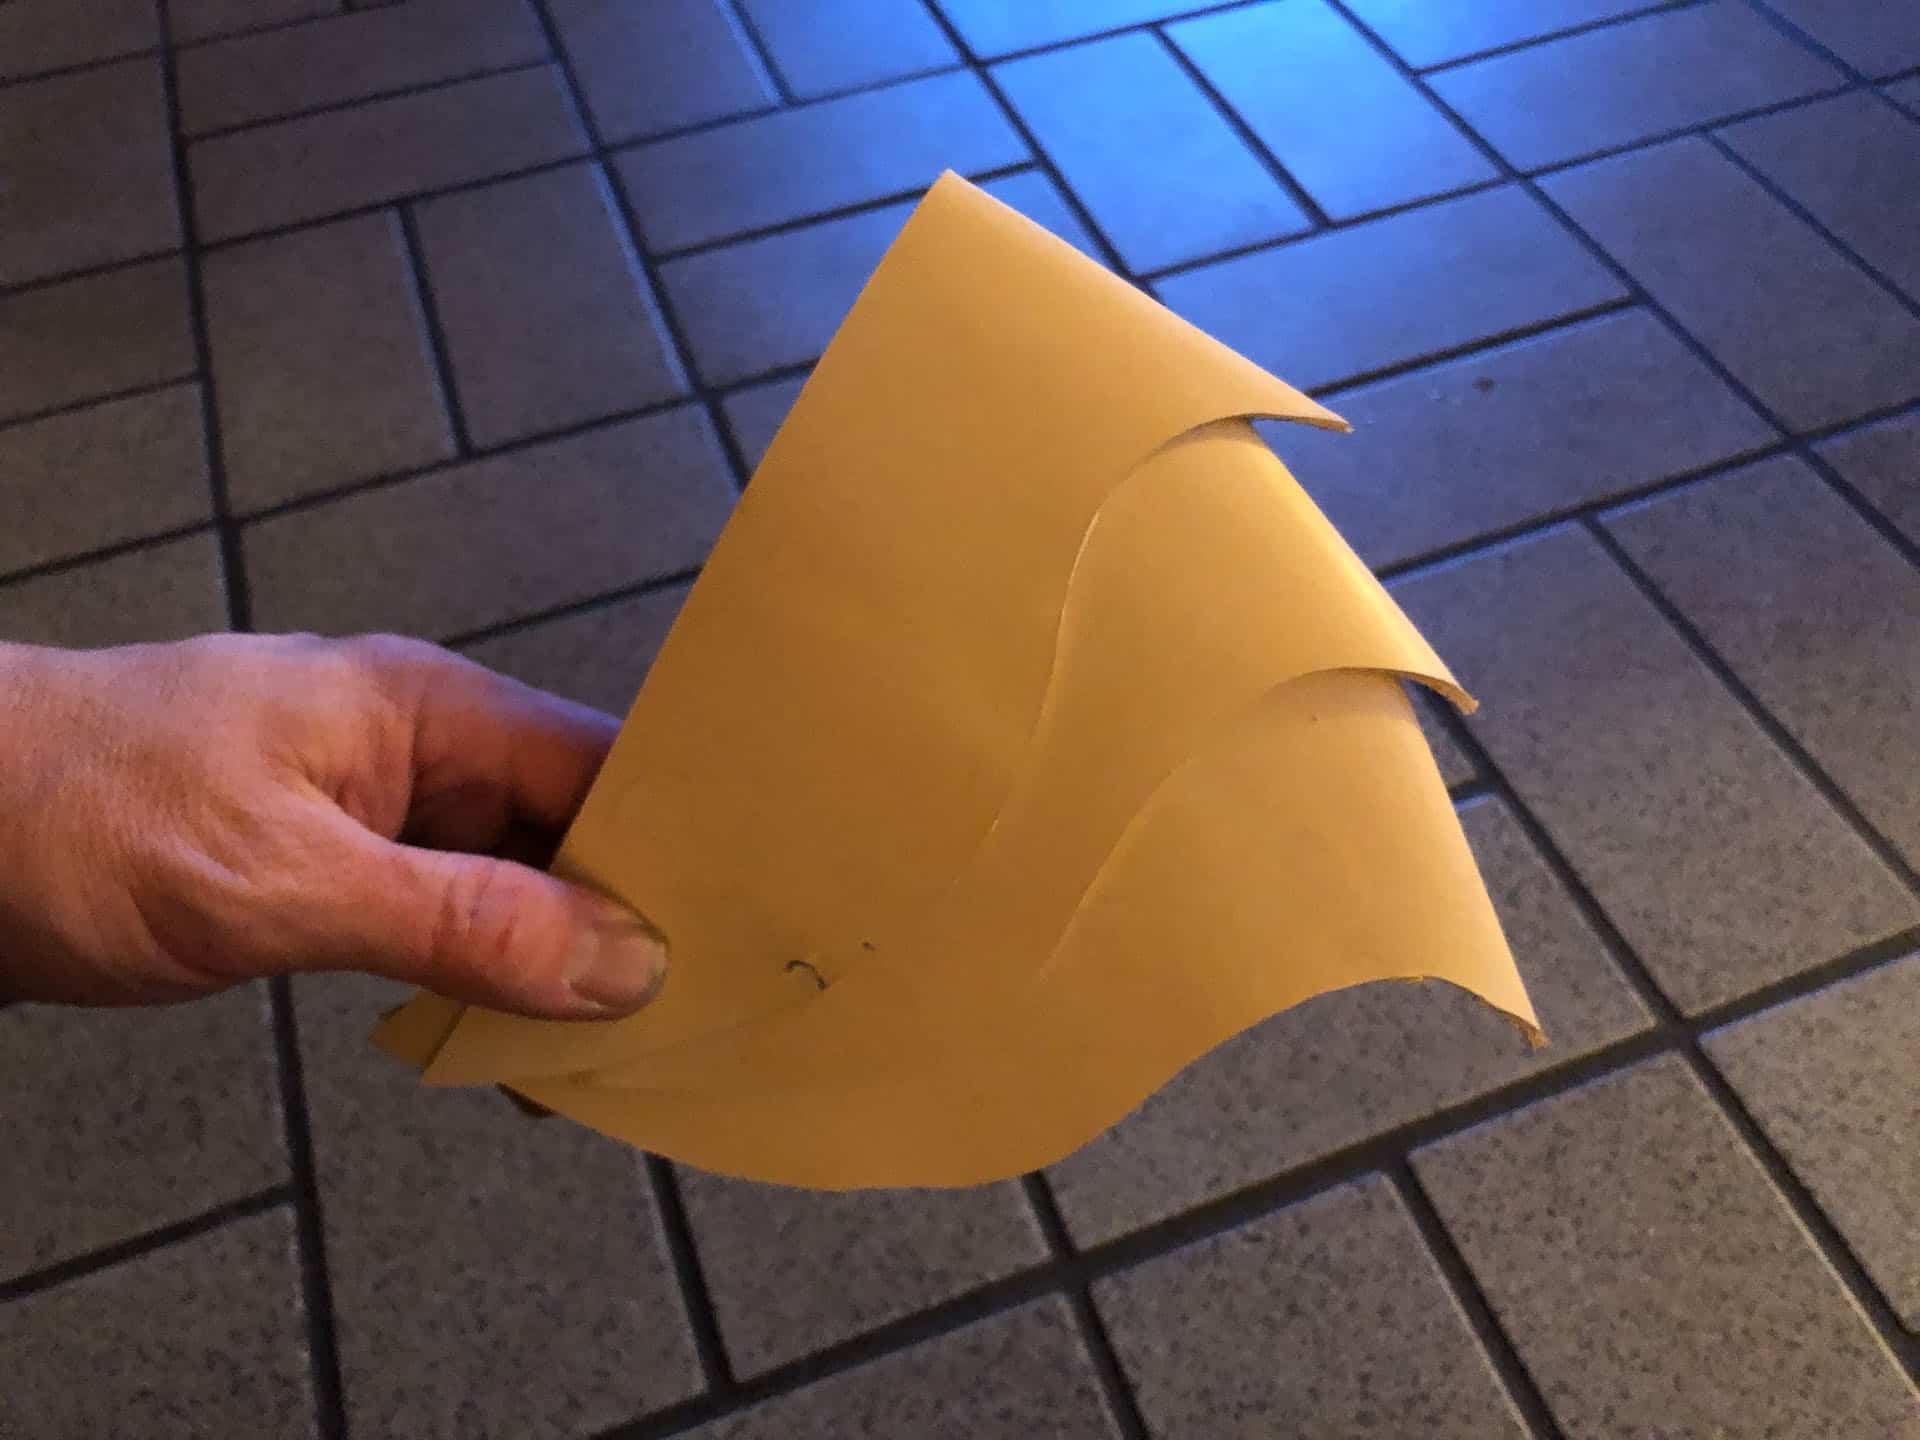
To create the top part of this leather helm I created a pattern out of paper. To create the pattern I traced the parts to the helm out on paper and cut them out. I then taped them together to see if they would fit as I expected them to. I had to retrace and cut some new pieces until I got them to fit just right. After removing the tape it was time to place the pieces on the leather. I only had a small amount of black leather to work with so I made sure all the patterns fit.
I eventually figured out how to fit all of the pieces on the leather. The secondary concern was to get the pieces placed on certain parts of the leather which had similar patterns. There are patterns in the leather because I’m using full grain leather which contains the natural skin patterns of the unique American Bison the leather was obtained from. Full grain leather is the strongest type of leather so it’s fun to work with and ensures a durable final product. Doing this ensures that the final design is relatively uniform and symmetric. For the most part, I was able to achieve this with the pieces of Bison leather I had.
Once the pieces were placed I carefully cut them out with a rotary cutting blade. Leather is a very different material than paper so I wanted to test again with the pieces of leather. Testing another time proved advantageous because certain pieces of leather did need to be trimmed a bit. After trimming these pieces I taped them up again and confirmed the fit.
Sewing the Leather Helm
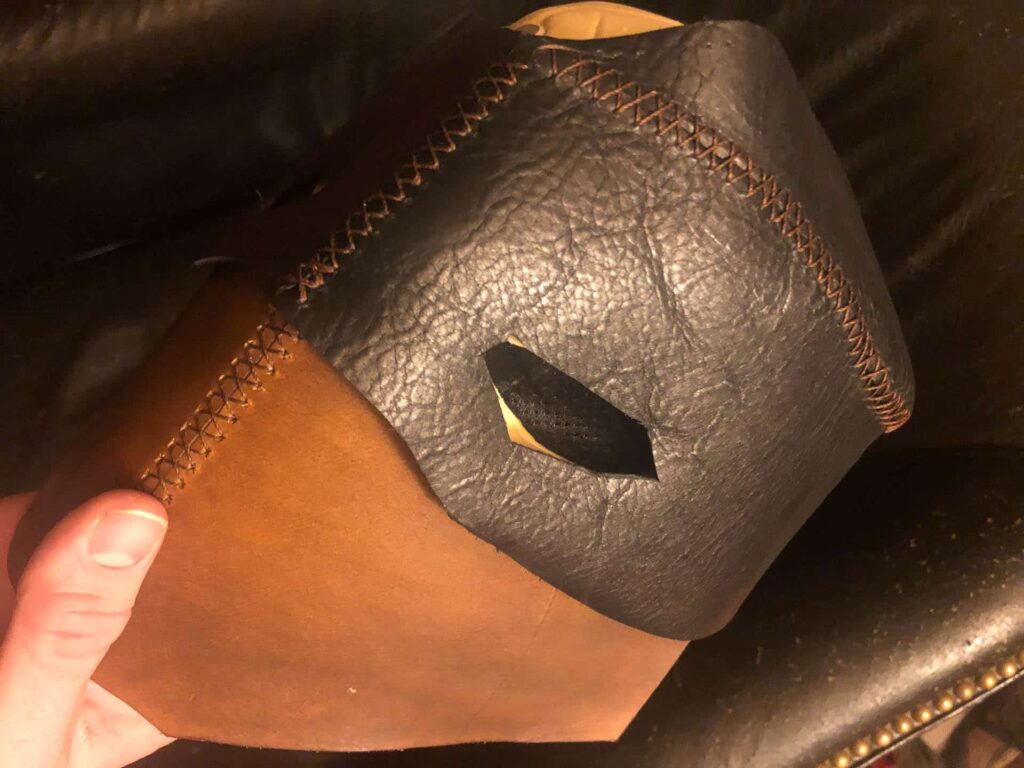
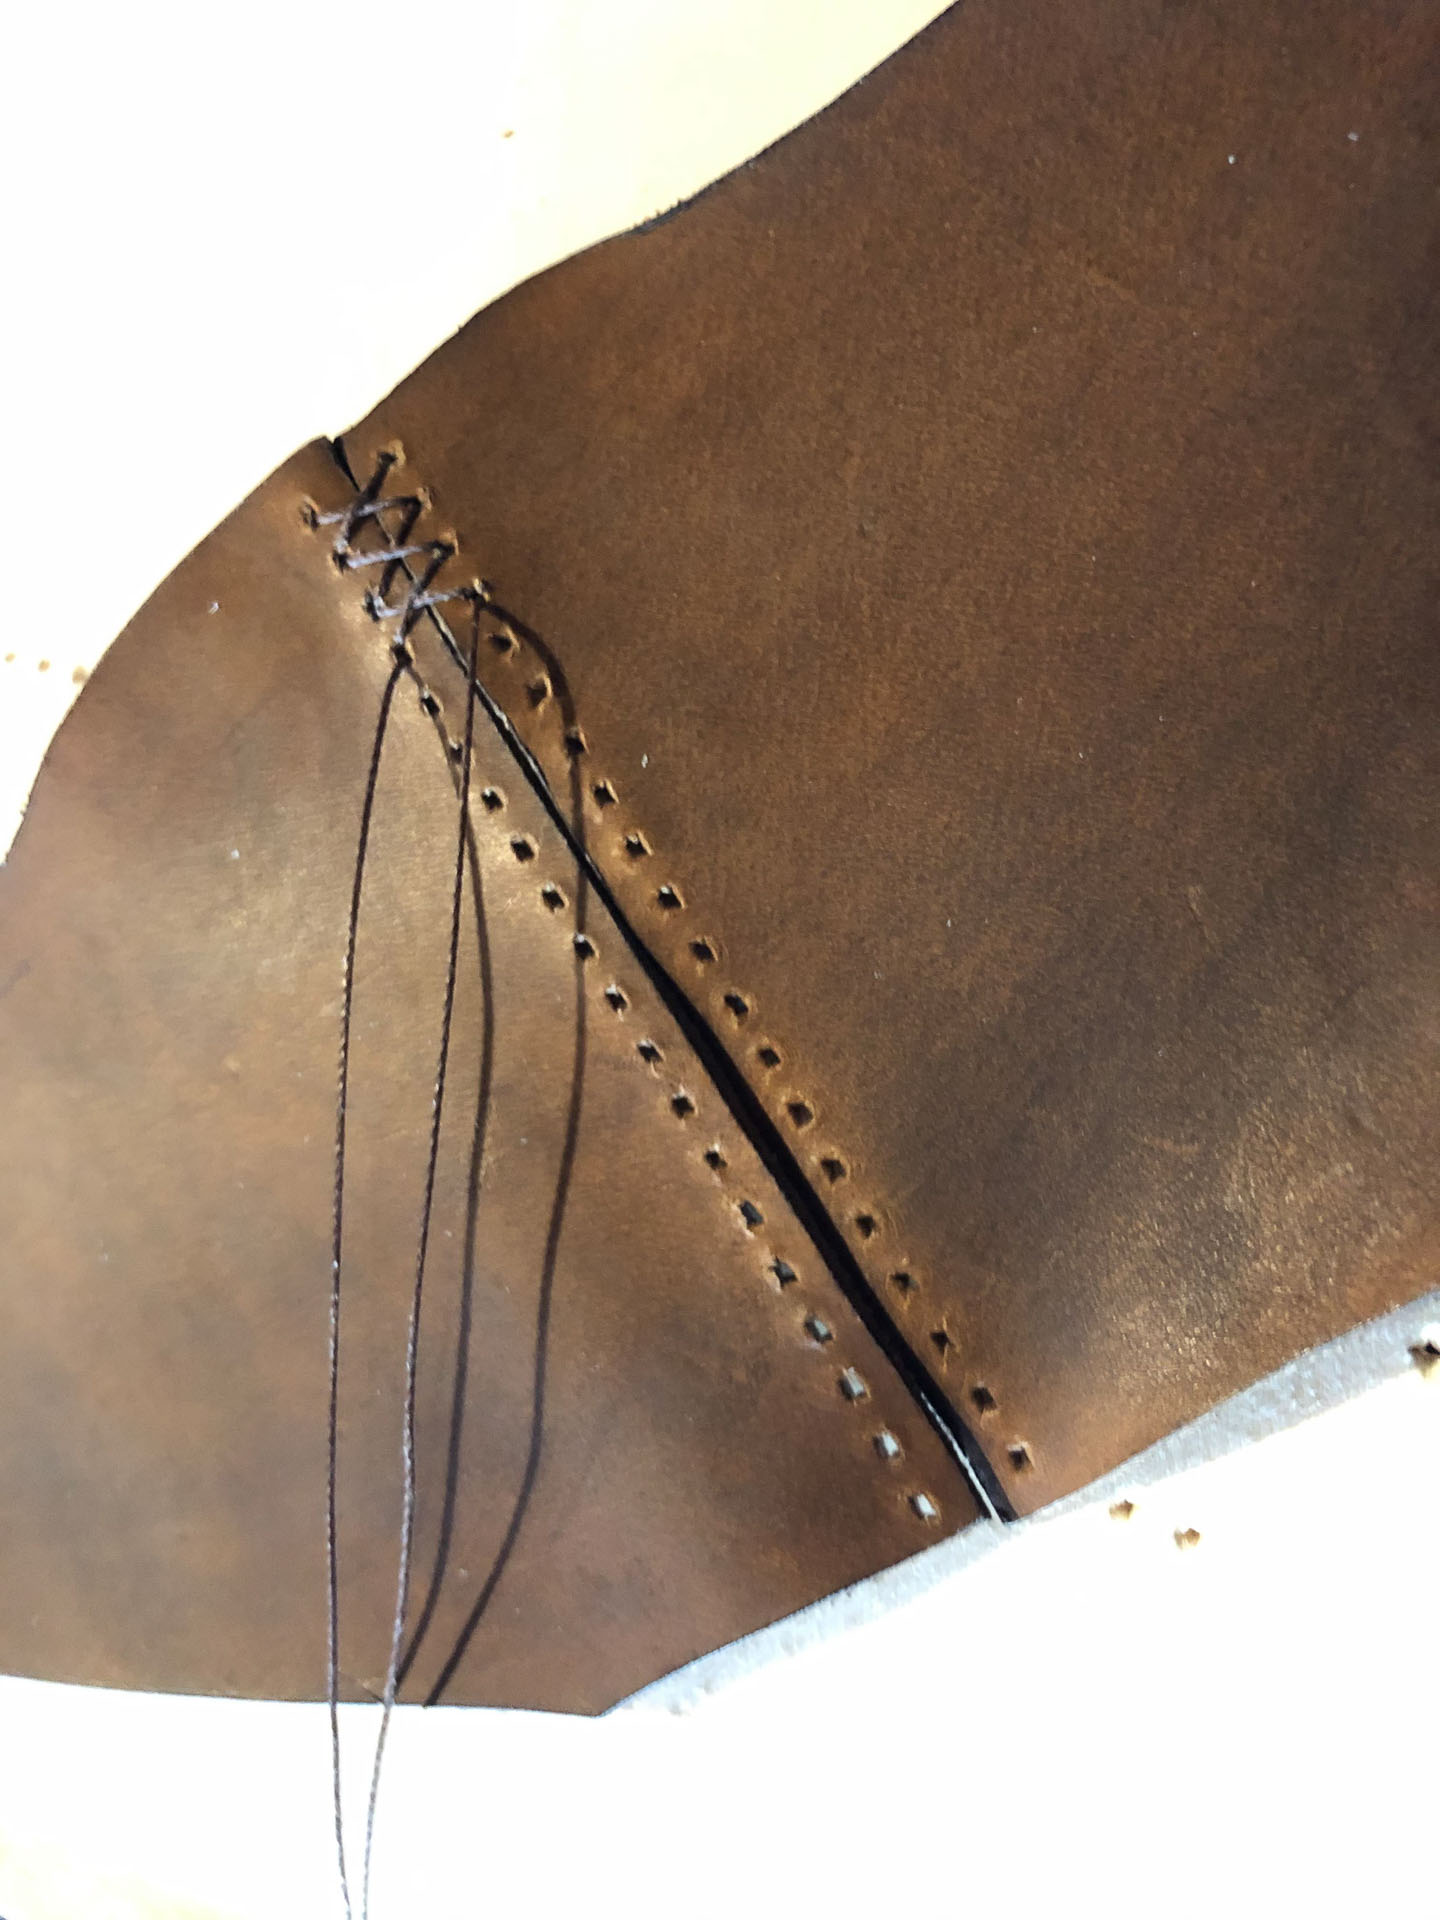
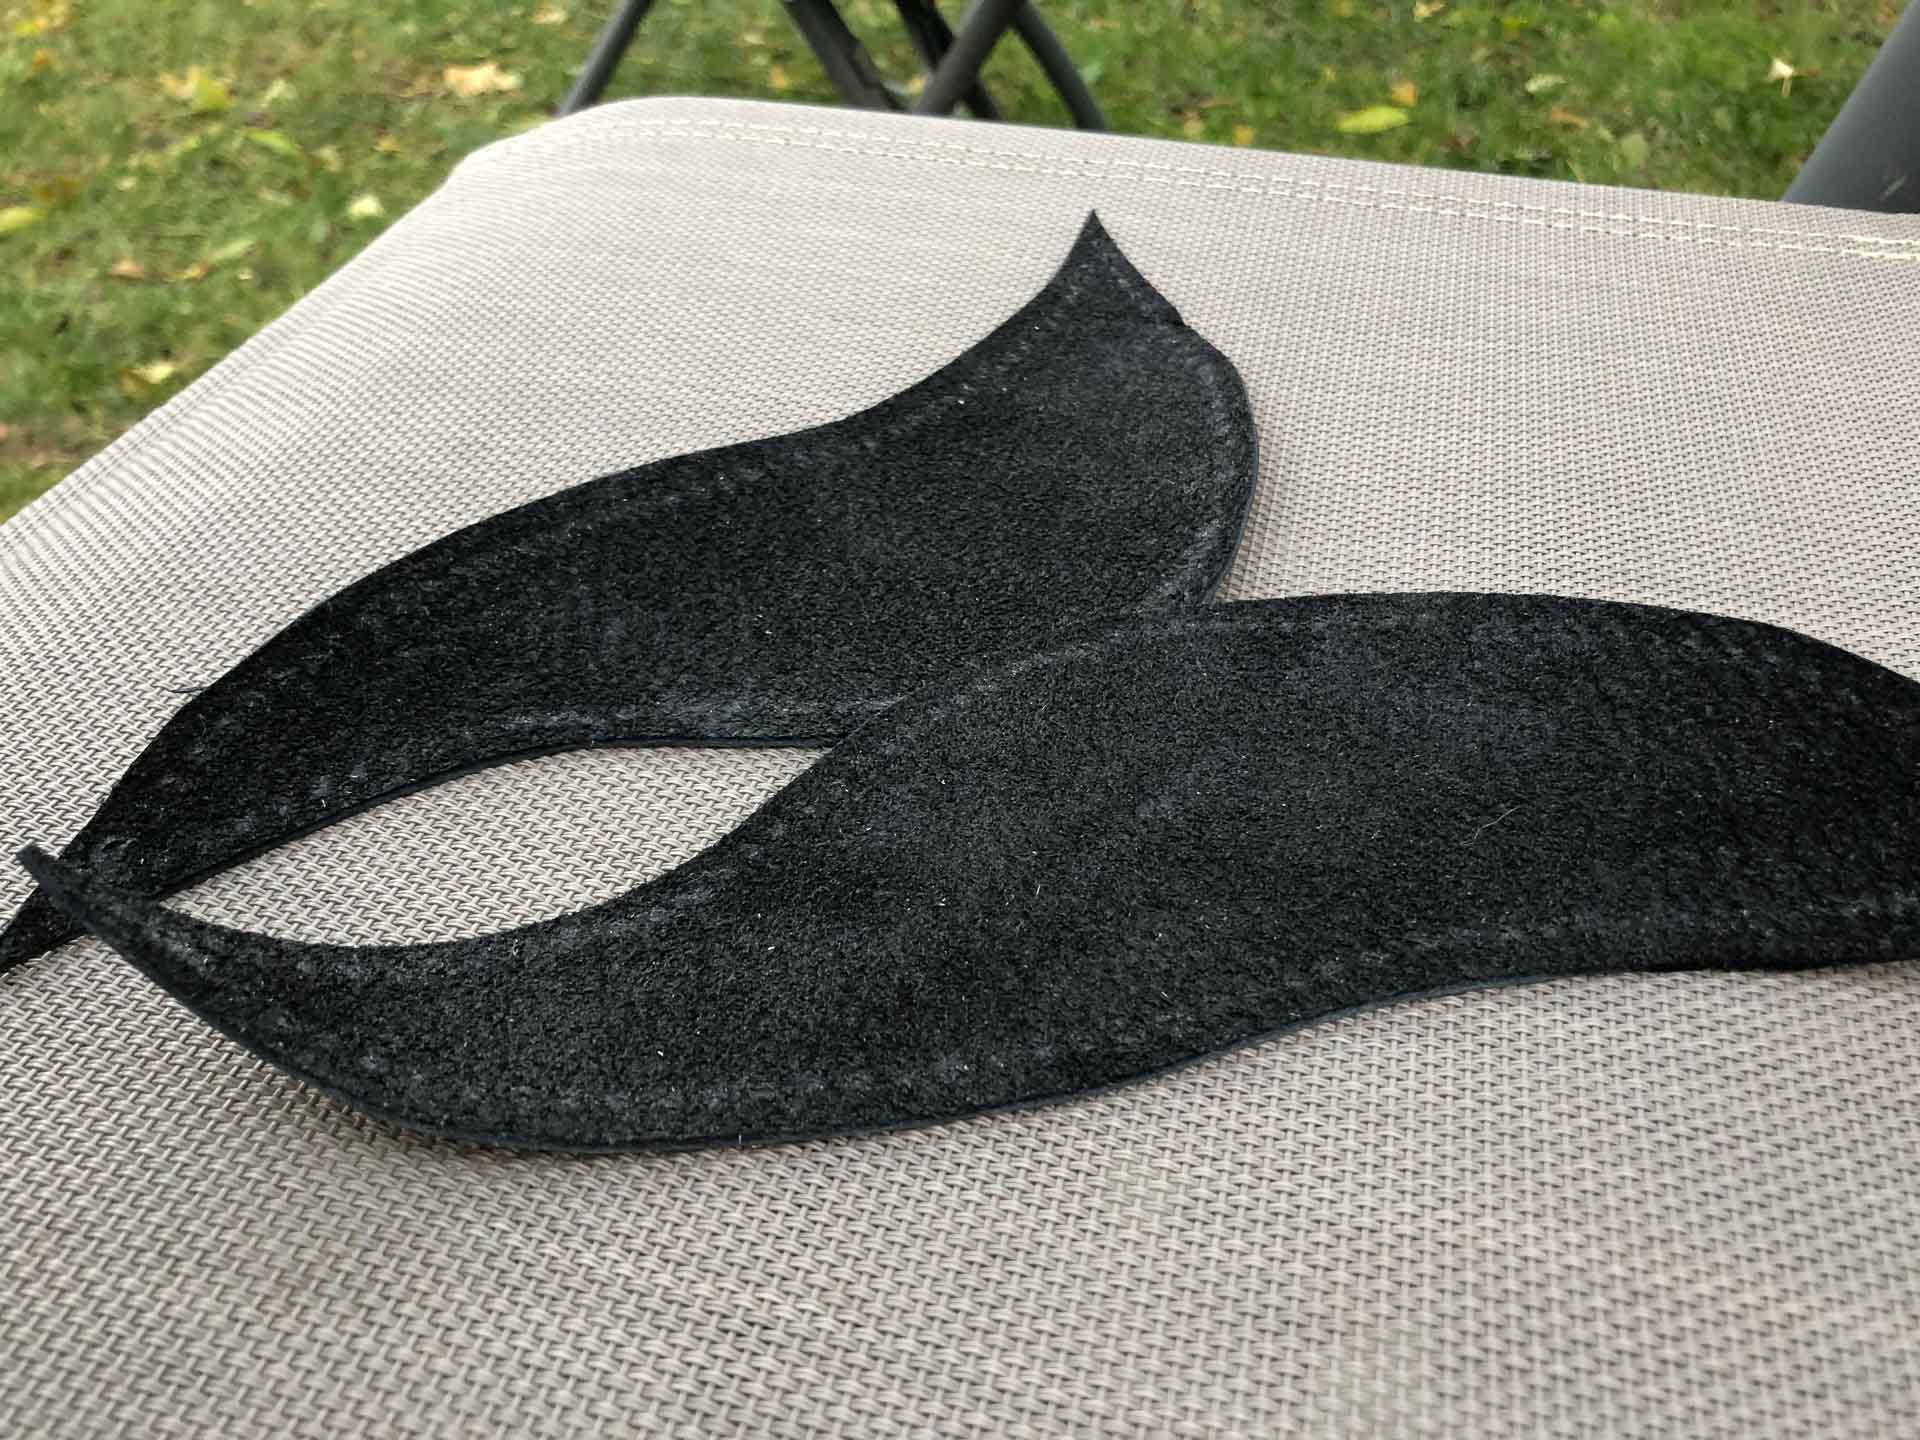
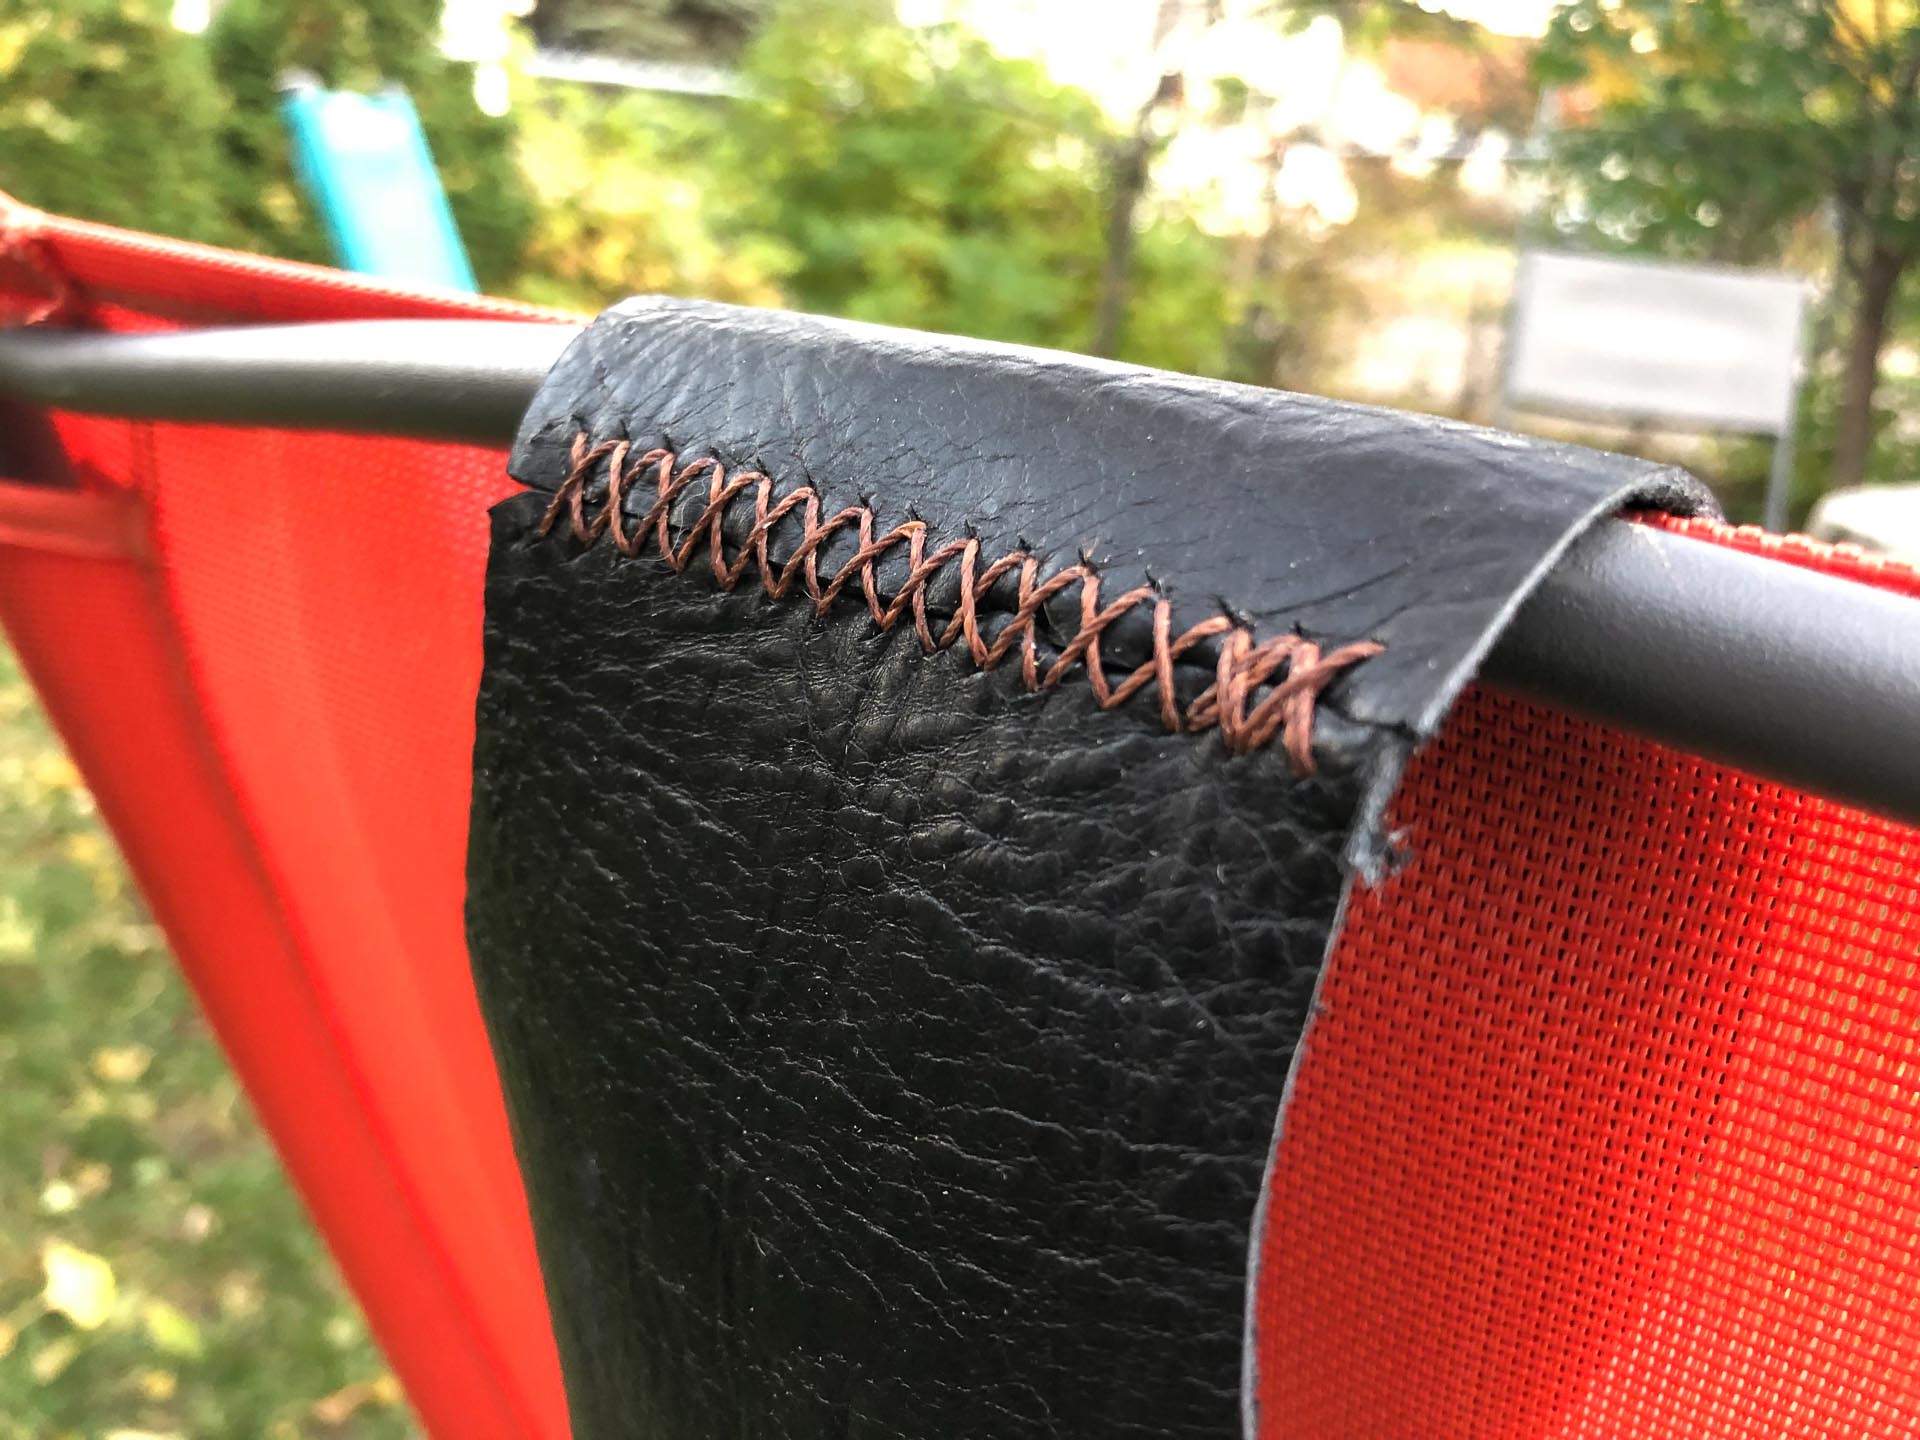
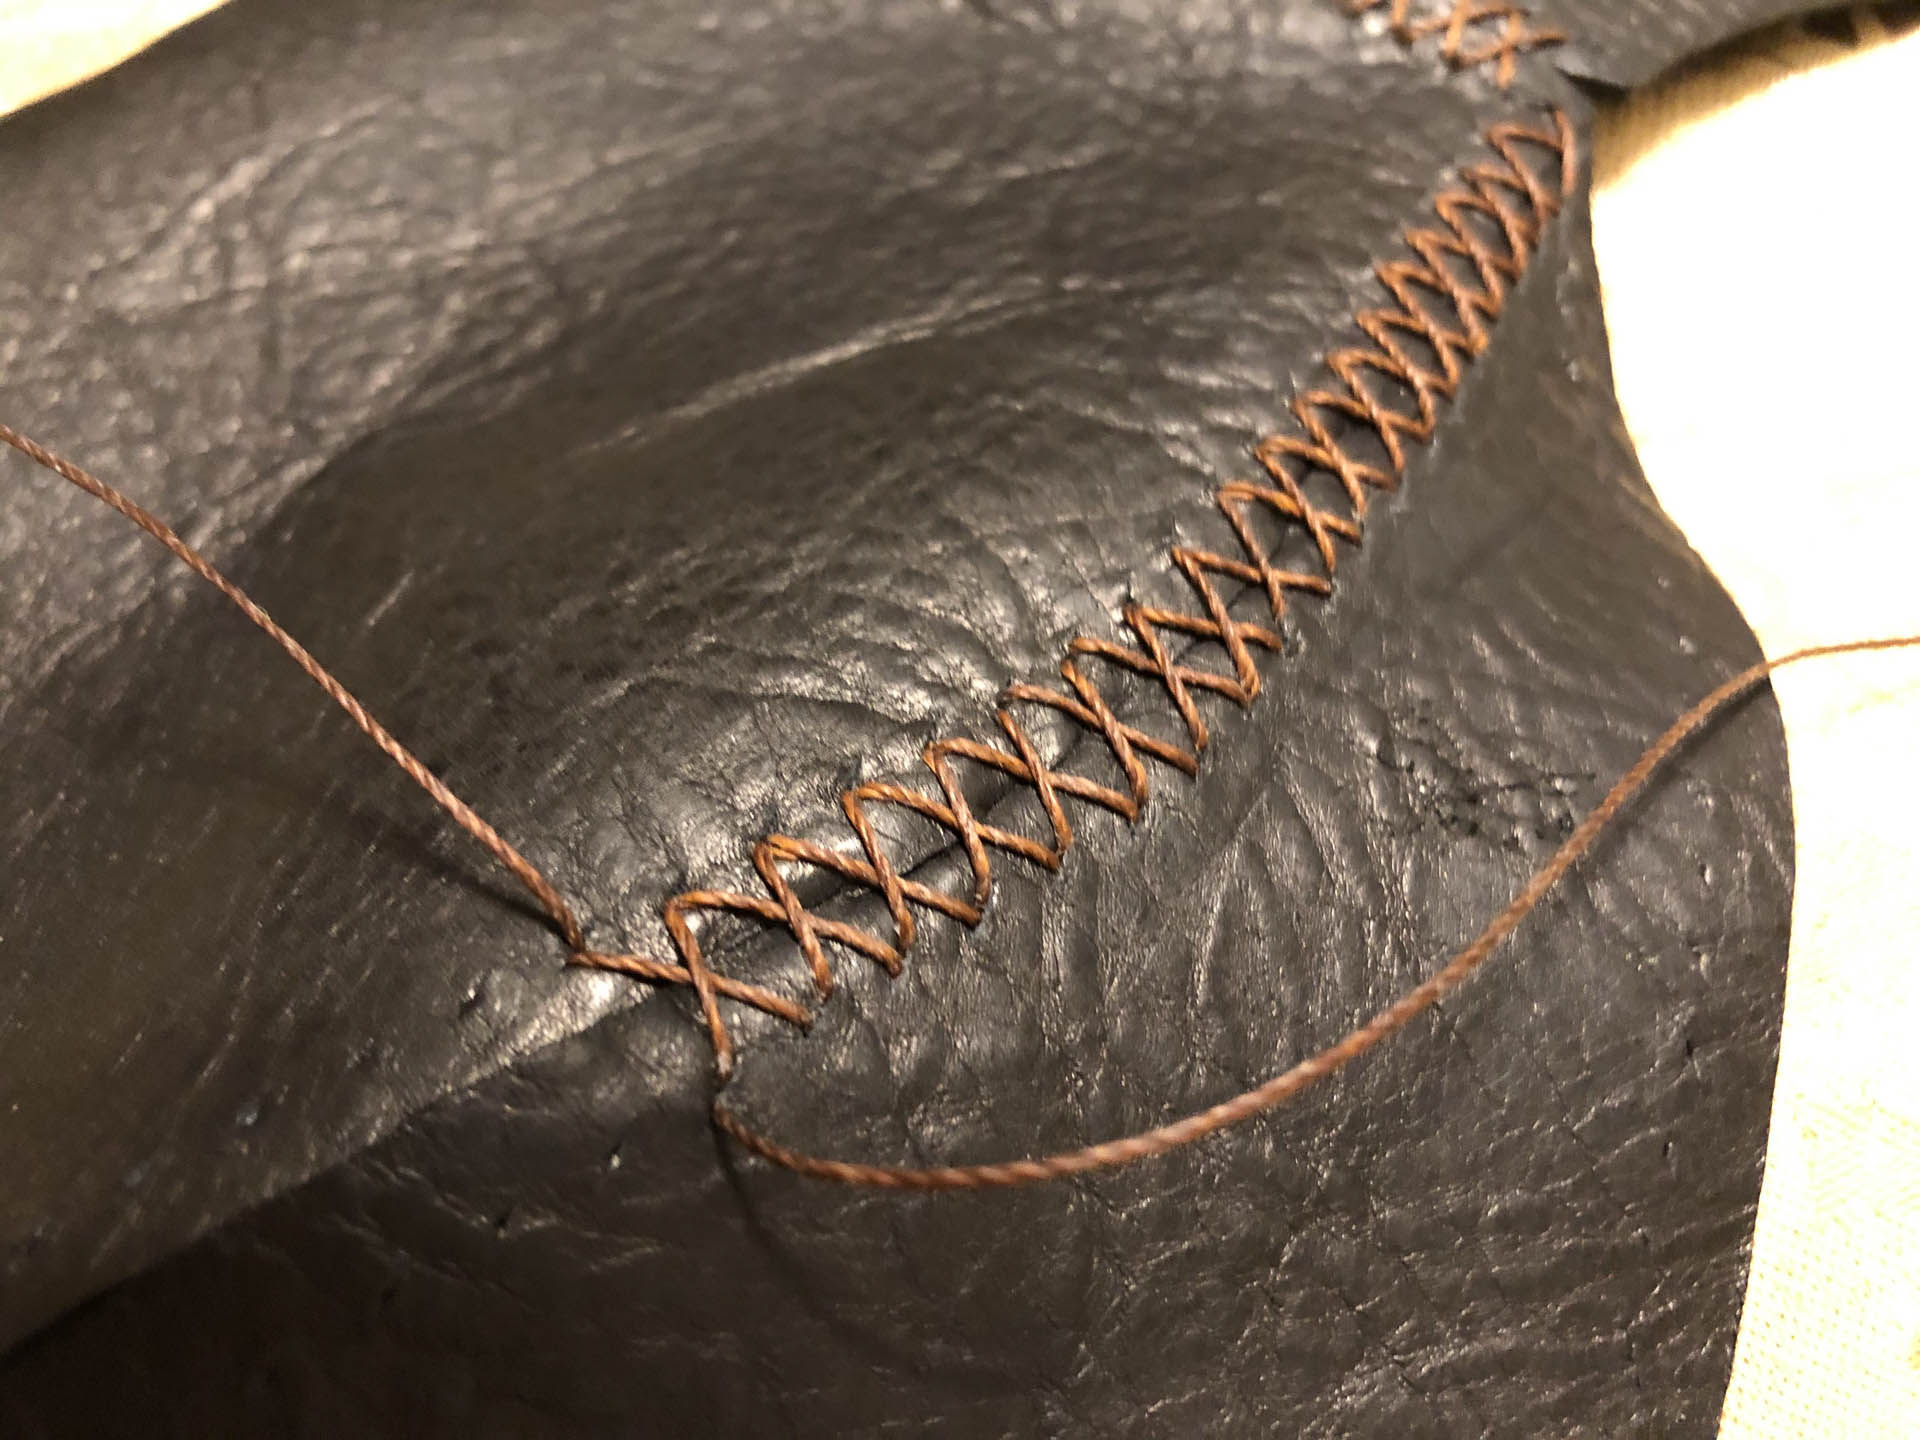
I punched holes around the edges of the pieces of leather using a 5 pin leather hole punch, making sure to stay close enough to the edge so when I sewed them the leather wouldn’t pull together as much. After that I sewed the pieces together using brown 69oz thread because it’s both strong but also not too bulky. First I sewed the top and two side pieces. Next the eye pieces together at the center, where the bridge of the nosepiece would be. After I sewed this piece it was time to combine the mask and top help together.
Ensuring a tight fit on the base of the helm was important. I found the right place to secure the leather onto the helm base and marked the places it would attach. Then I took the leather off and brought the mask base outside to spray it black so none of the white color would show through around the eyes. I put the leather over top to double check everything looked good once the base was dry. So far, this leather armor set was coming along nicely!
After putting a good amount of time into the leather helm, it was good to see that everything fit together well and looked good! Now I could move onto the helmet nosepiece.
Helm Nosepiece
The next step in making this leather armor helm is creating the nosepiece. I measured the top of the helm on down to the base of the black eye piece. With these measurements I was able to draw a pattern for the nosepiece onto another sheet of paper, cut it out, and hold it up to the helm. The nosepiece cut pattern fit on the helm the first time so I was able to cut out the leather right away.
I cut the nose guard out of heavy, thick cowhide because of the stiffness of it. Thicker leather will hold its form more easily than thin leather so it’s good to use for pieces that are more stationary and don’t have many bends or seams. I dyed the nosepiece next before placing it on the helm. I dyed it the same brown as the mouth piece in order to create a color pattern in the helm.
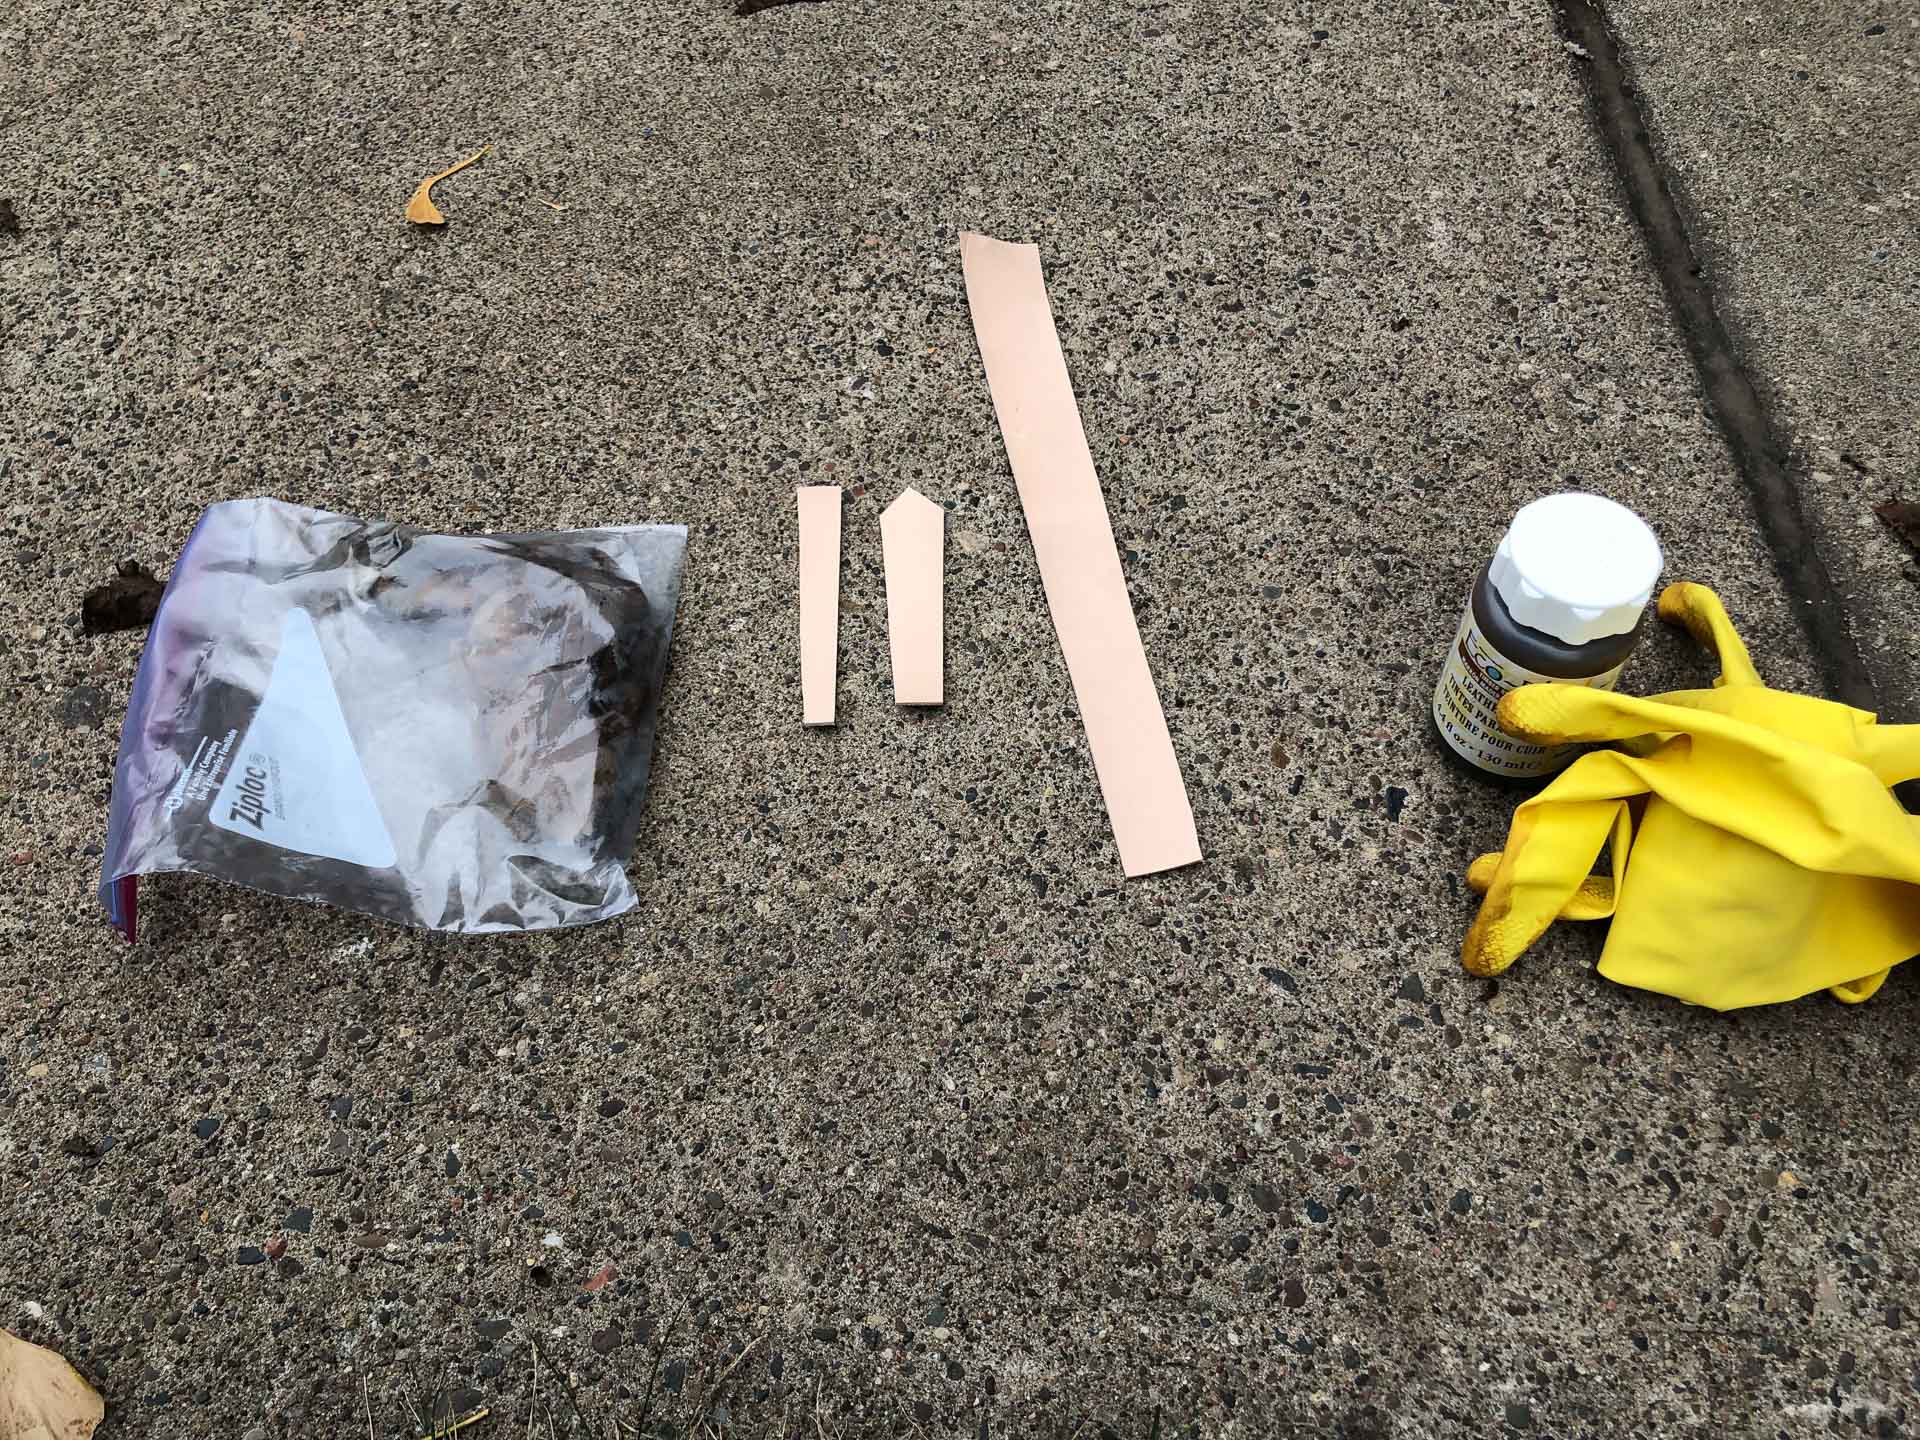
Leather Nose Guard
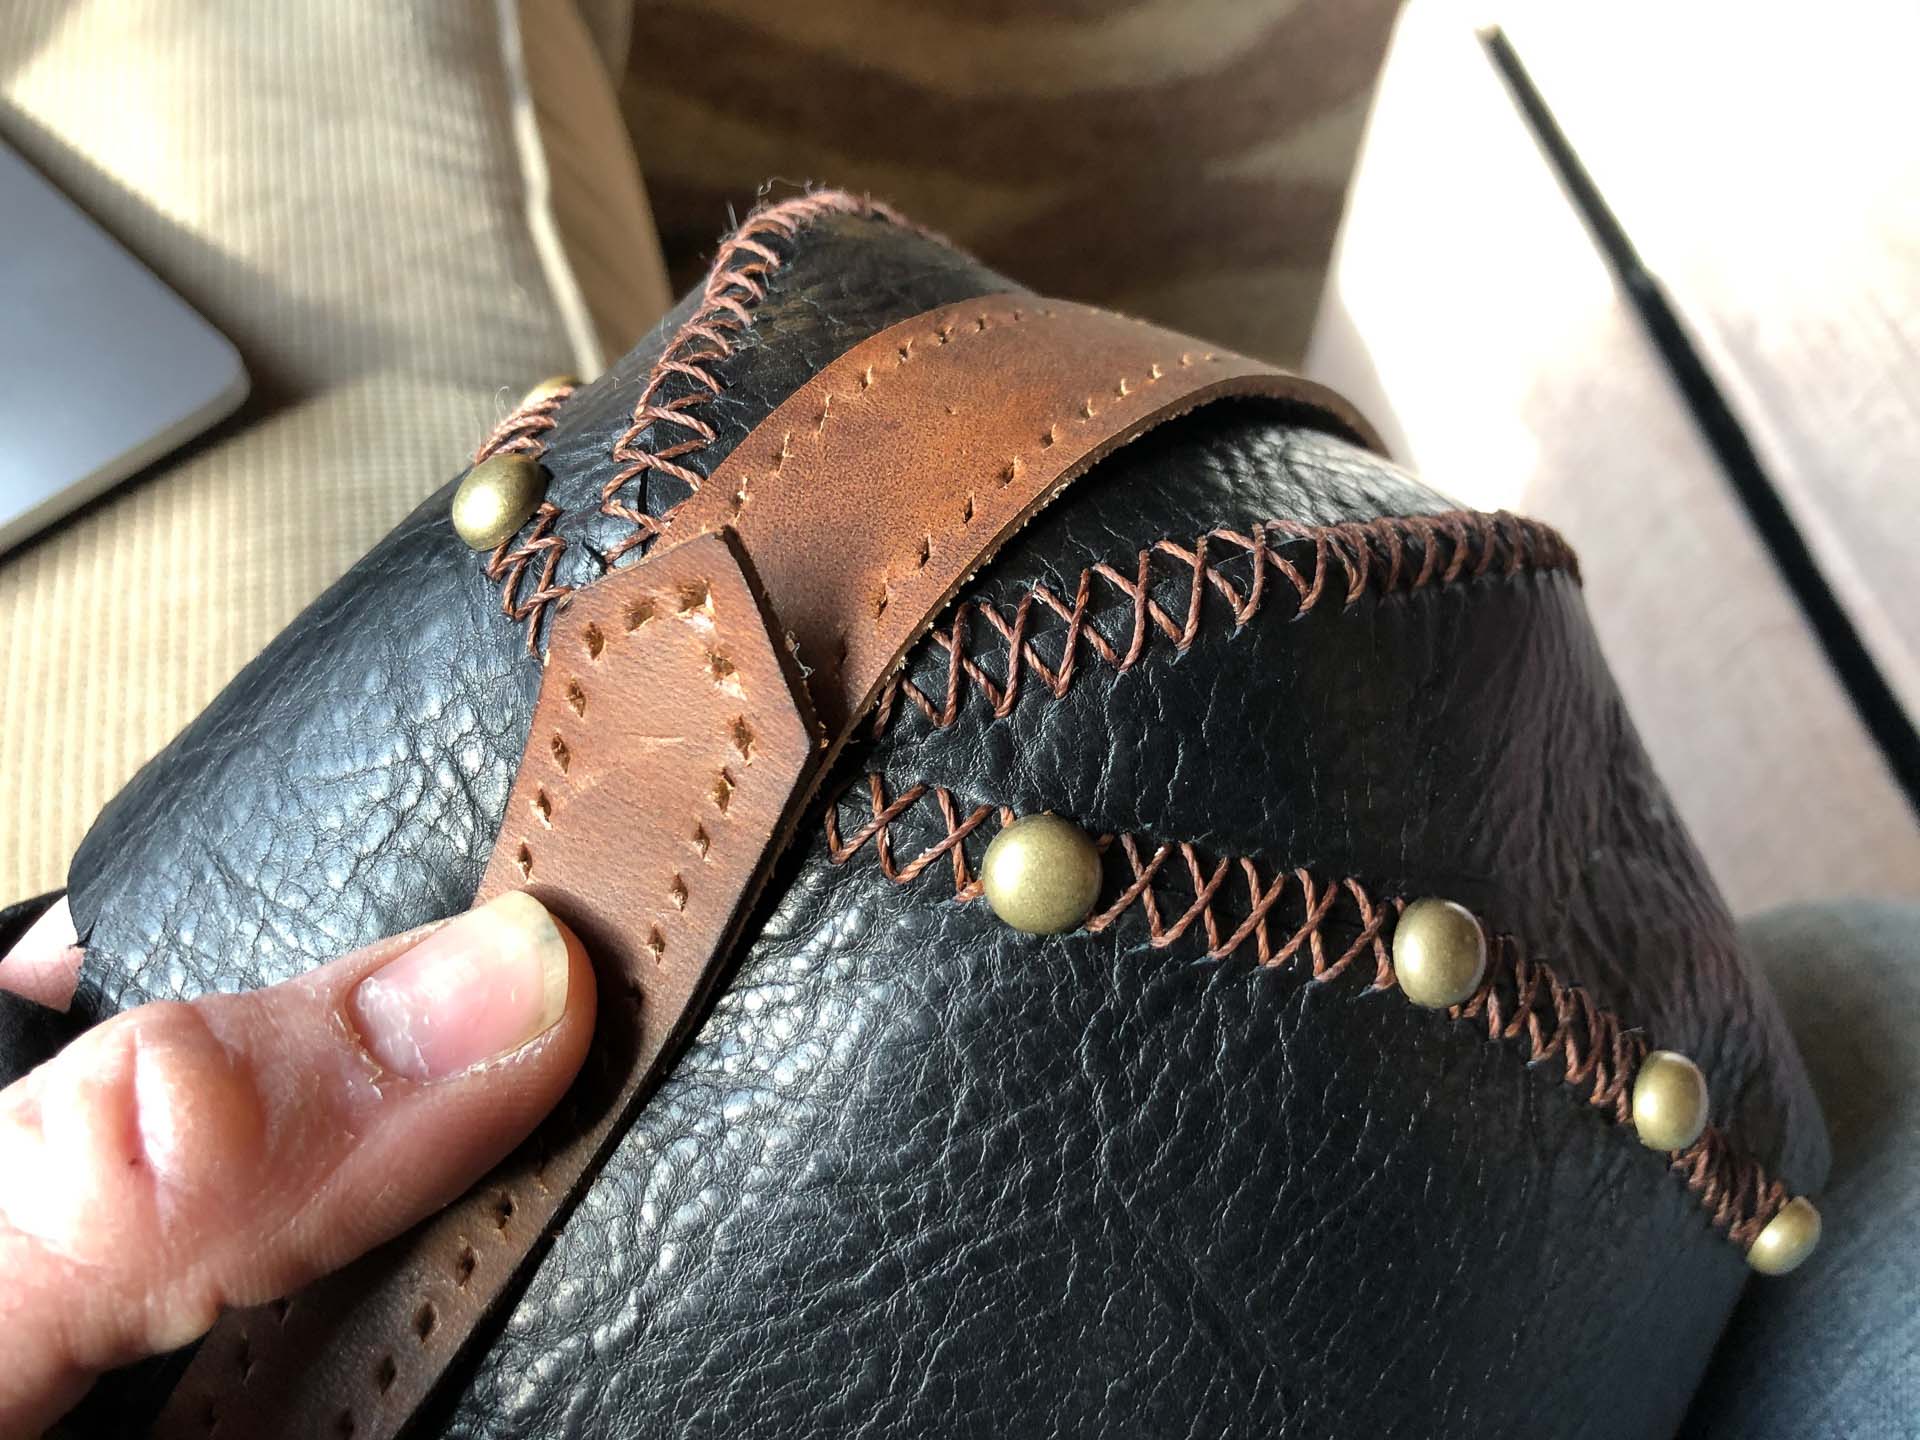
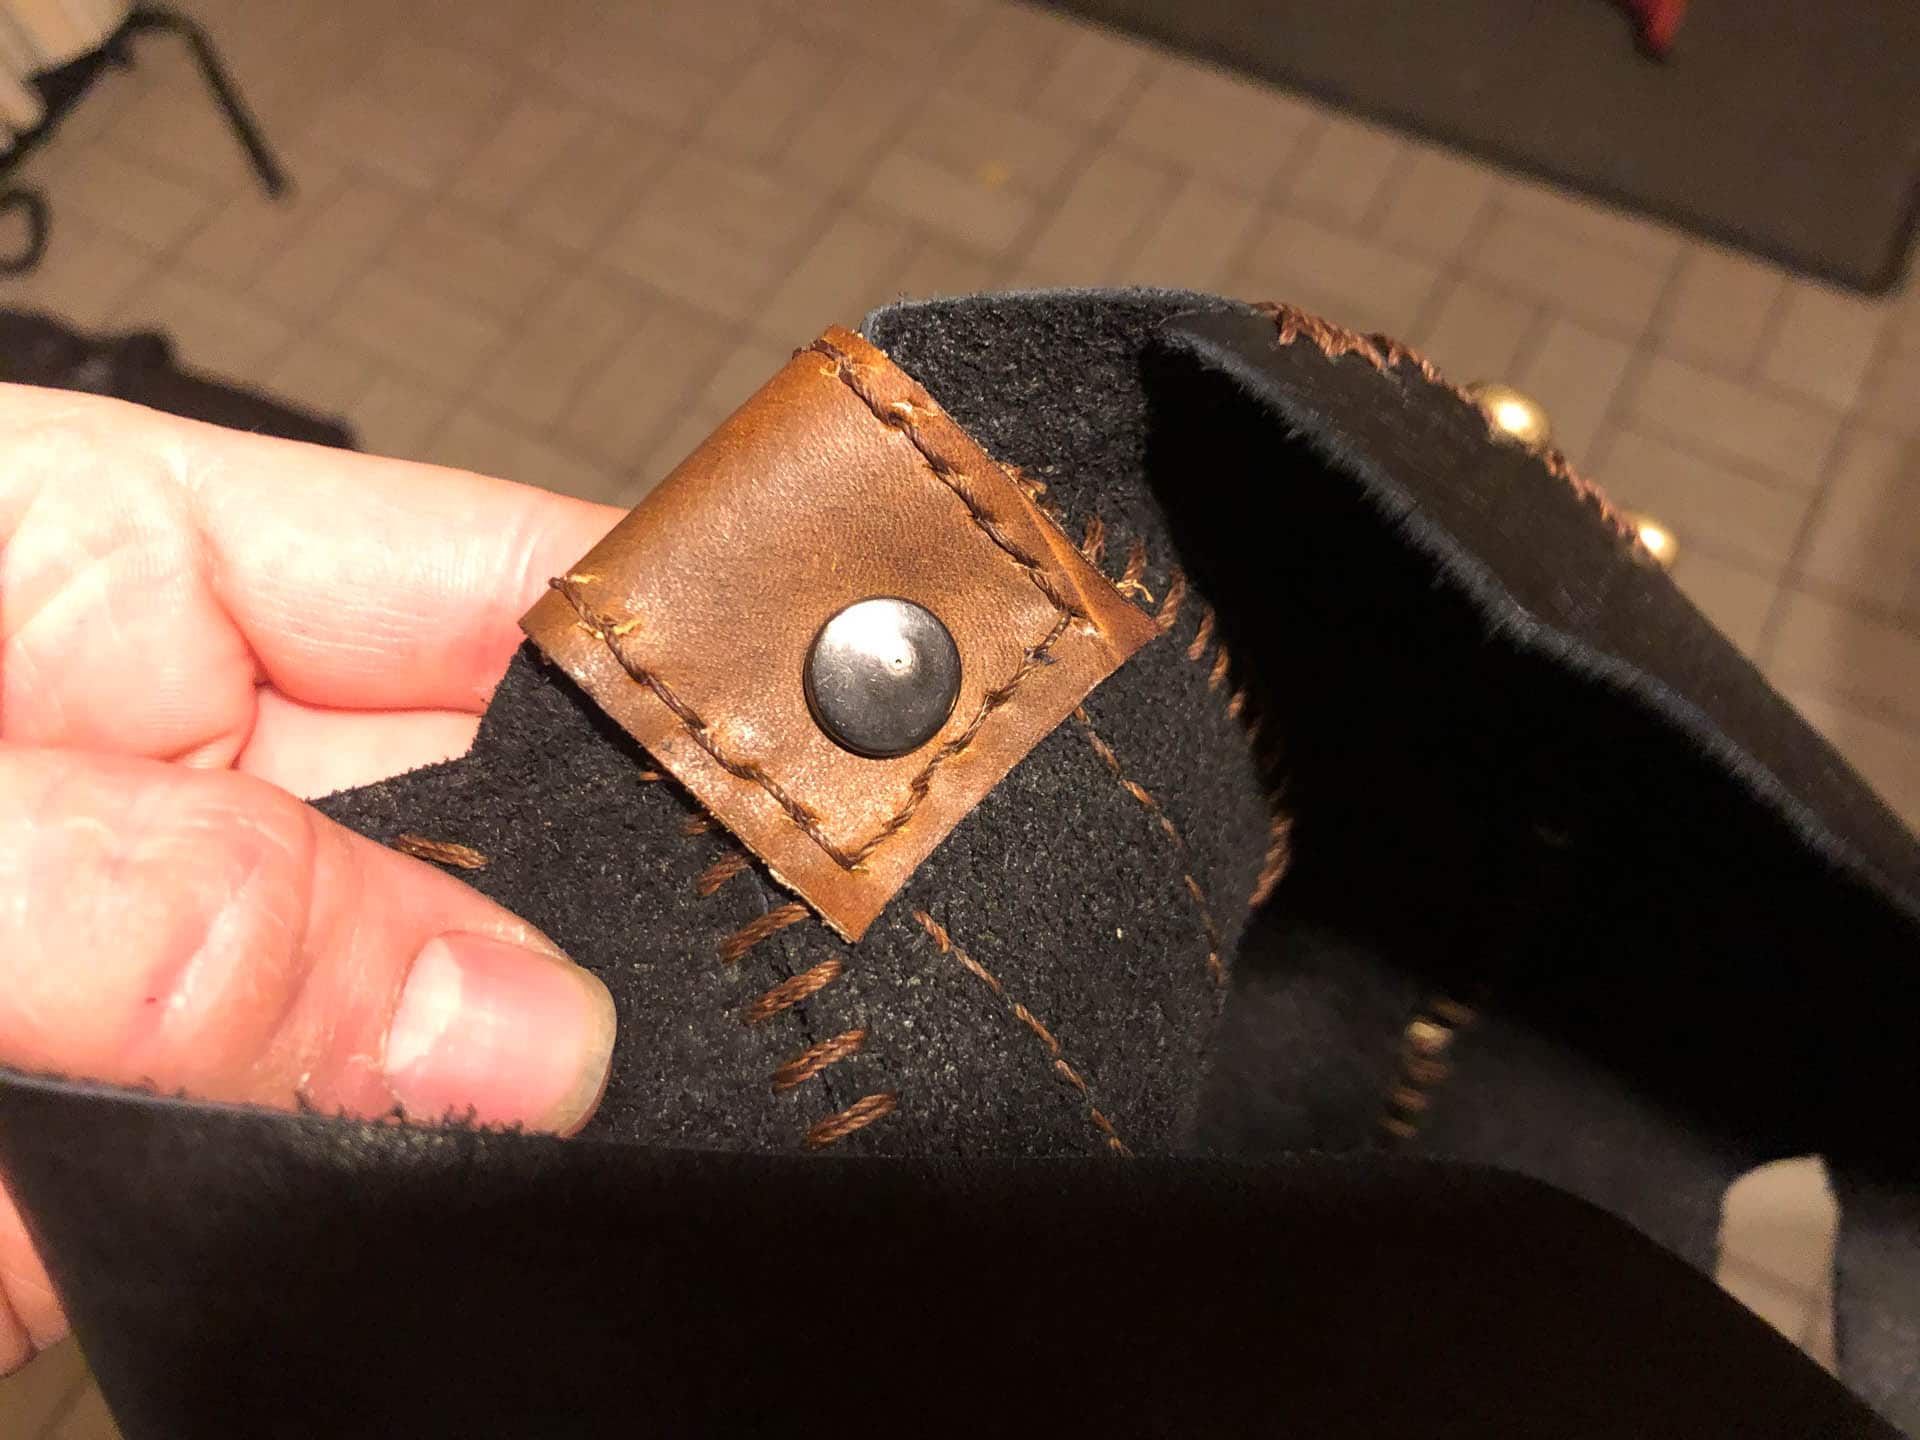
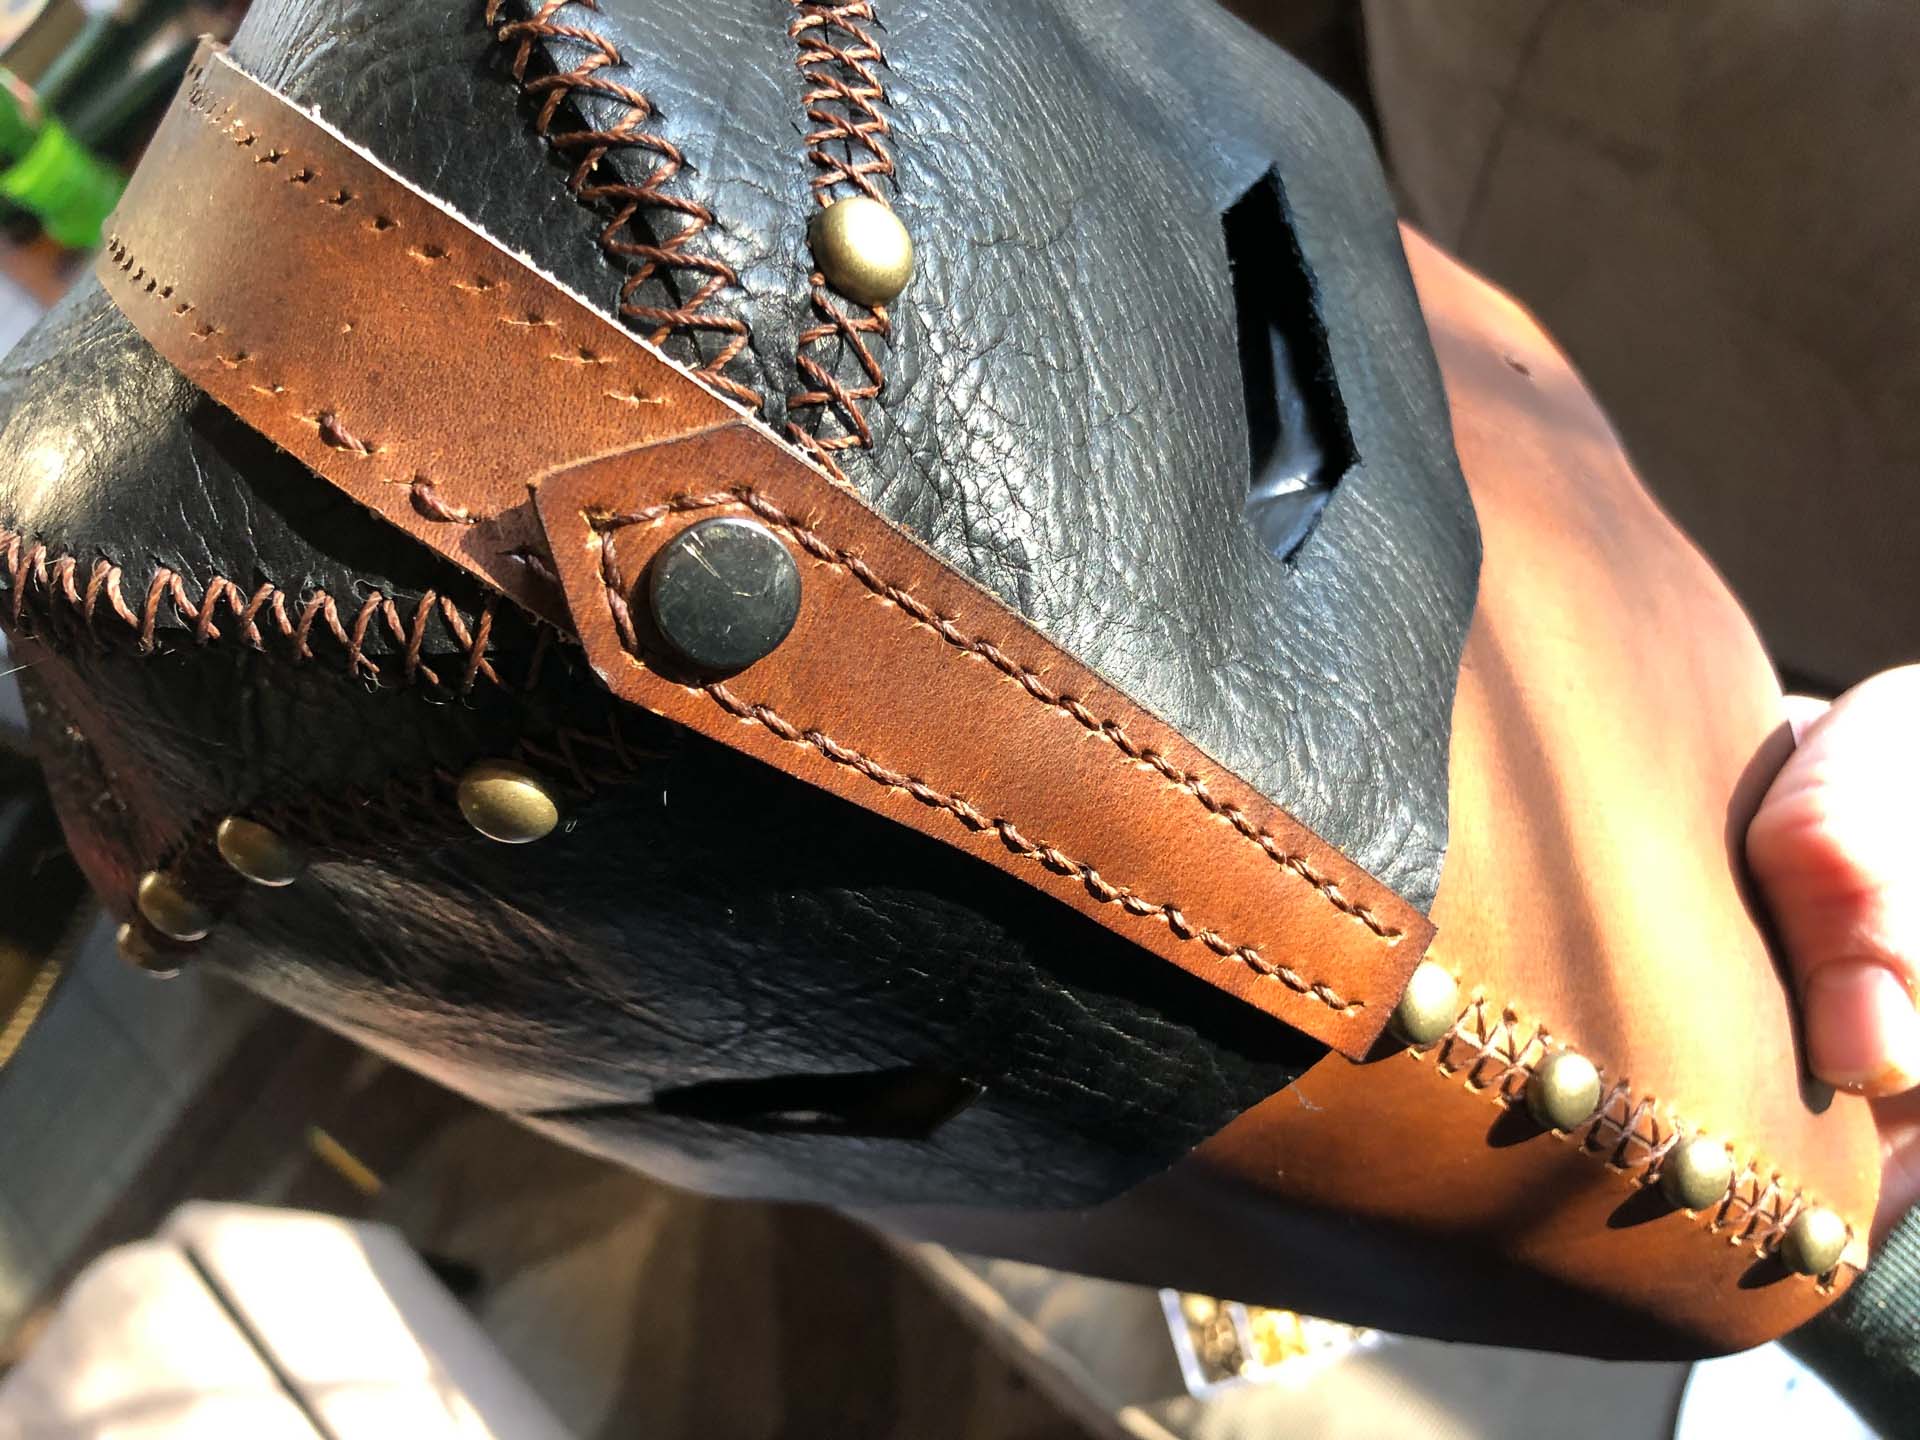
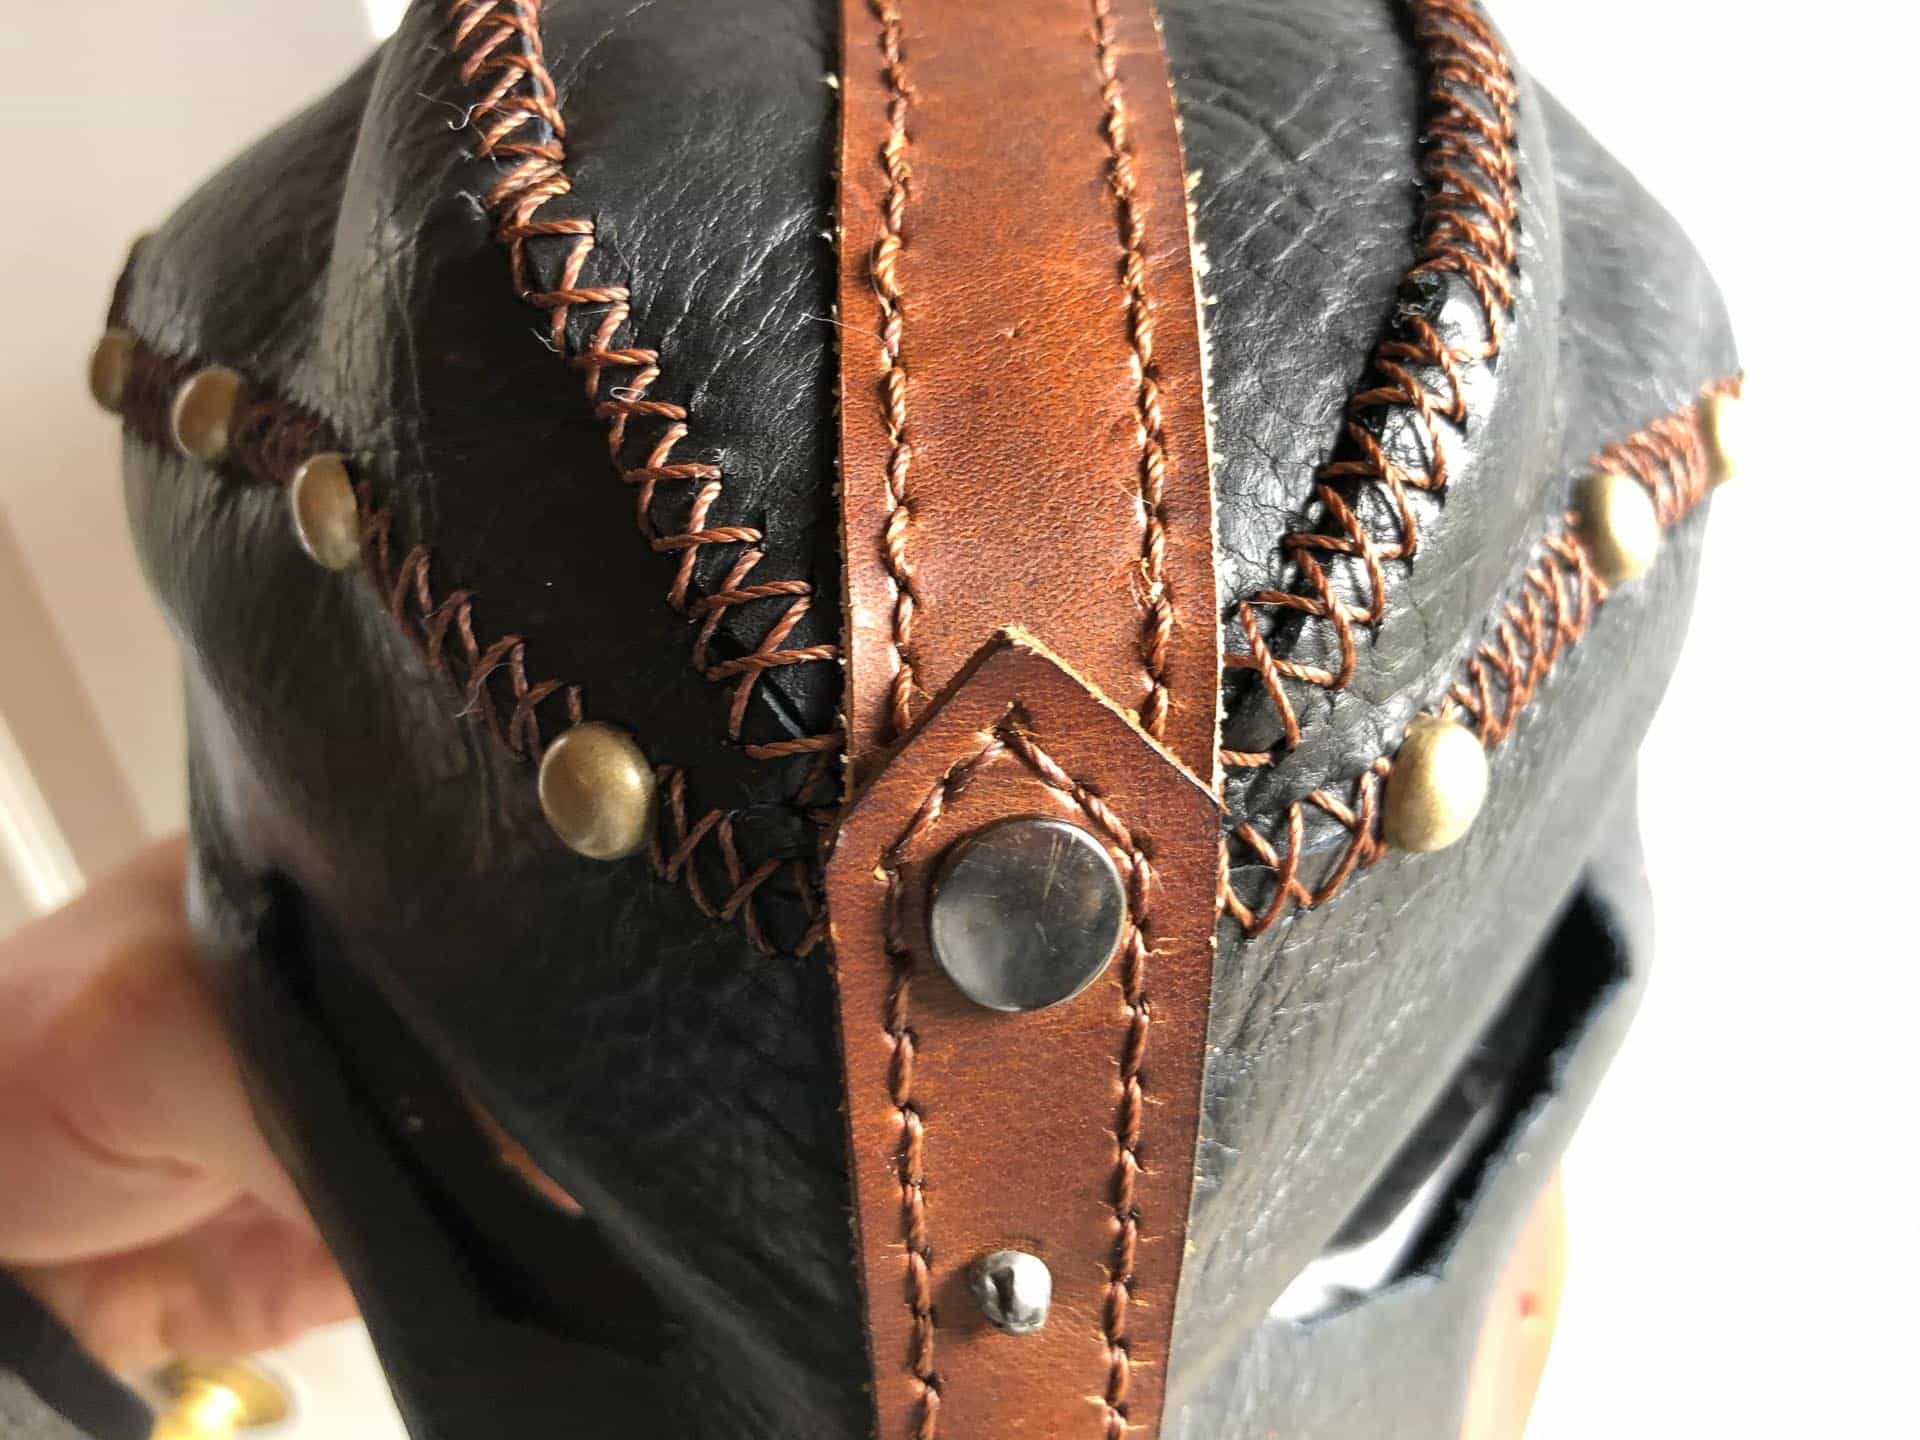
Now that the nose guard was cut and dyed it was time to attach it to the rest of the helm. The first step was to add holes. I added them around the outer edge of the nosepiece with the same hole punch so it would look uniform. Next I used a rotary hole punch to punch a hole for the snap and rivets. The rotary leather hole punch by Knipex that Buffalo Billfold Company sells is a solid one that I’ve been using for projects for about 5 years now and can attest to its quality. It’s still sharp and working well.
I got my snaps and rivets and went to my outdoor workbench to set them. I found a scrap piece of wood to pound on since I didn’t have a thick plastic leather working board. It tears up the wood but the snaps set fine. Since then I’ve used a flat surface on an old beast of a vice I have in my garage. There’s not as much give in the surface so you need to adjust the strength of the pound when working with things like that.
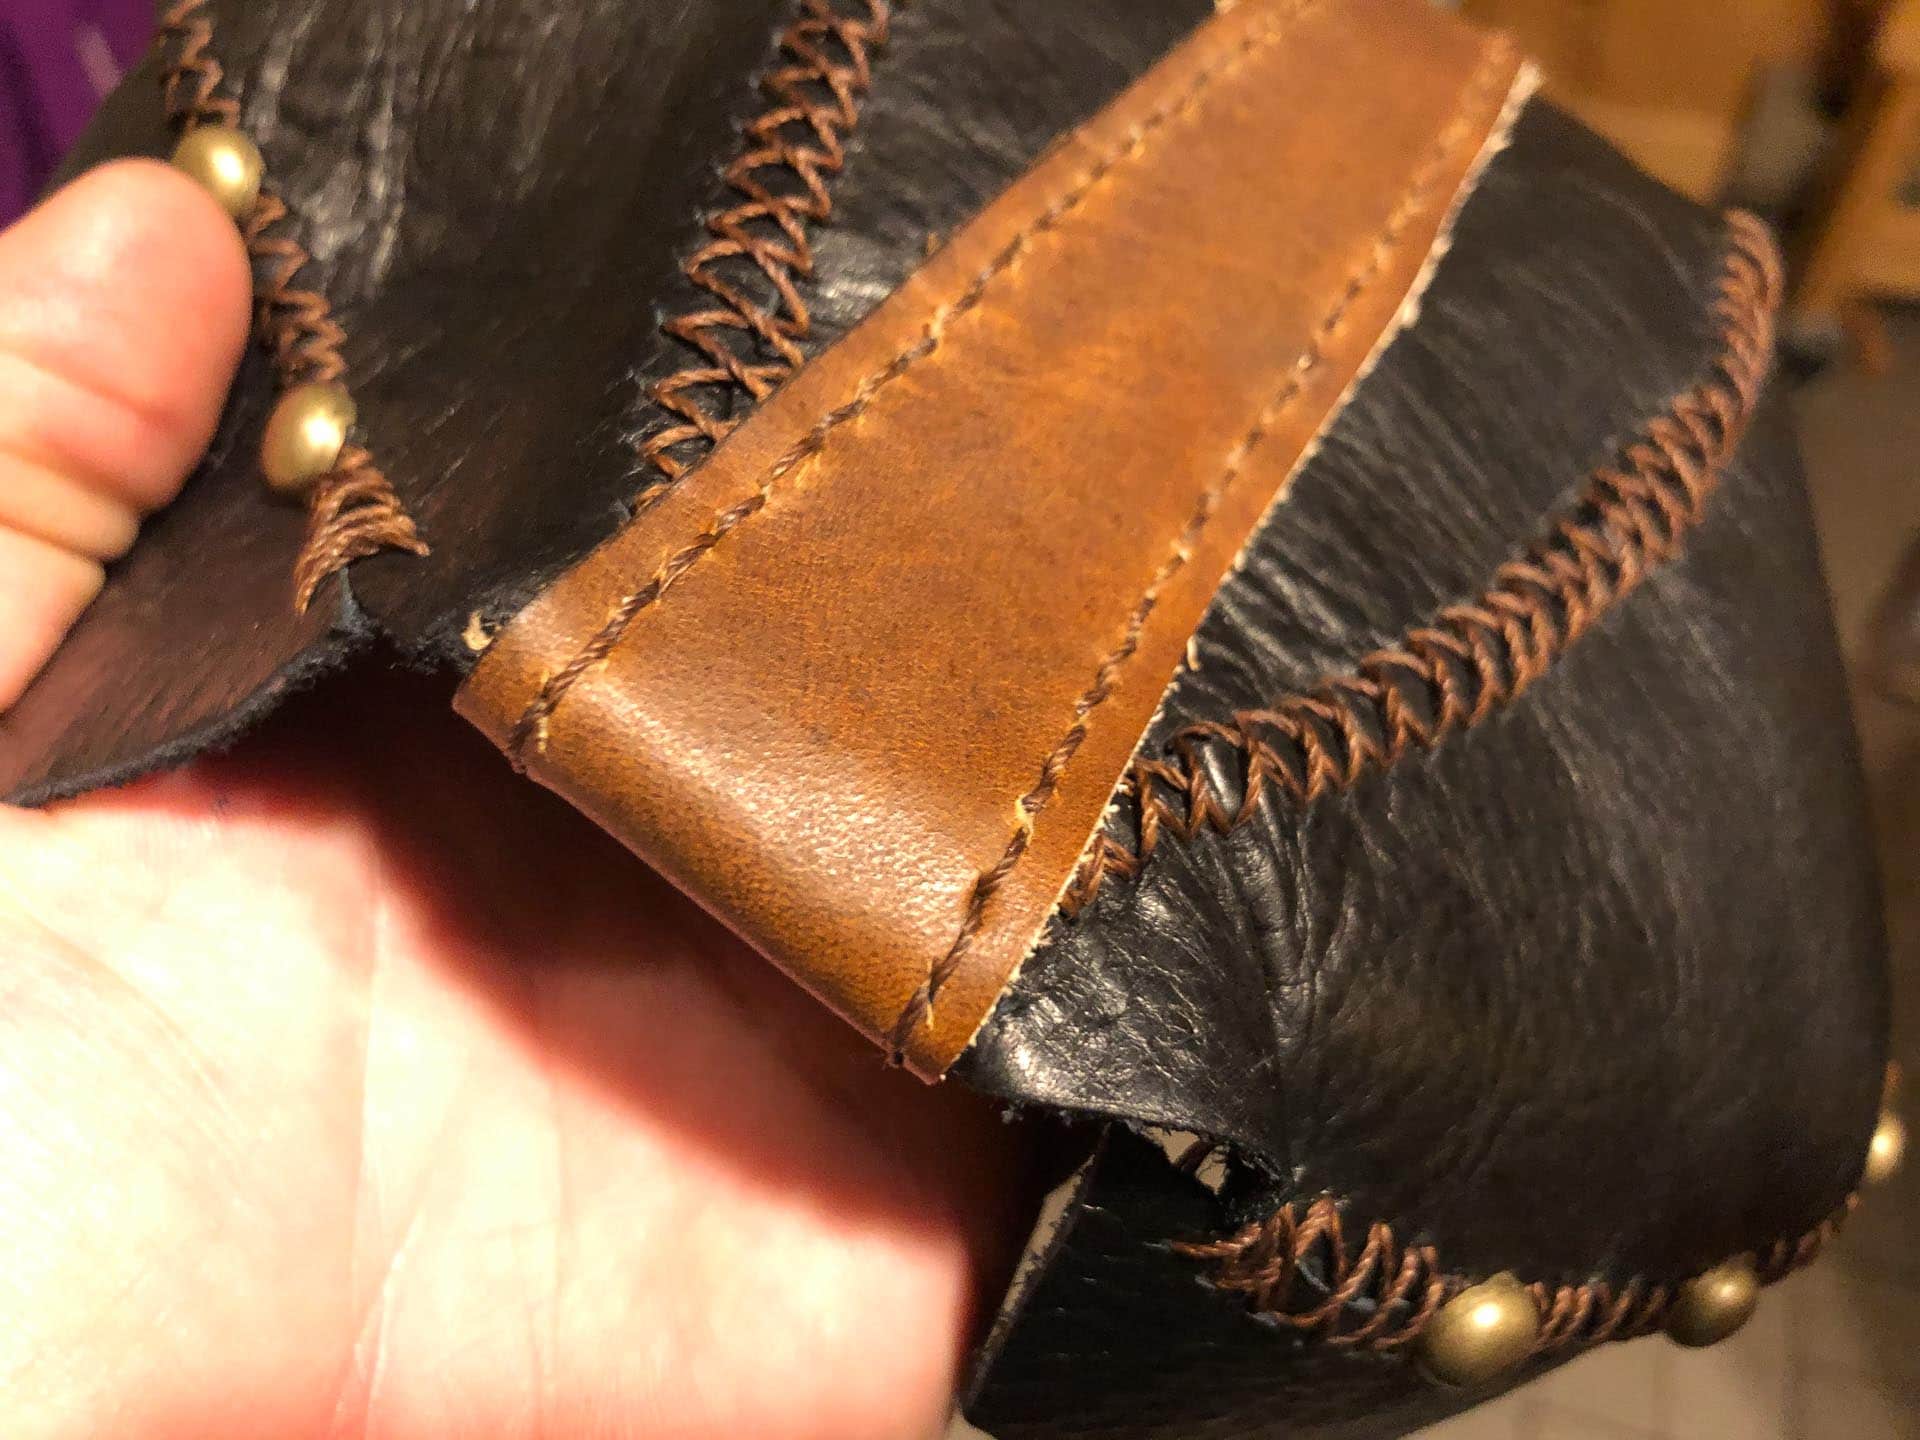
Now that I’d set the rivets and snap it was time to sew the nosepiece onto the helm. I used the same brown 69oz thread to sew the front and top of the nosepiece to the helm. Sewing through leather that hasn’t been punched is quite hard, but I didn’t want to punch holes in the top part of the helm because if I was off even the slightest, it would be very visible. It goes without saying that I didn’t want this leather armor set to have any highly visible blemishes in it!
I used a pliers to push and guide the leather working needle through punched holes of the nosepiece and the non-punched black leather. When I wiggled the needle side to side quickly when it got to the black unpunched leather it would work it’s way in and go through easier. It took a while but I eventually finished the nosepiece and was ready to begin work on the back of the helm!
Back Head Guard
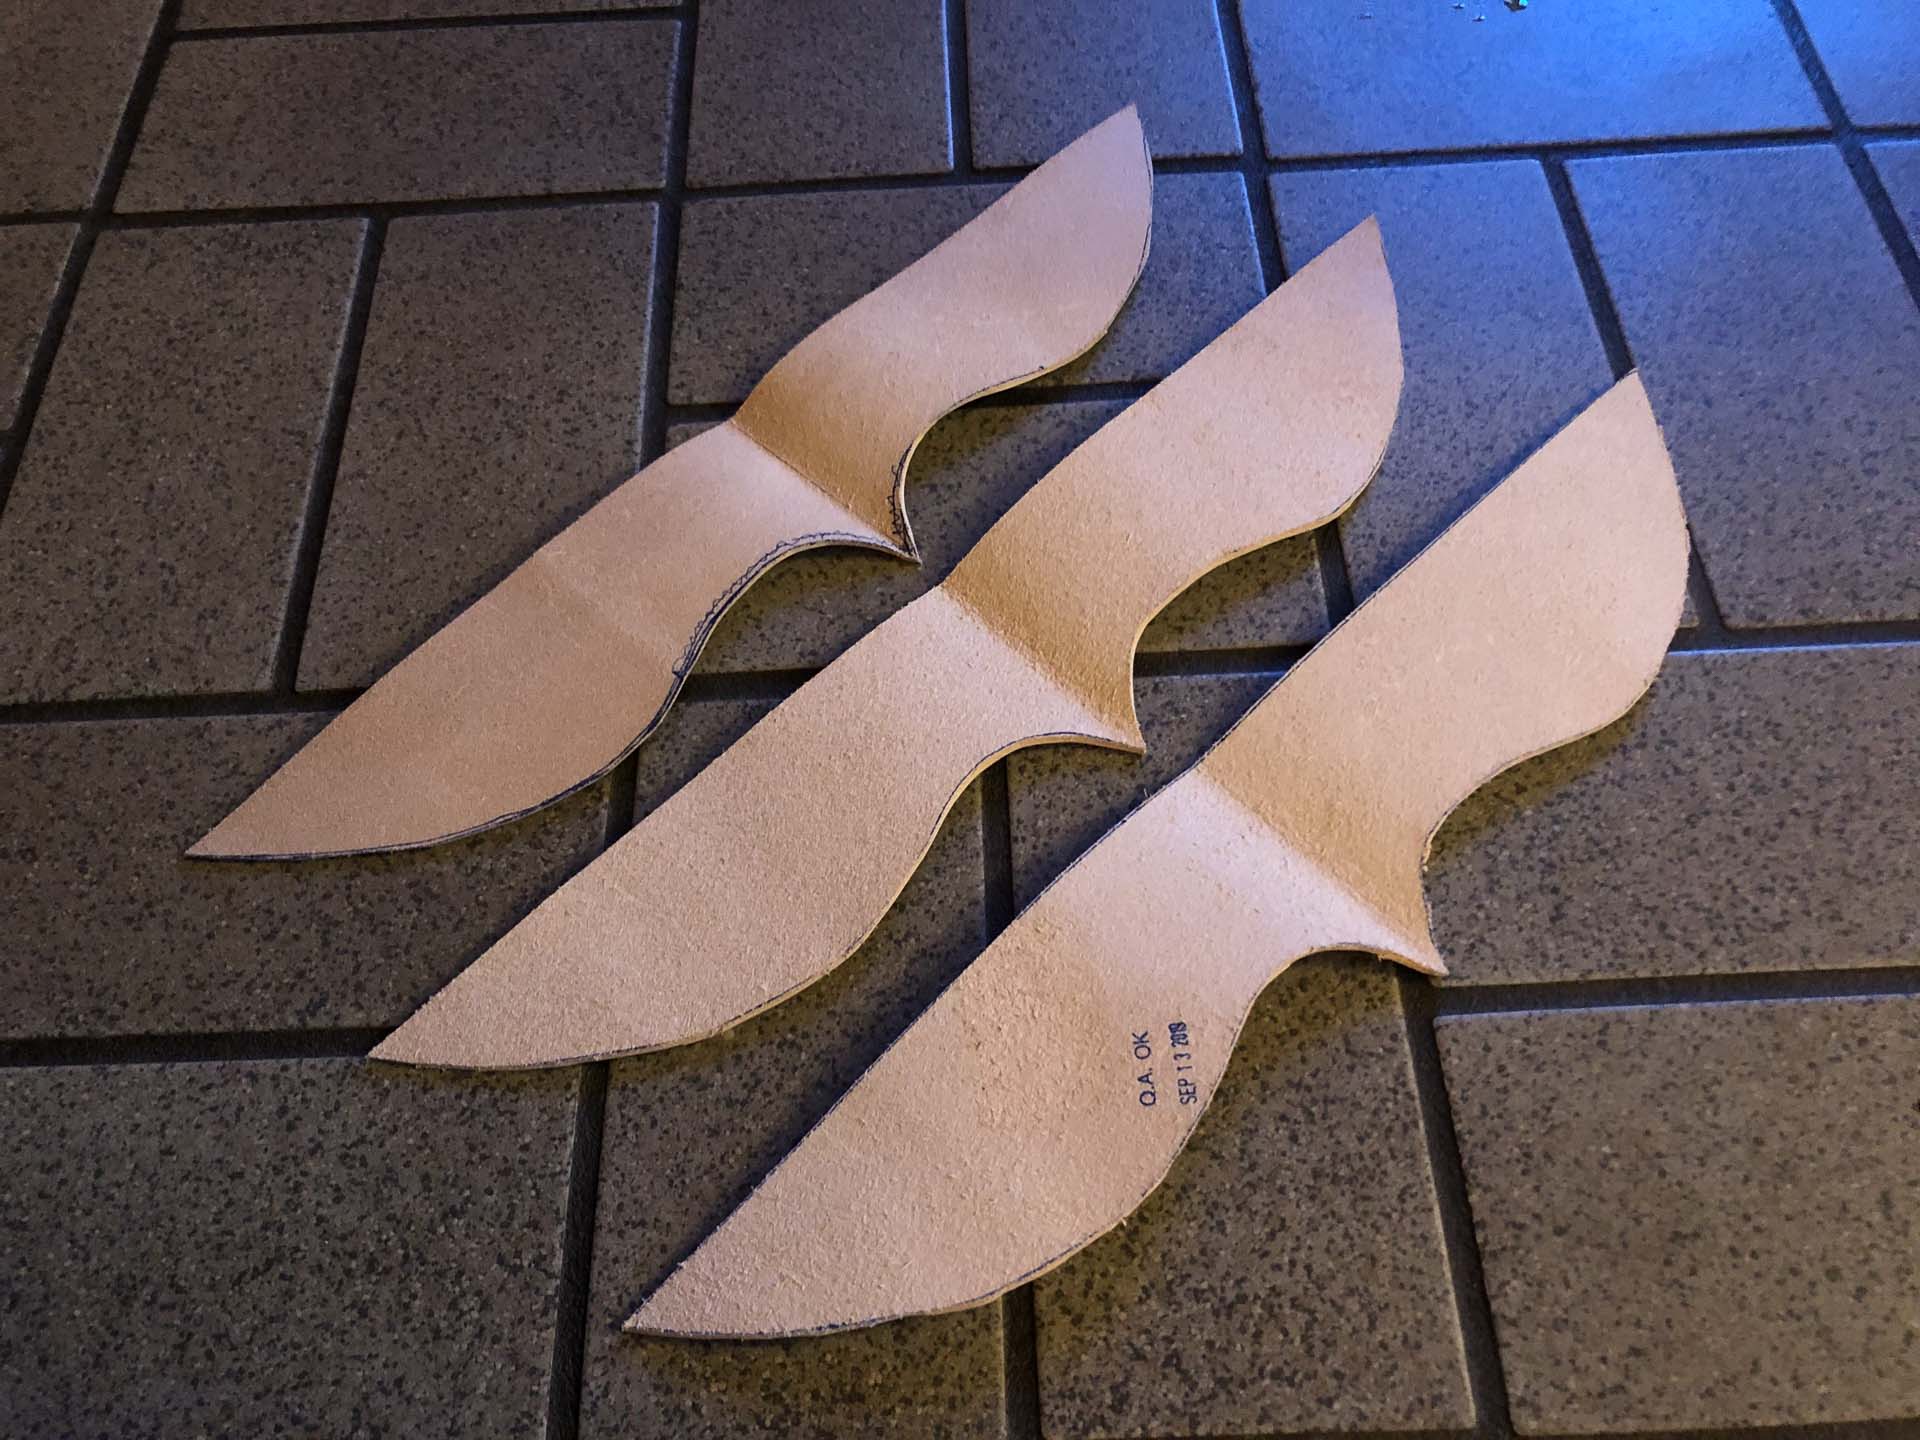
The final piece to make for this helmet was the back of head guard. We made this piece because it gave this leather helmet a bit more style and flair. We used the same top grain cow leather for these parts so it would accentuate the design from the mouthguard and nosepiece. I planned to dye these pieces brown too in order to bring the design and colors of the mouthguard and nosepiece all the way around the helm.
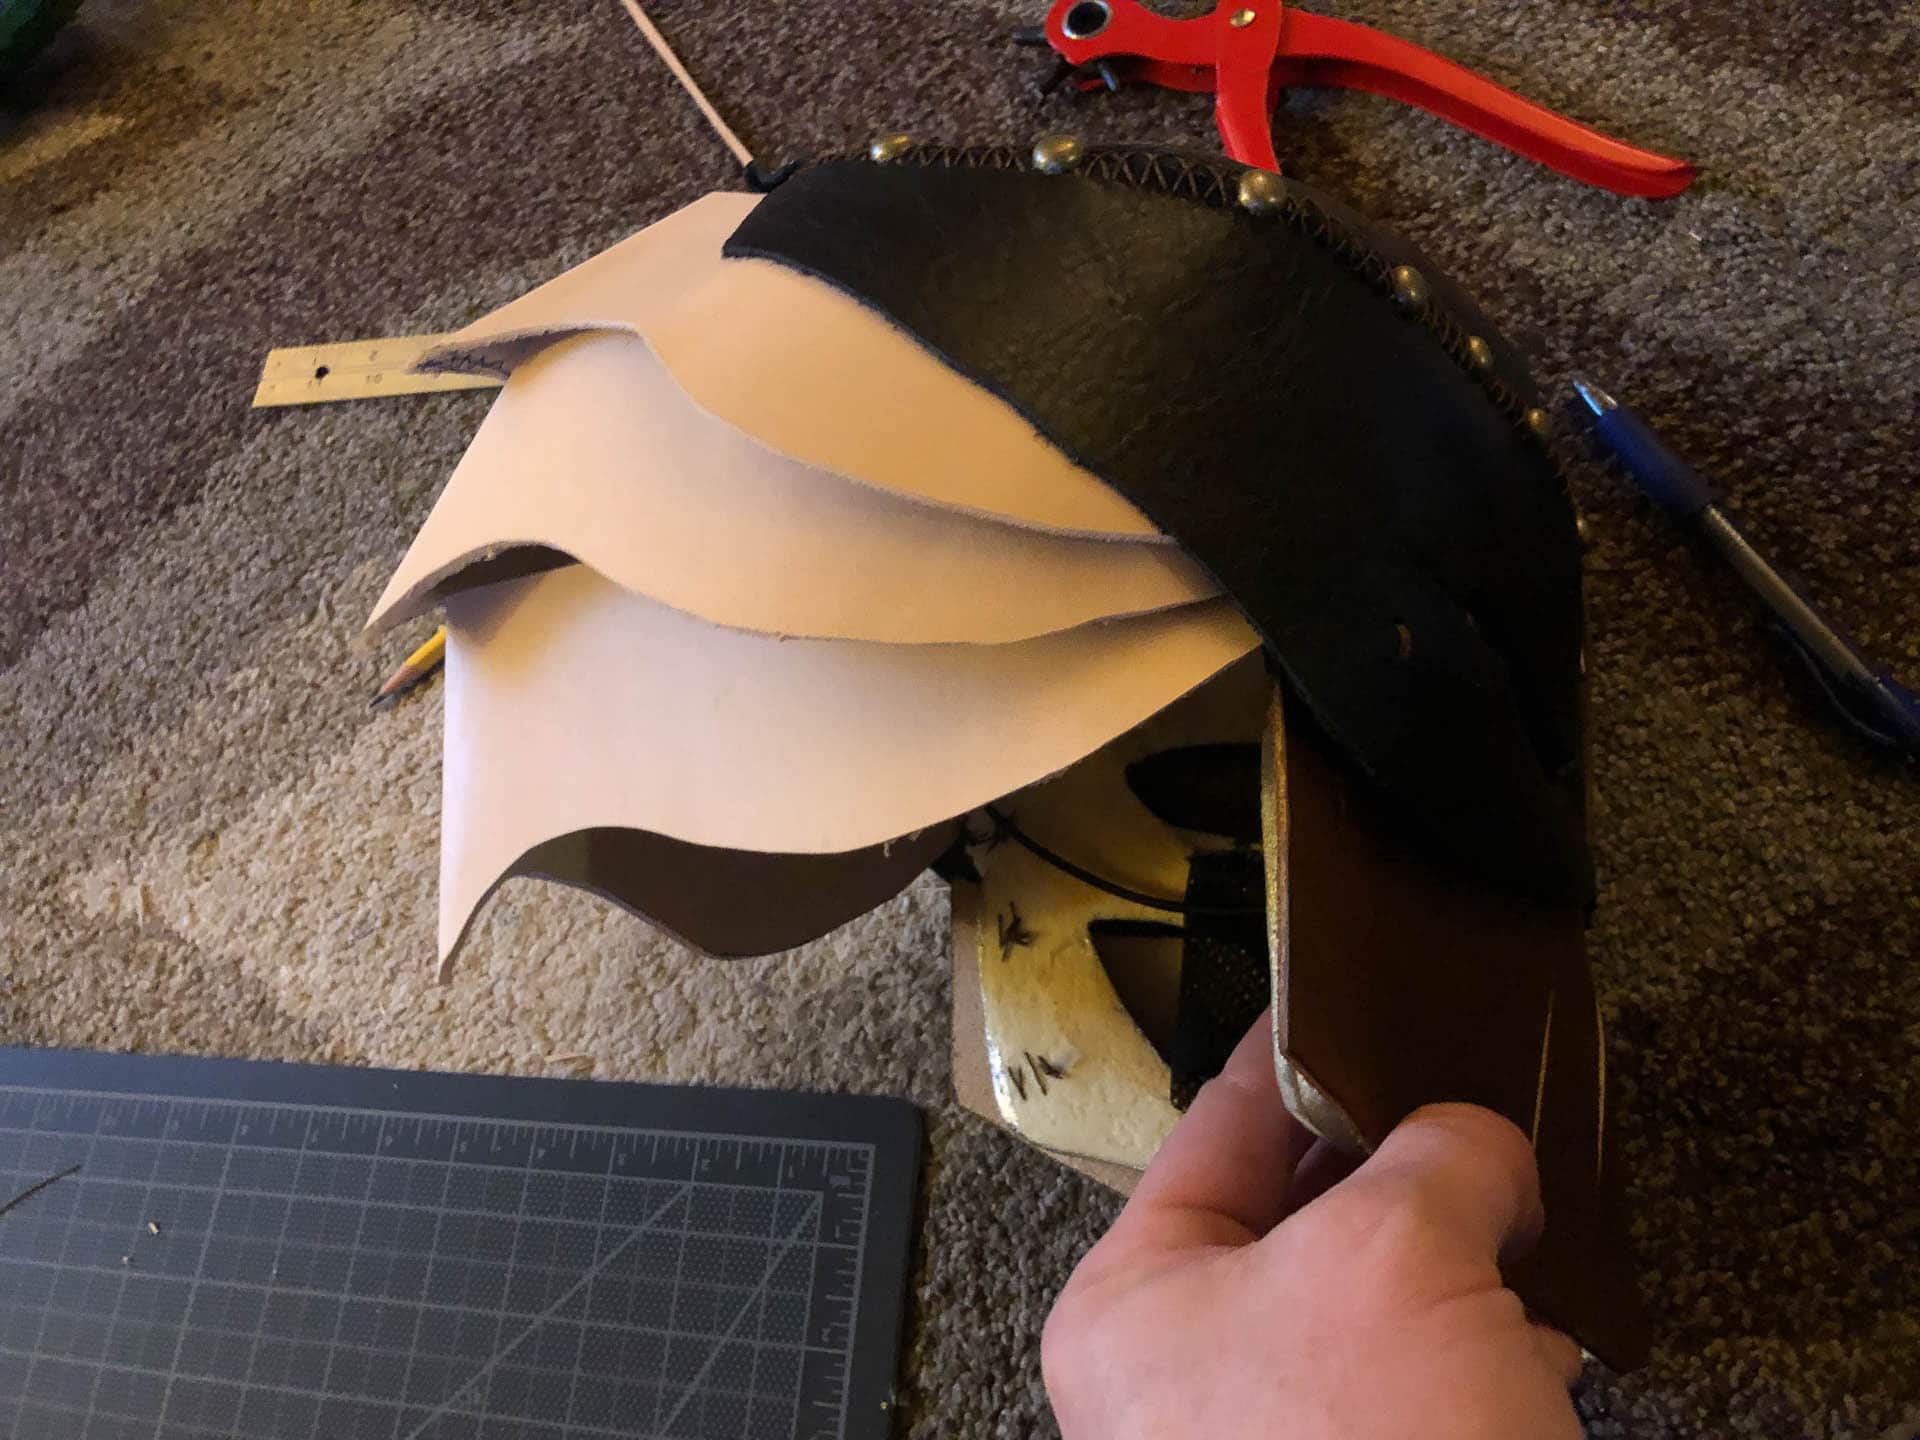
I got out some more paper and made some prototypes. These three pieces when placed together looked amazing and fit well right off the bat. So I cut them out of the leather and got to work. The pieces fit together well. Next I devised a way to attach them to the helm so they could fold up and down. I punched holes through the ends of each of these pieces and tied them together with thread. That let each part slide up and down easily. Once a person put on the helmet, the pieces slid down to cover the back of the head.
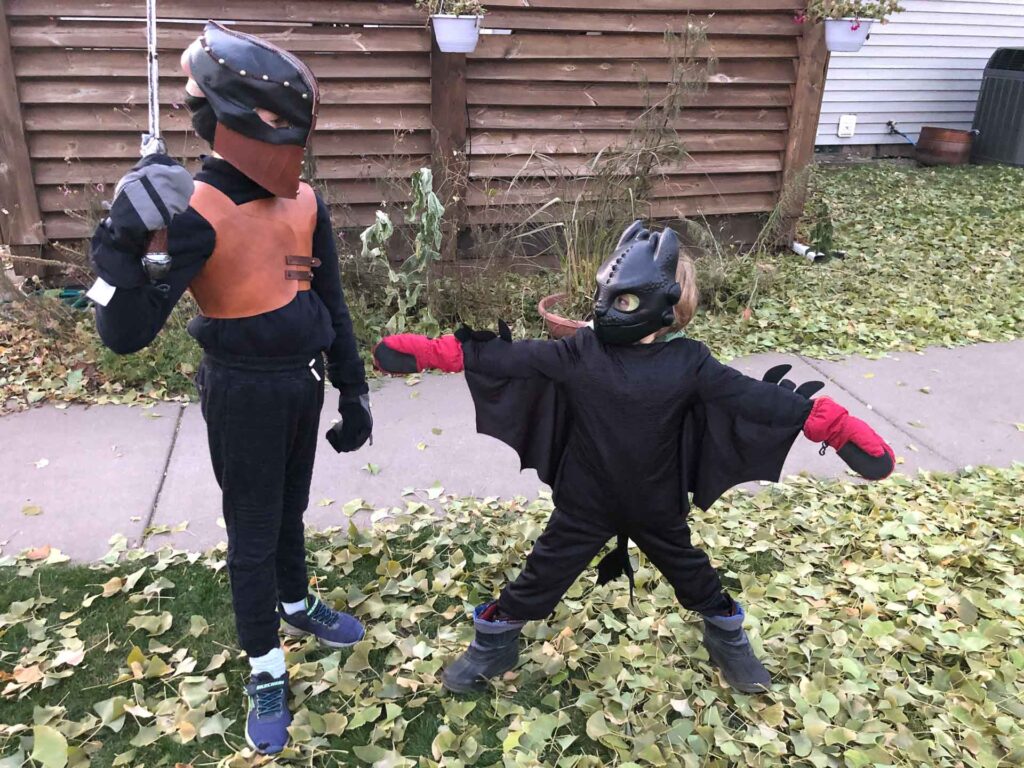
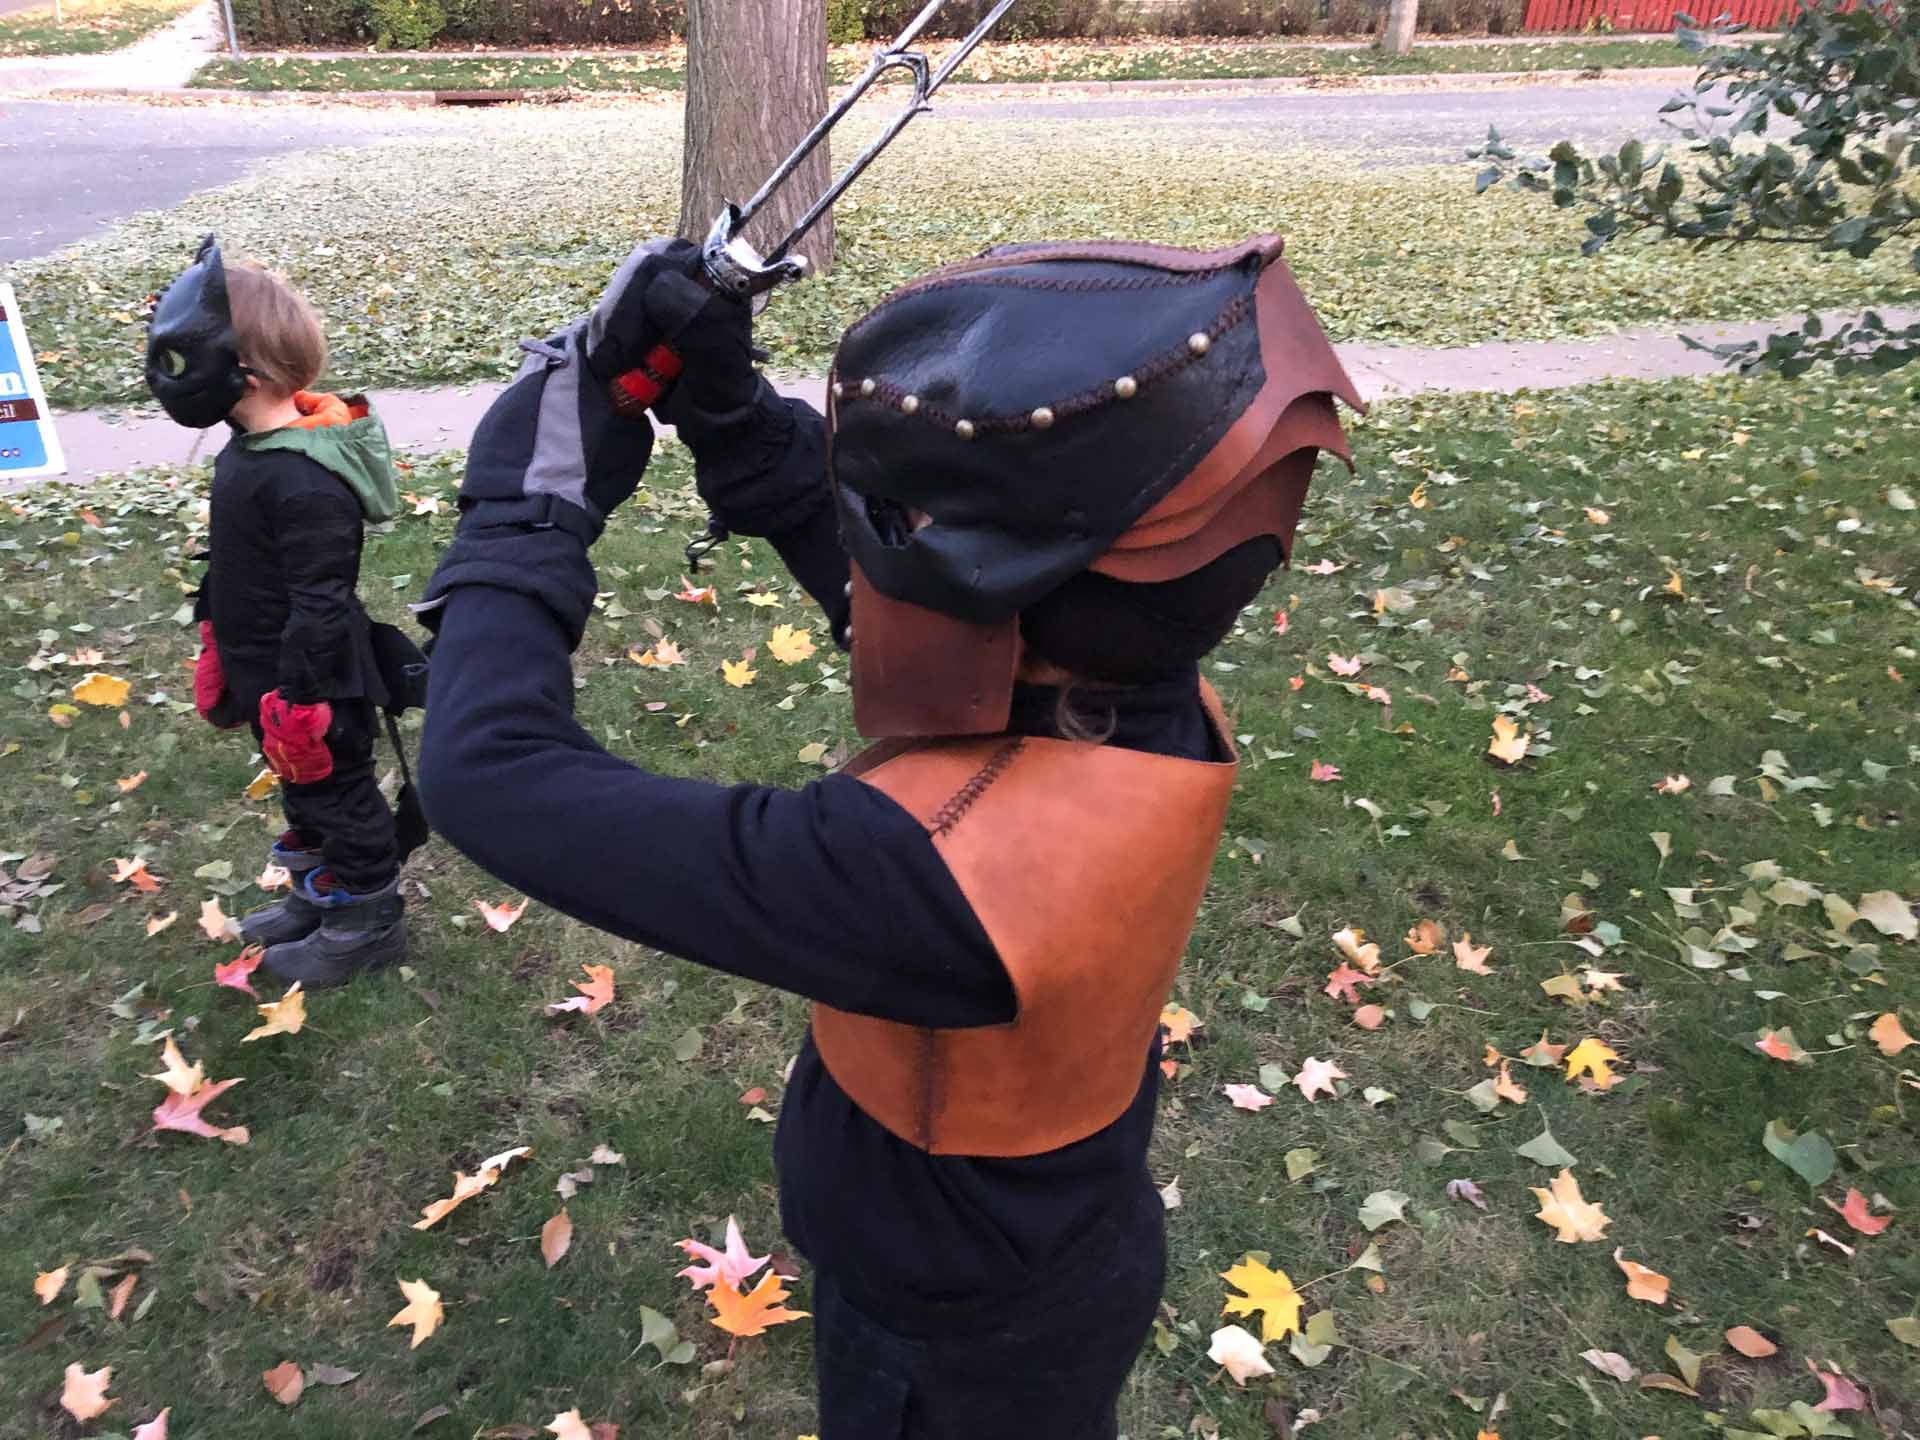
Once I knew they worked, I got to work dyeing them brown and sewing them onto the helmet. Pictured you’ll see the finished leather helm being worn by my son. He was doing some leather armor cosplay with his friends the day before halloween. My other son decided he wanted to be toothless. The two of them made a great pair!
Leather Armor Vest
We made the leather armor vest from top grain leather from cowhide so it would match the helm. I had never made leather chest armor before so I needed to do some research first in pattern design. I had to figure out how I’d cut the leather pieces so it would fit my son. For this, I needed his help. My son put on a couple sweatshirts to create space so the leather vest wouldn’t hug his chest so tightly. Now it was time to make the leather armor pattern.
Leather Armor Pattern
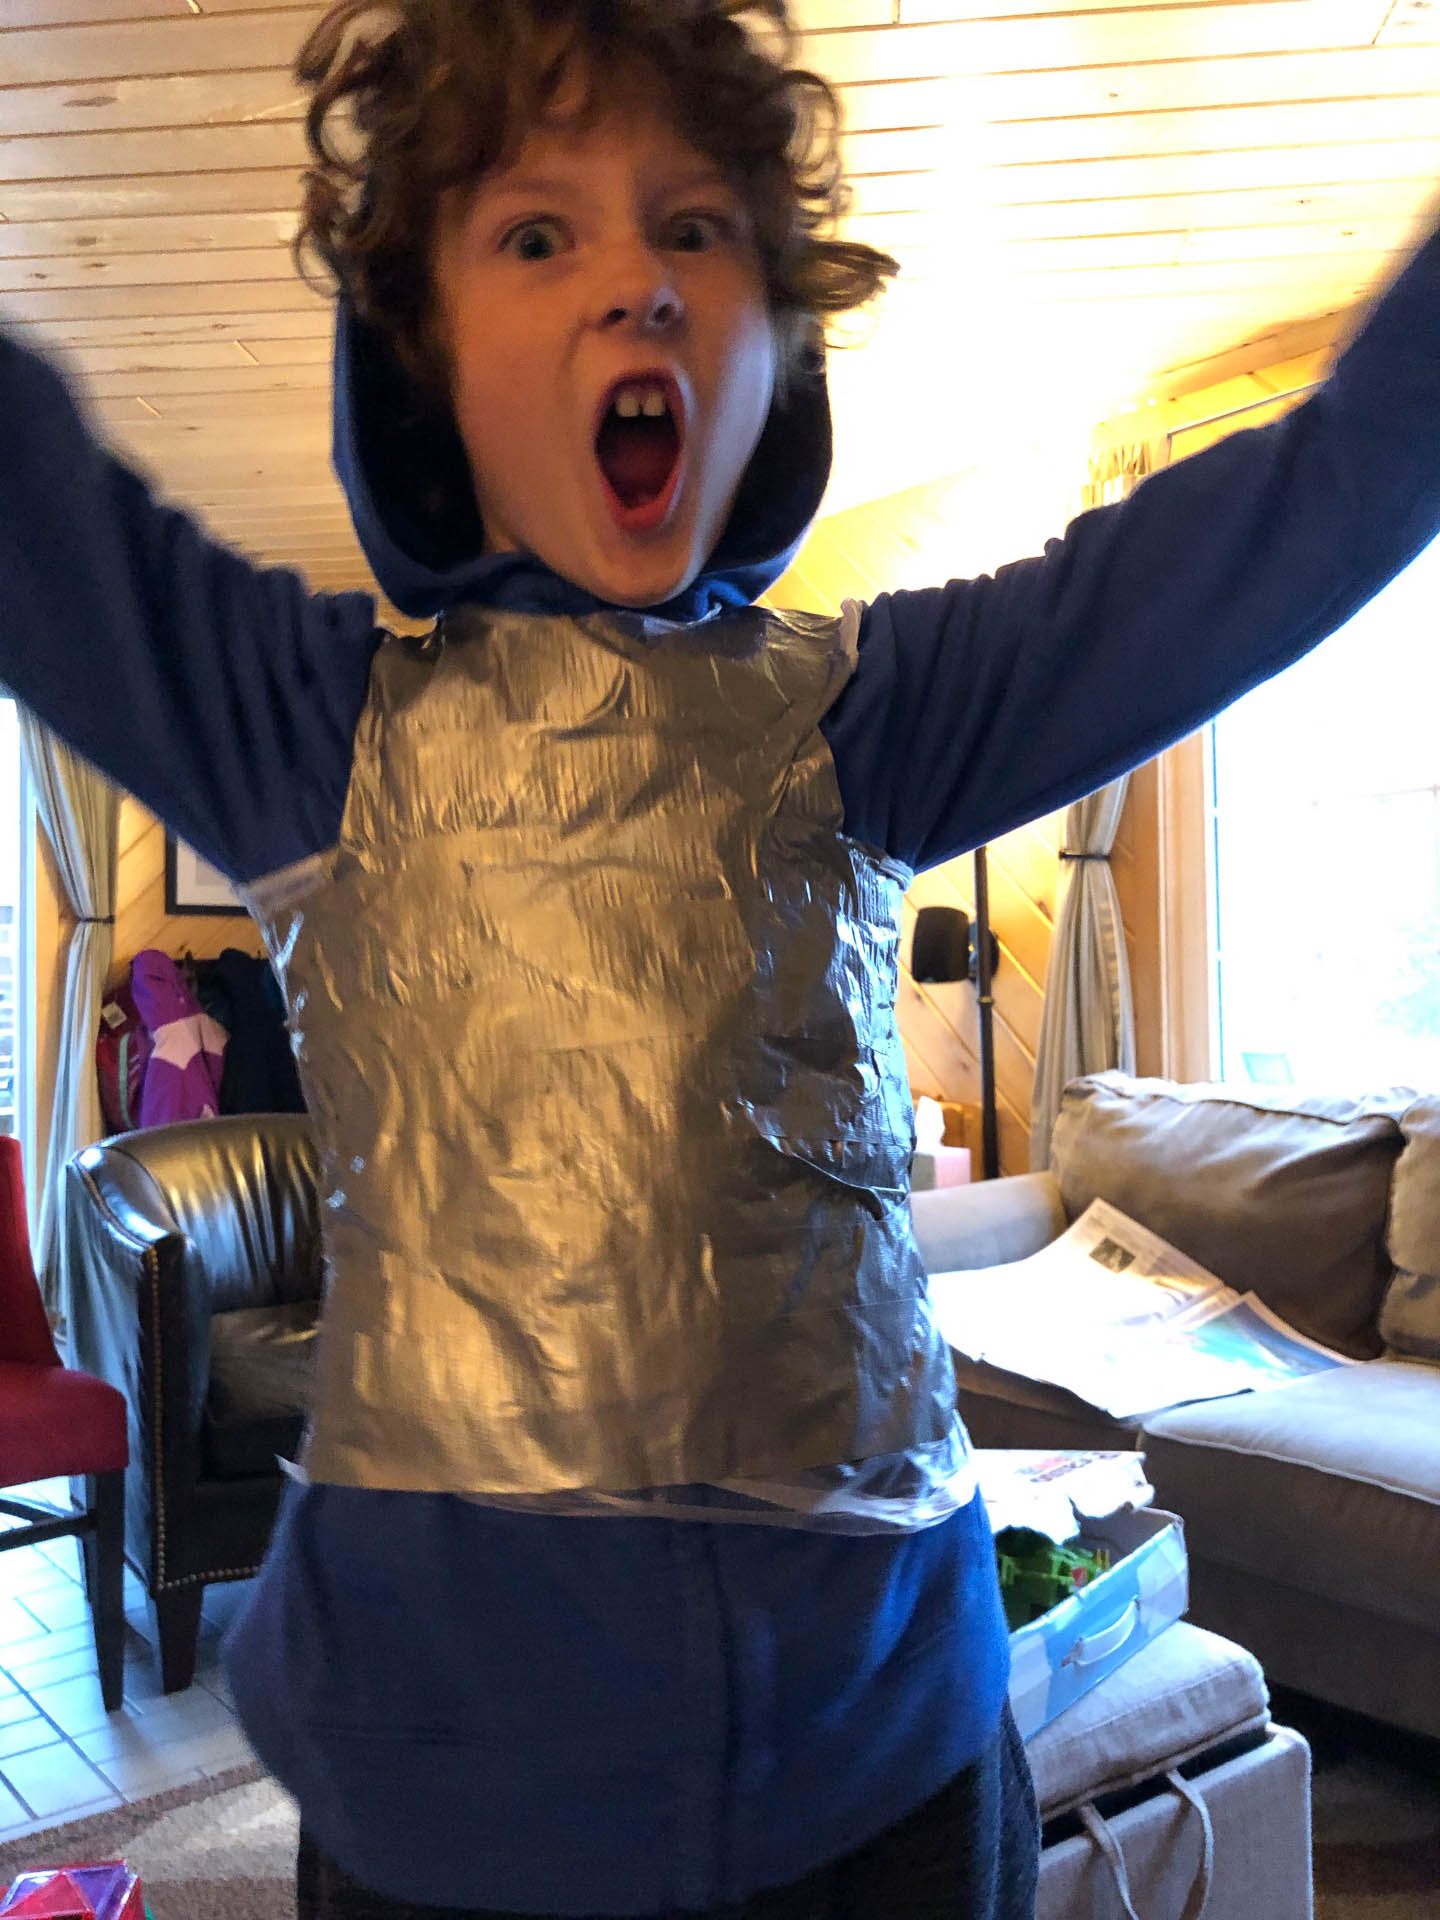
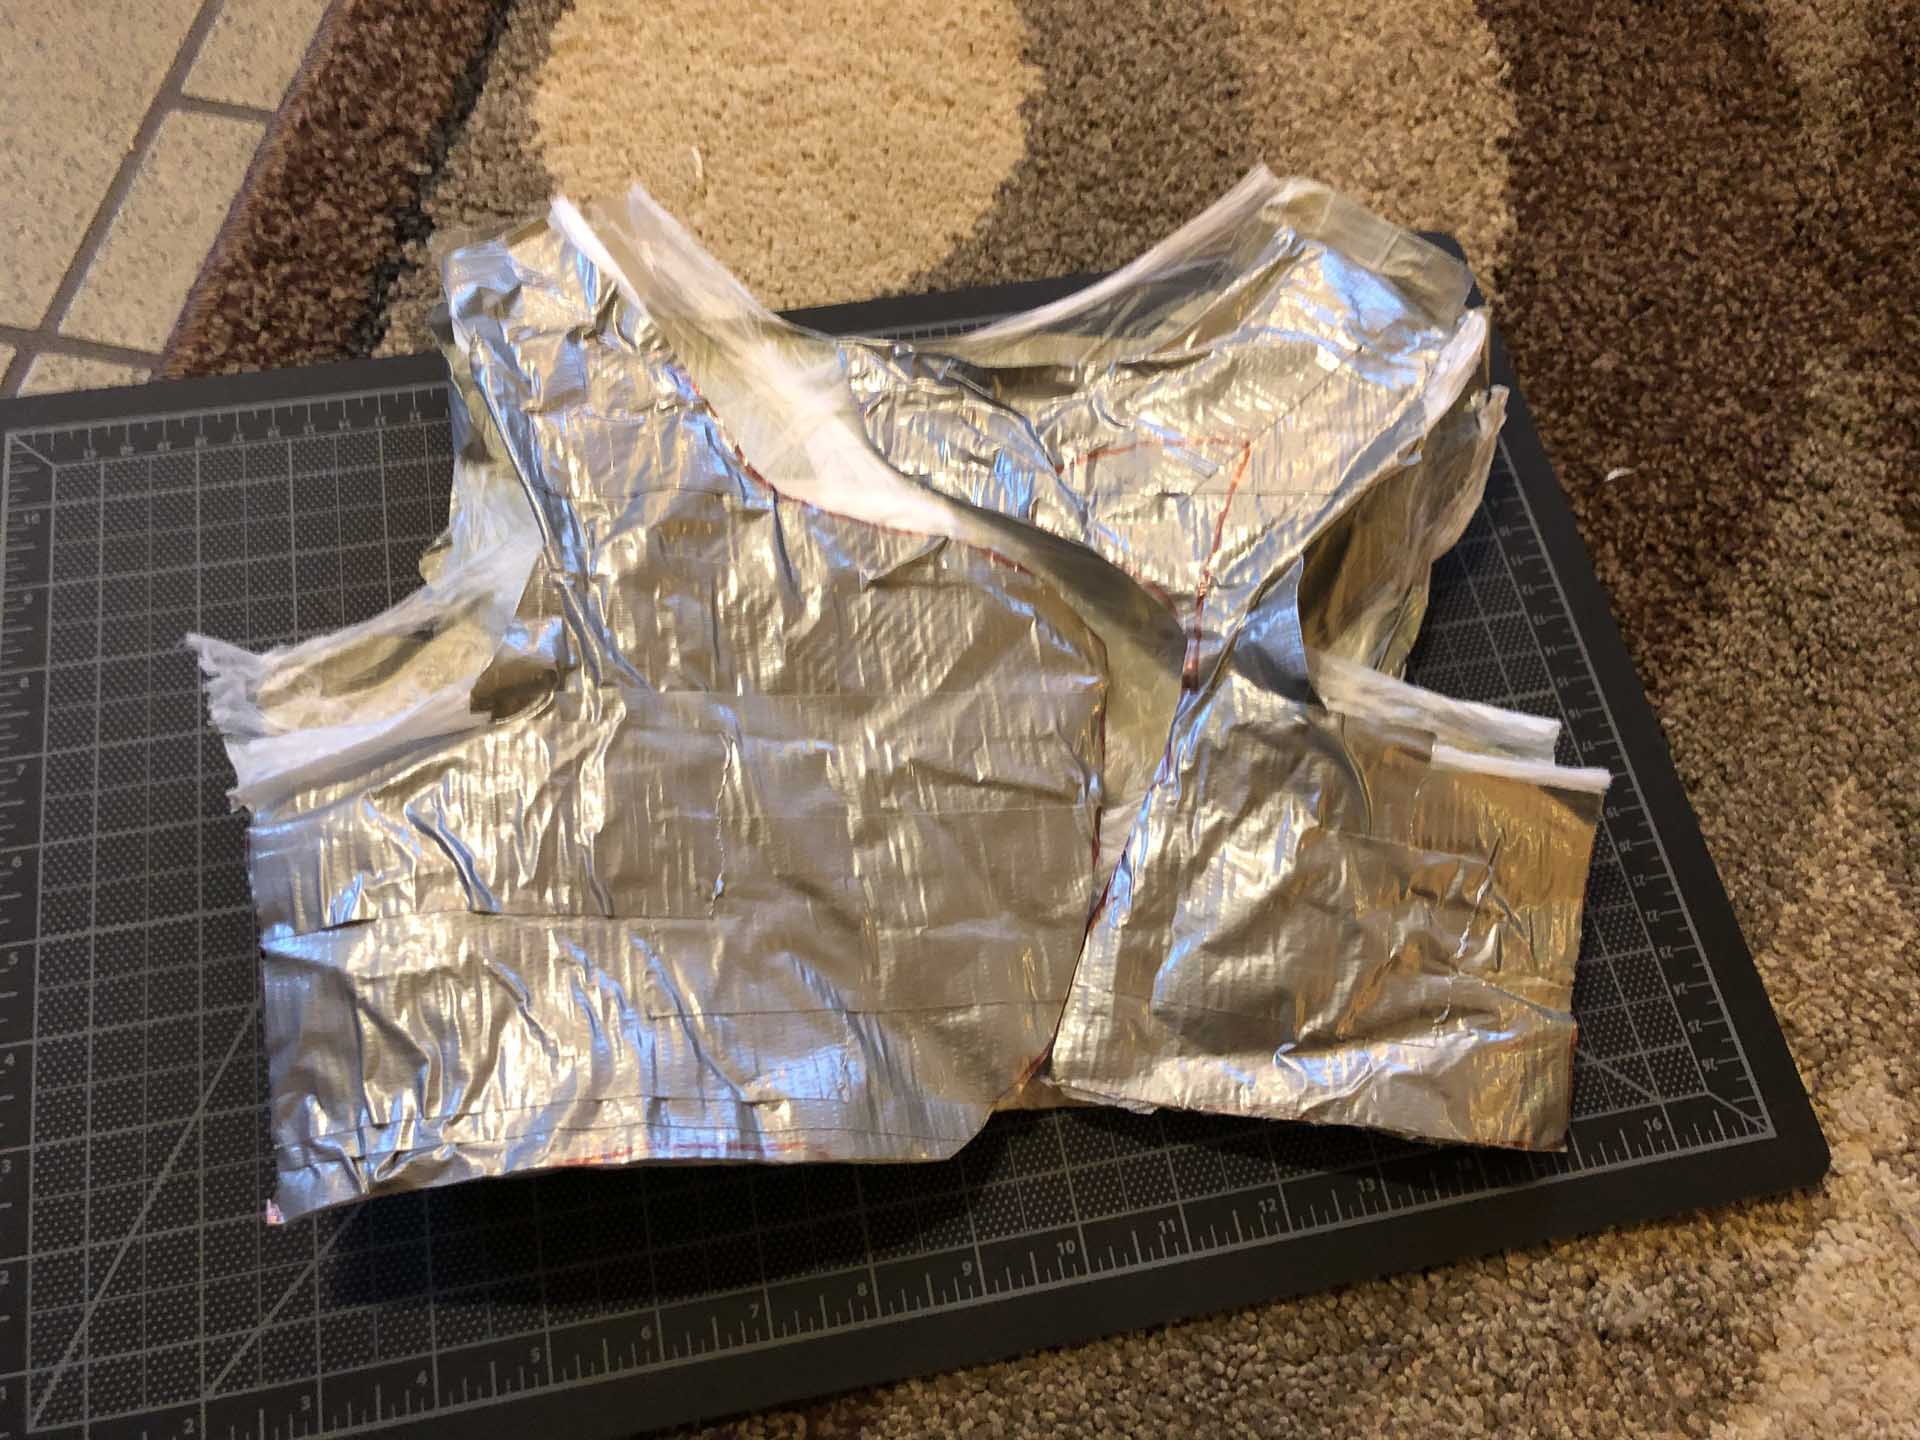
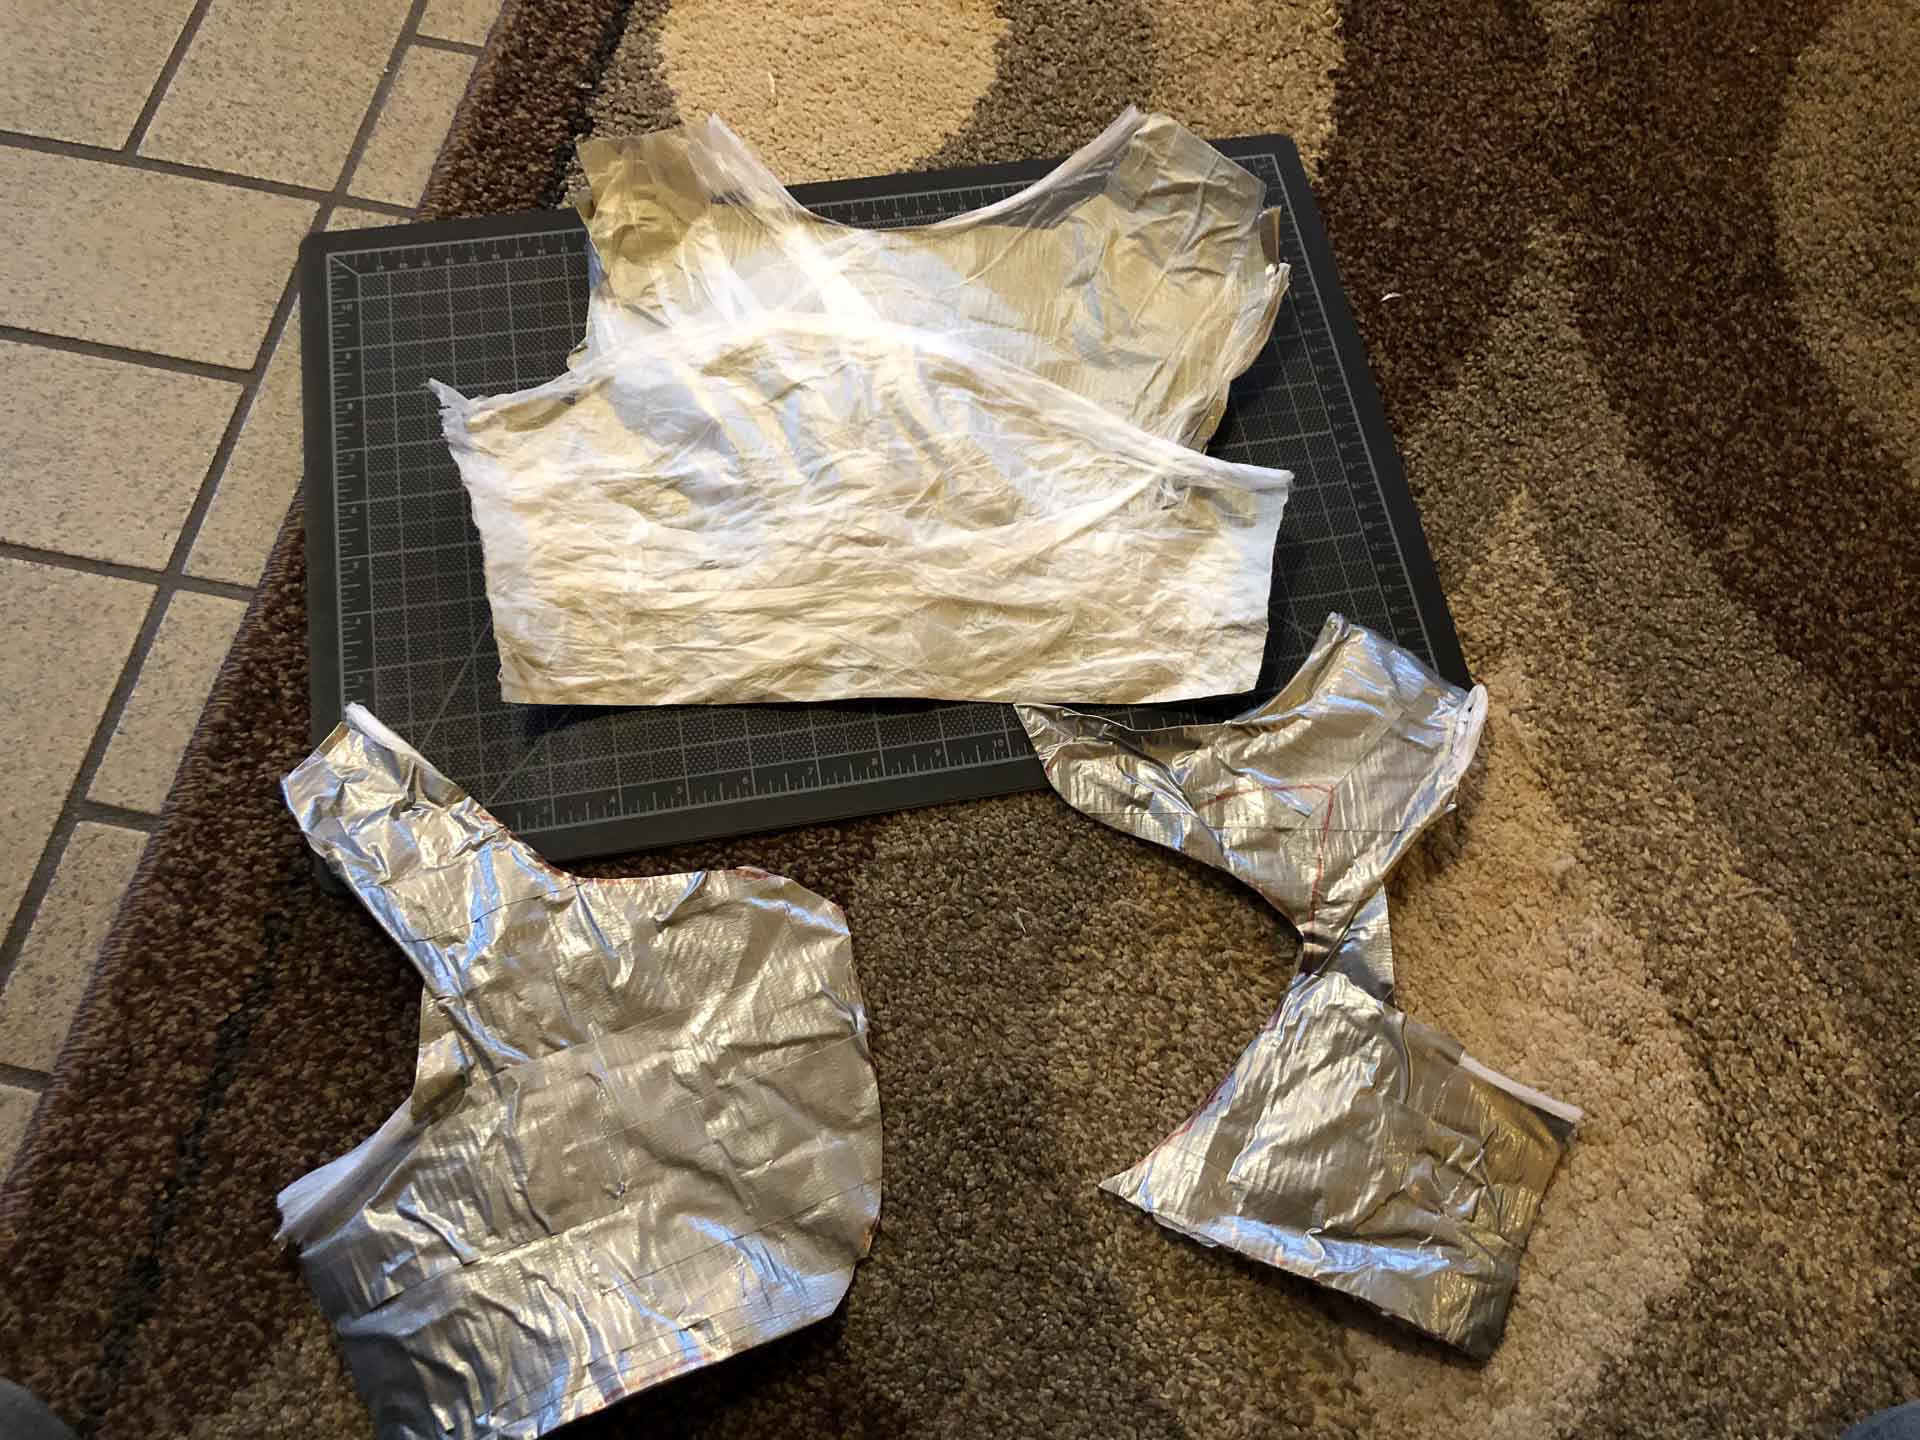
We got plastic wrap, duct tape, a sharpie marker, and scissors and got to work. I wrapped his chest in the plastic wrap so we had something we could remove from his body once the pattern was created. Plastic wrap doesn’t just stay in one place on it’s own though so we next coated him in duct tape. We marked up the duct tape with the sharpie and put dotted lines in places to cut. We then cut the plastic wrap and duct tape off at the dotted lines. This gave us the leather armor patterns we needed.
If you decide to make your own pattern, I recommend saving the pieces in a gallon sized zip lock bag or something of the sort. It lets you keep all the pieces of your leather armor pattern in one place and keeps them dry. Keeping them in a ziplock also gives you the option to use a sharpie to write directly on the bag. You can note what the pattern is, along with things like size of chest/head/etc so you can better understand how large of a costume the pattern will make. Plus, when you want to use it again, you can easily just grab the bag and take the pattern to your work station.
Making Leather Armor
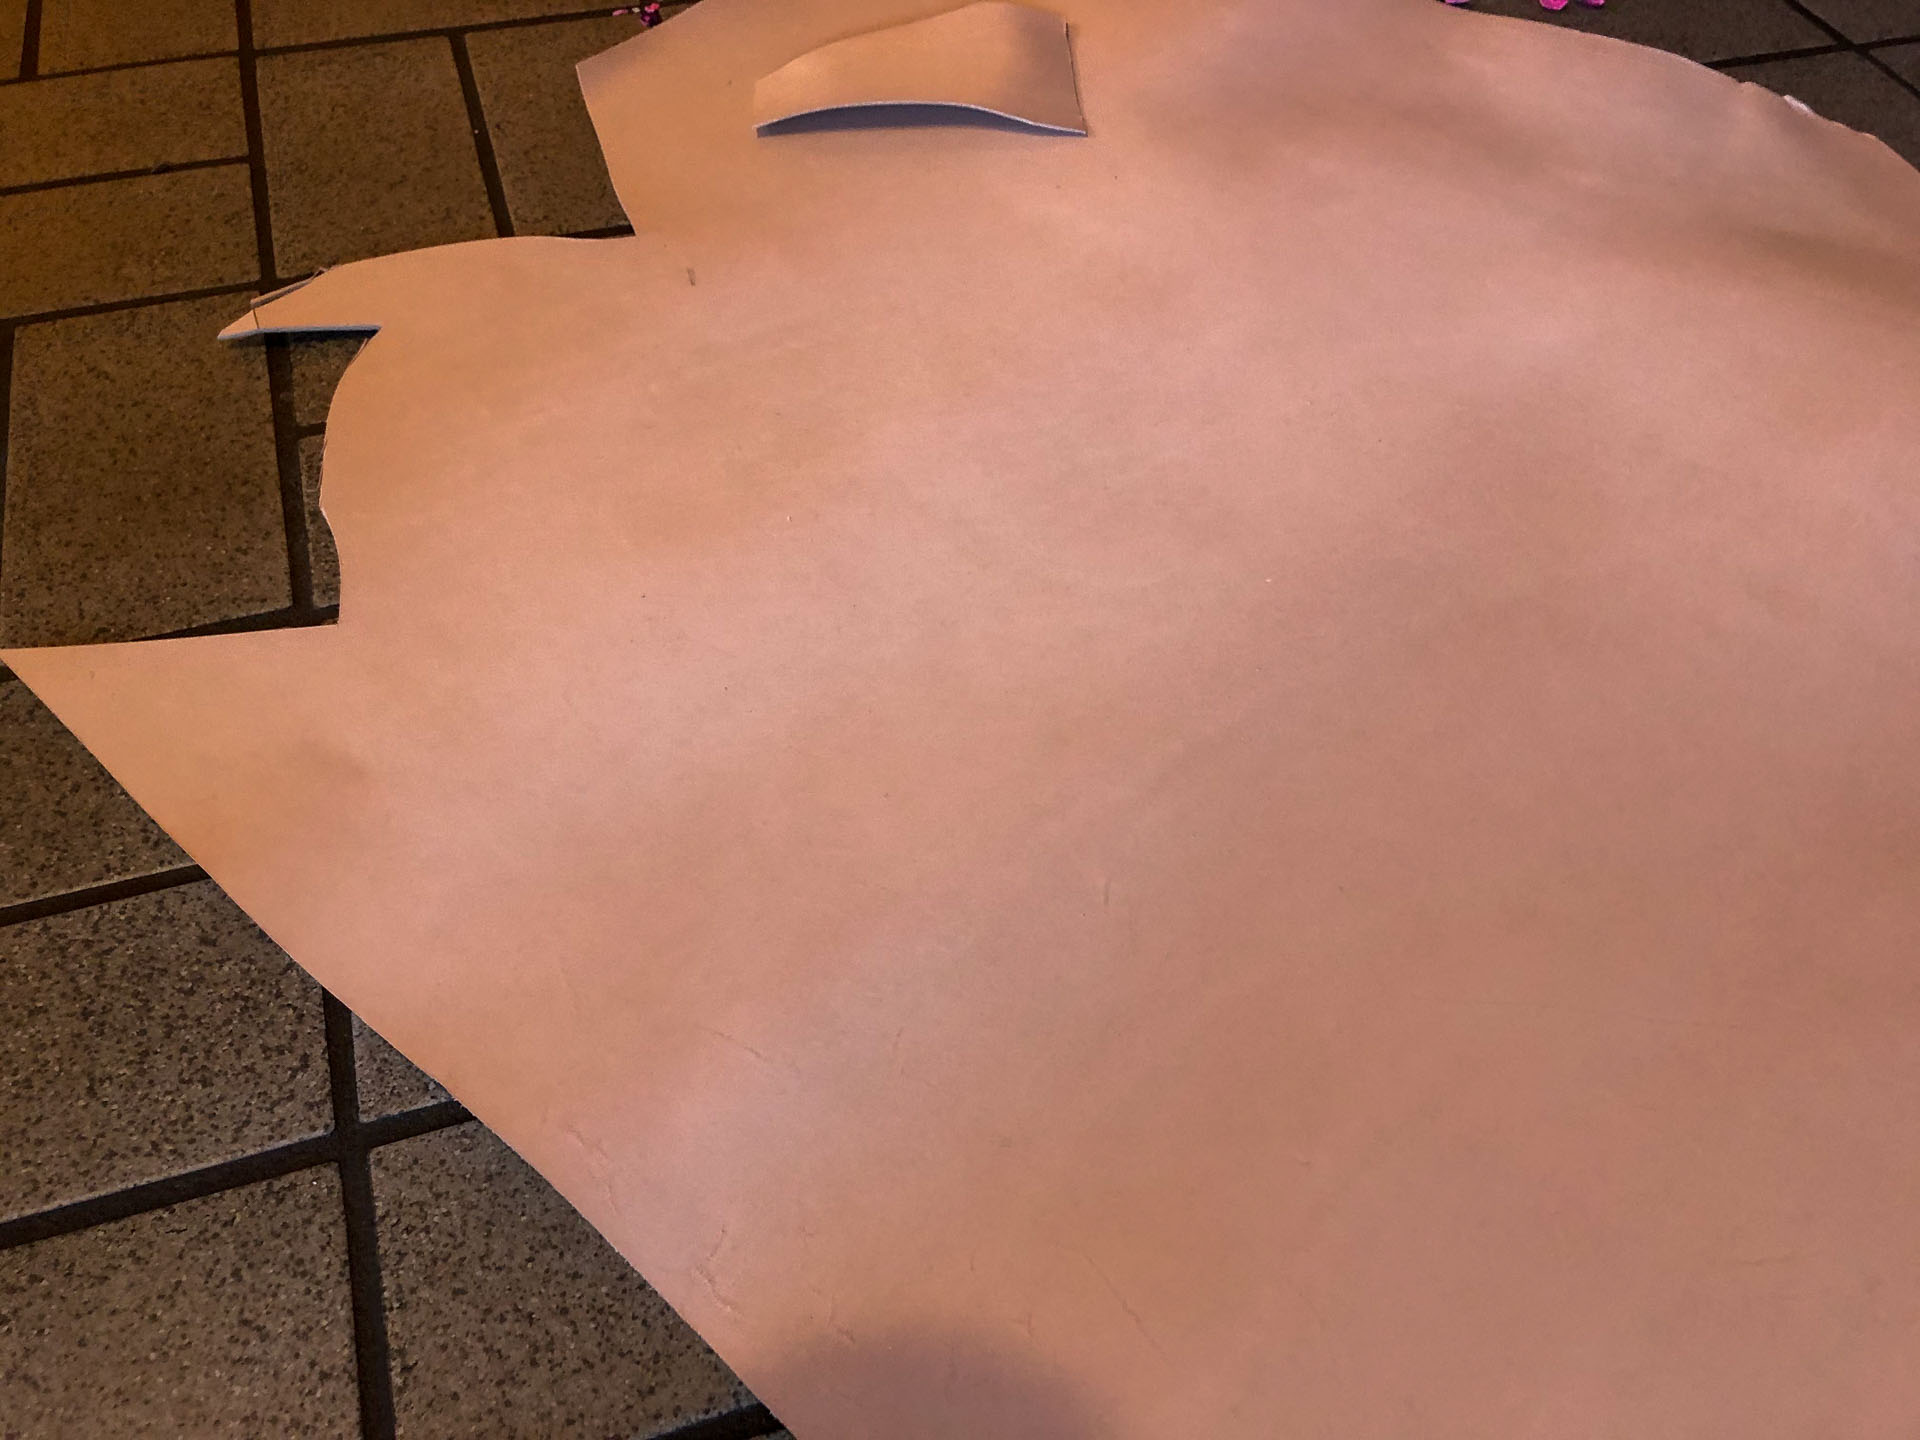
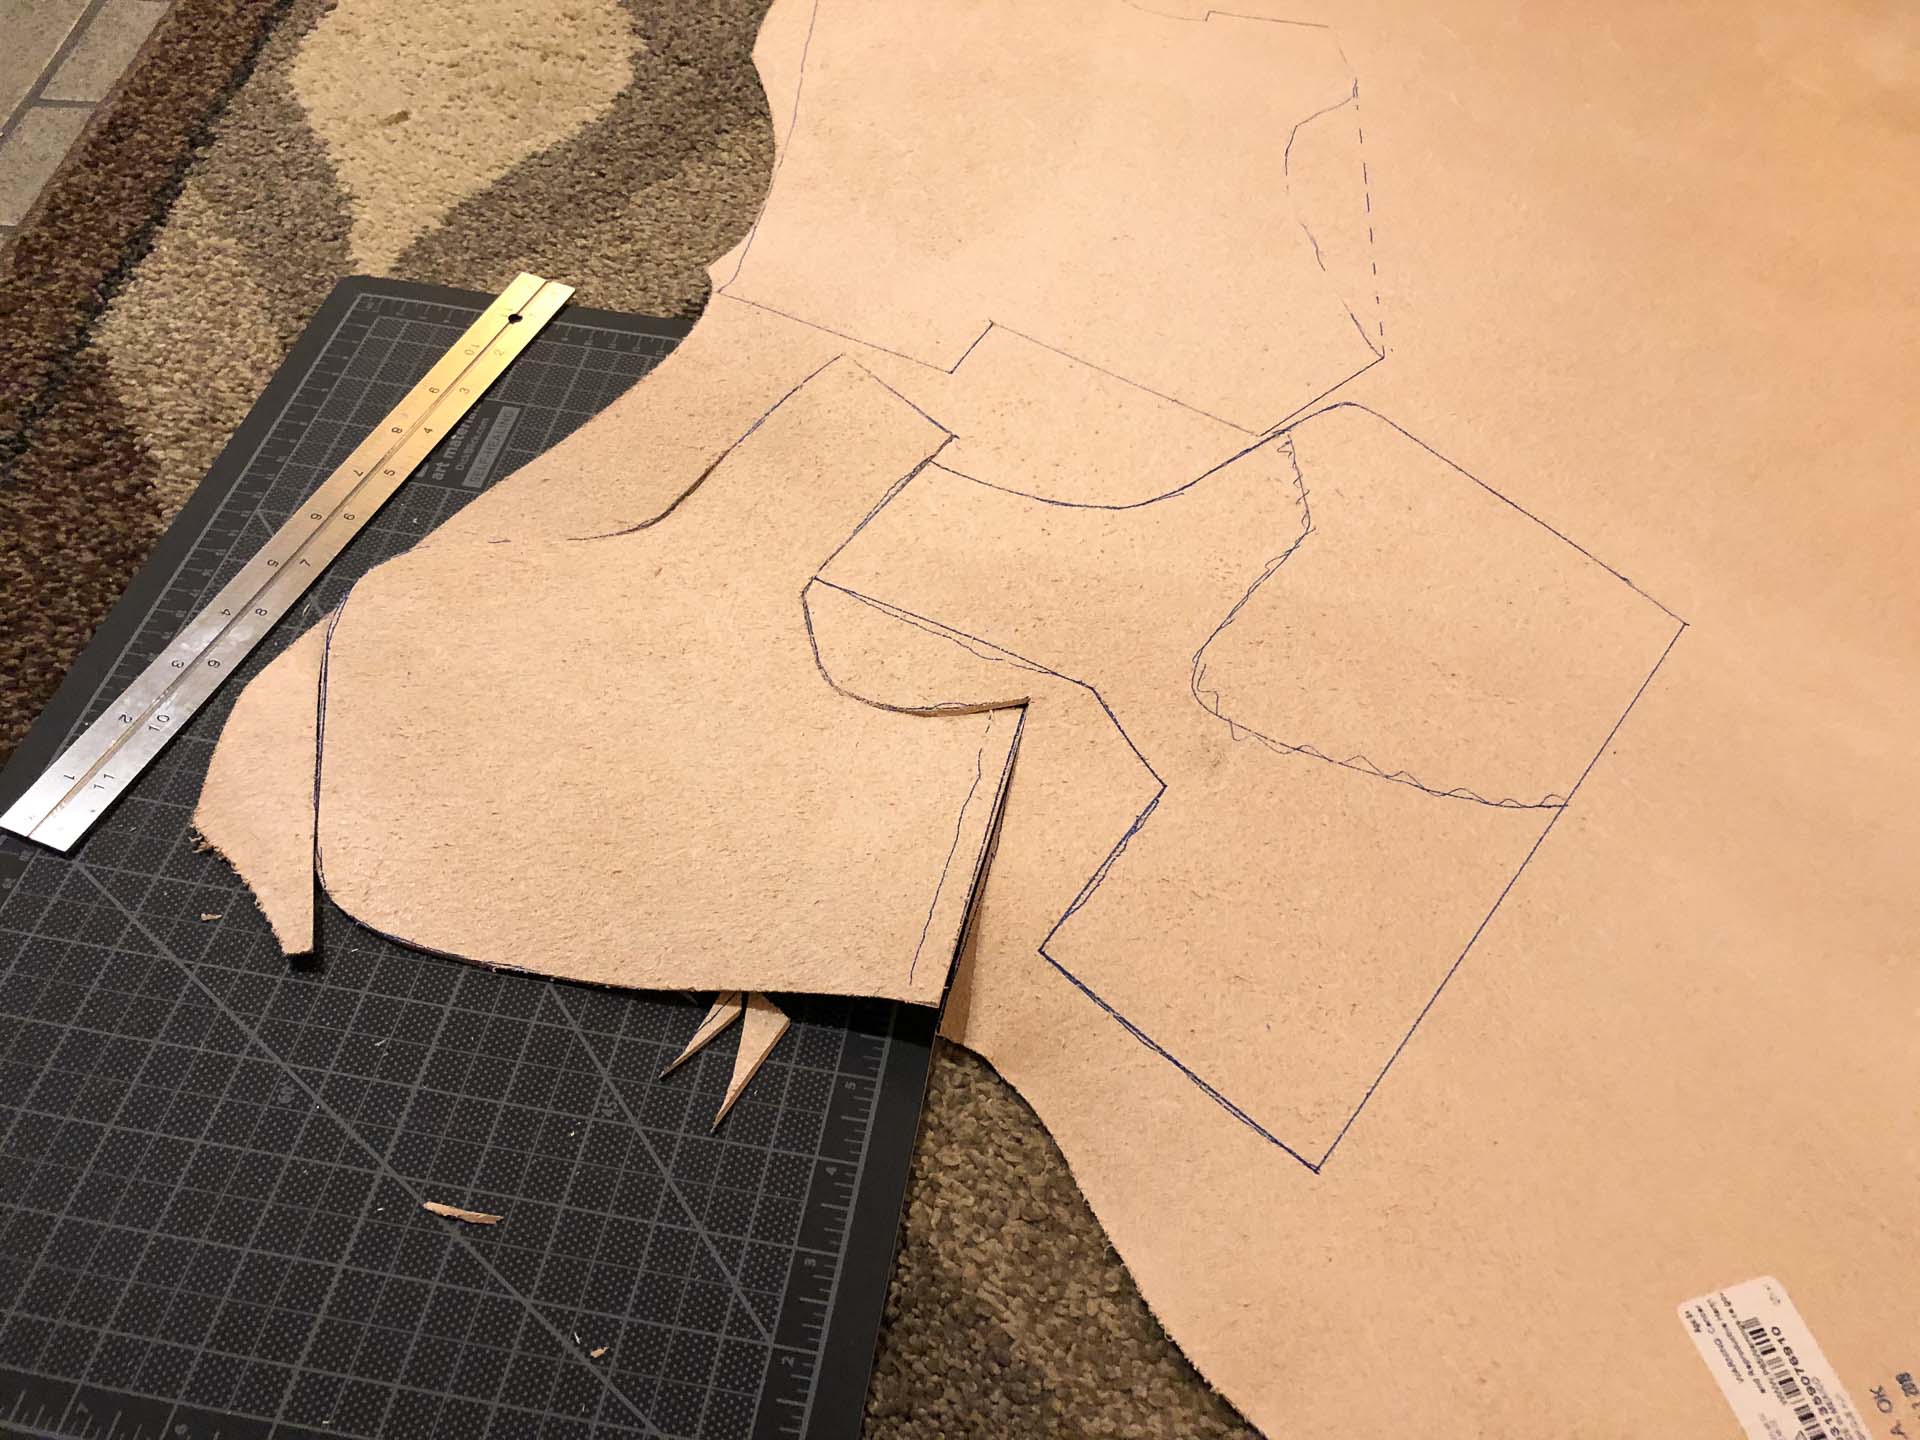
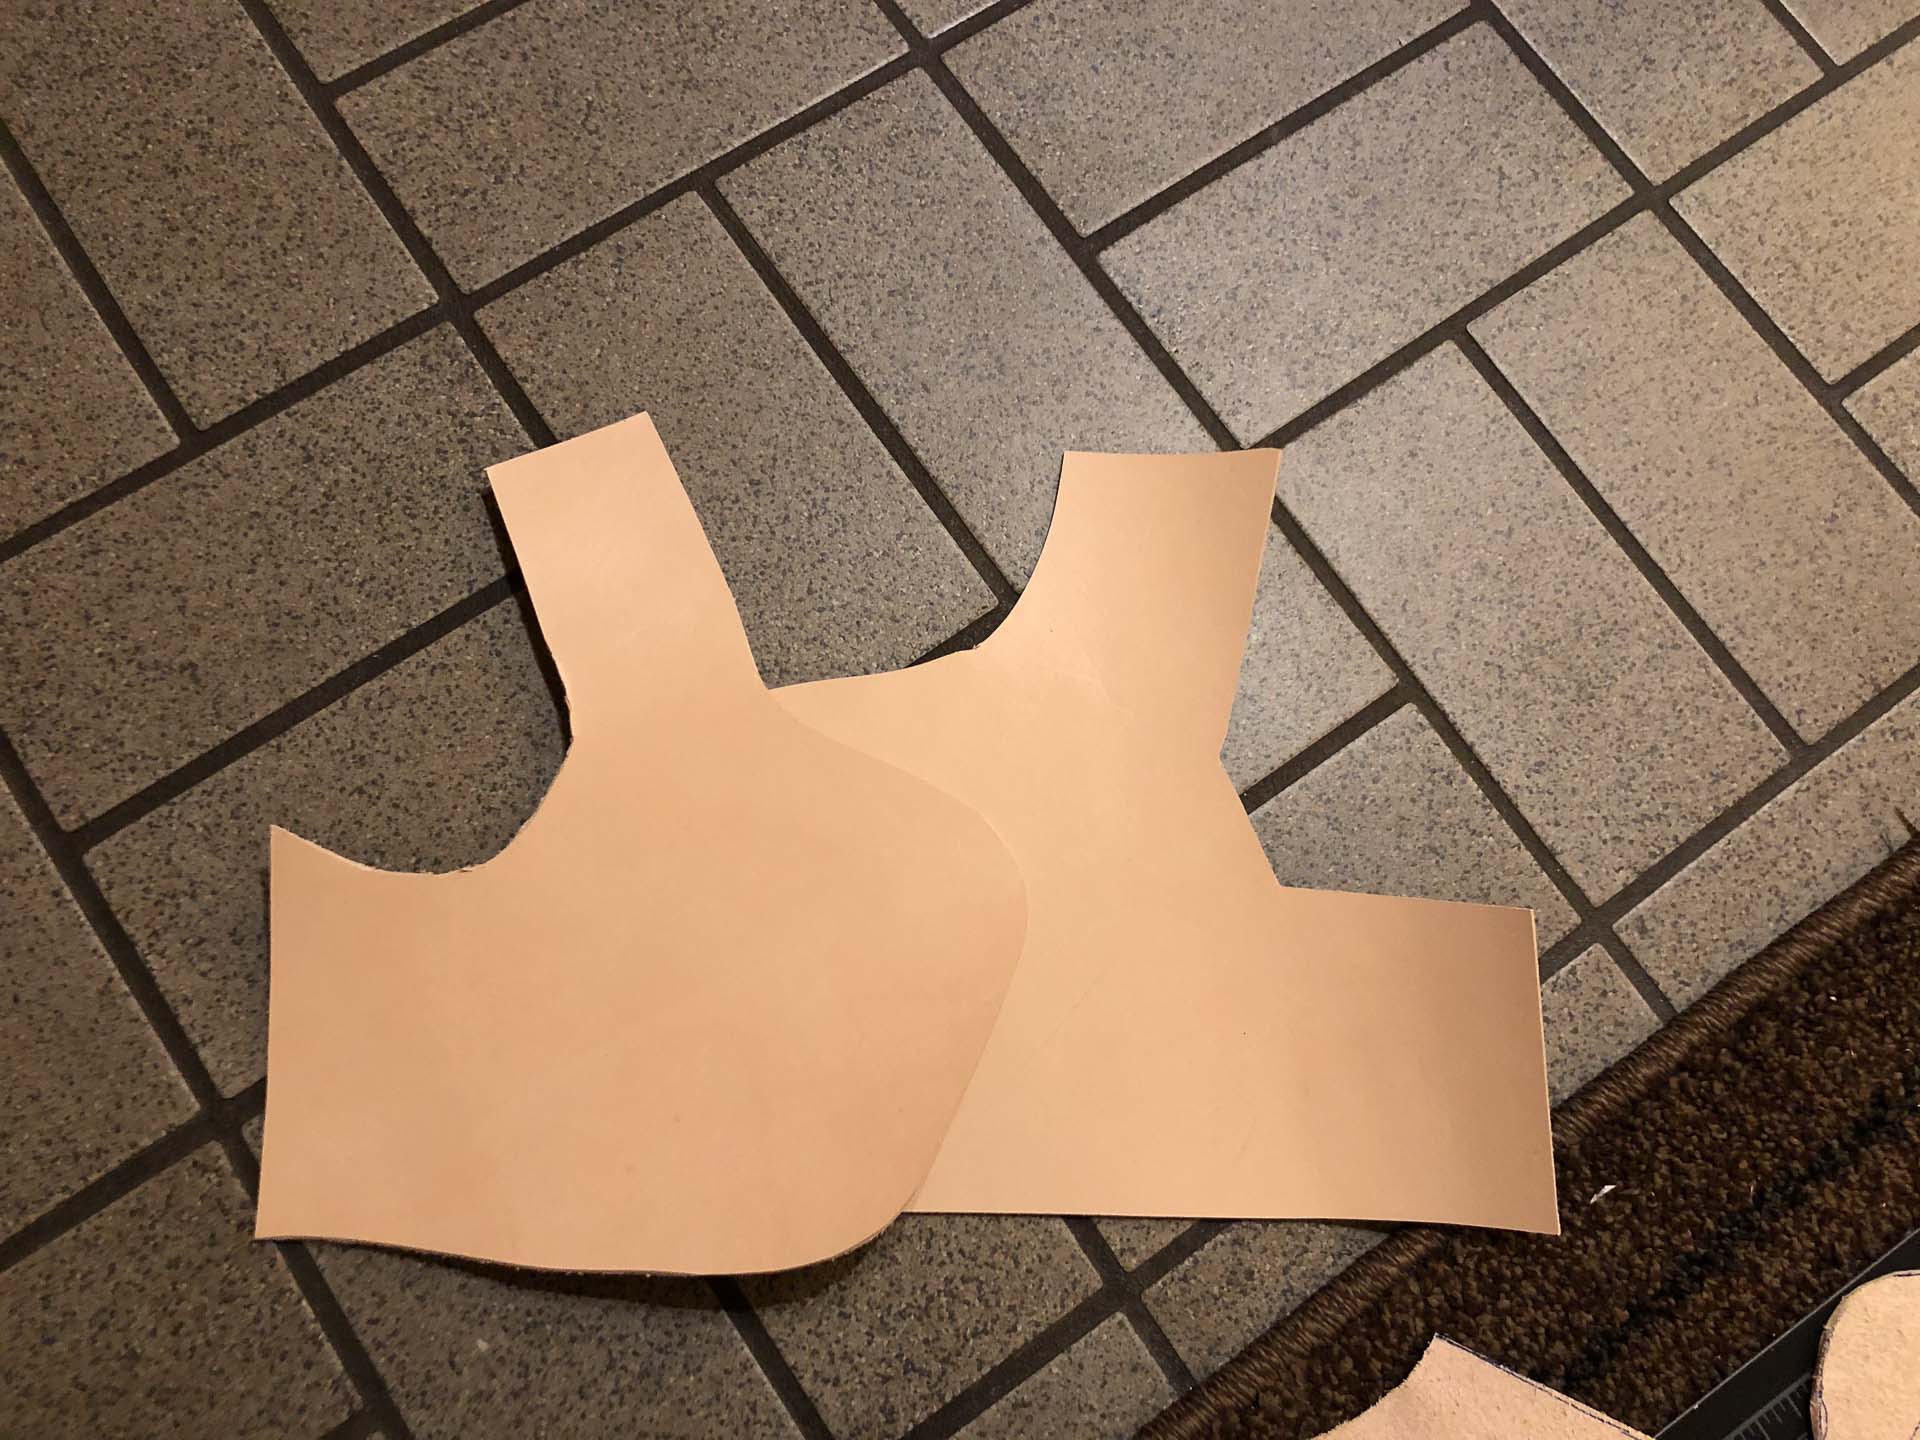
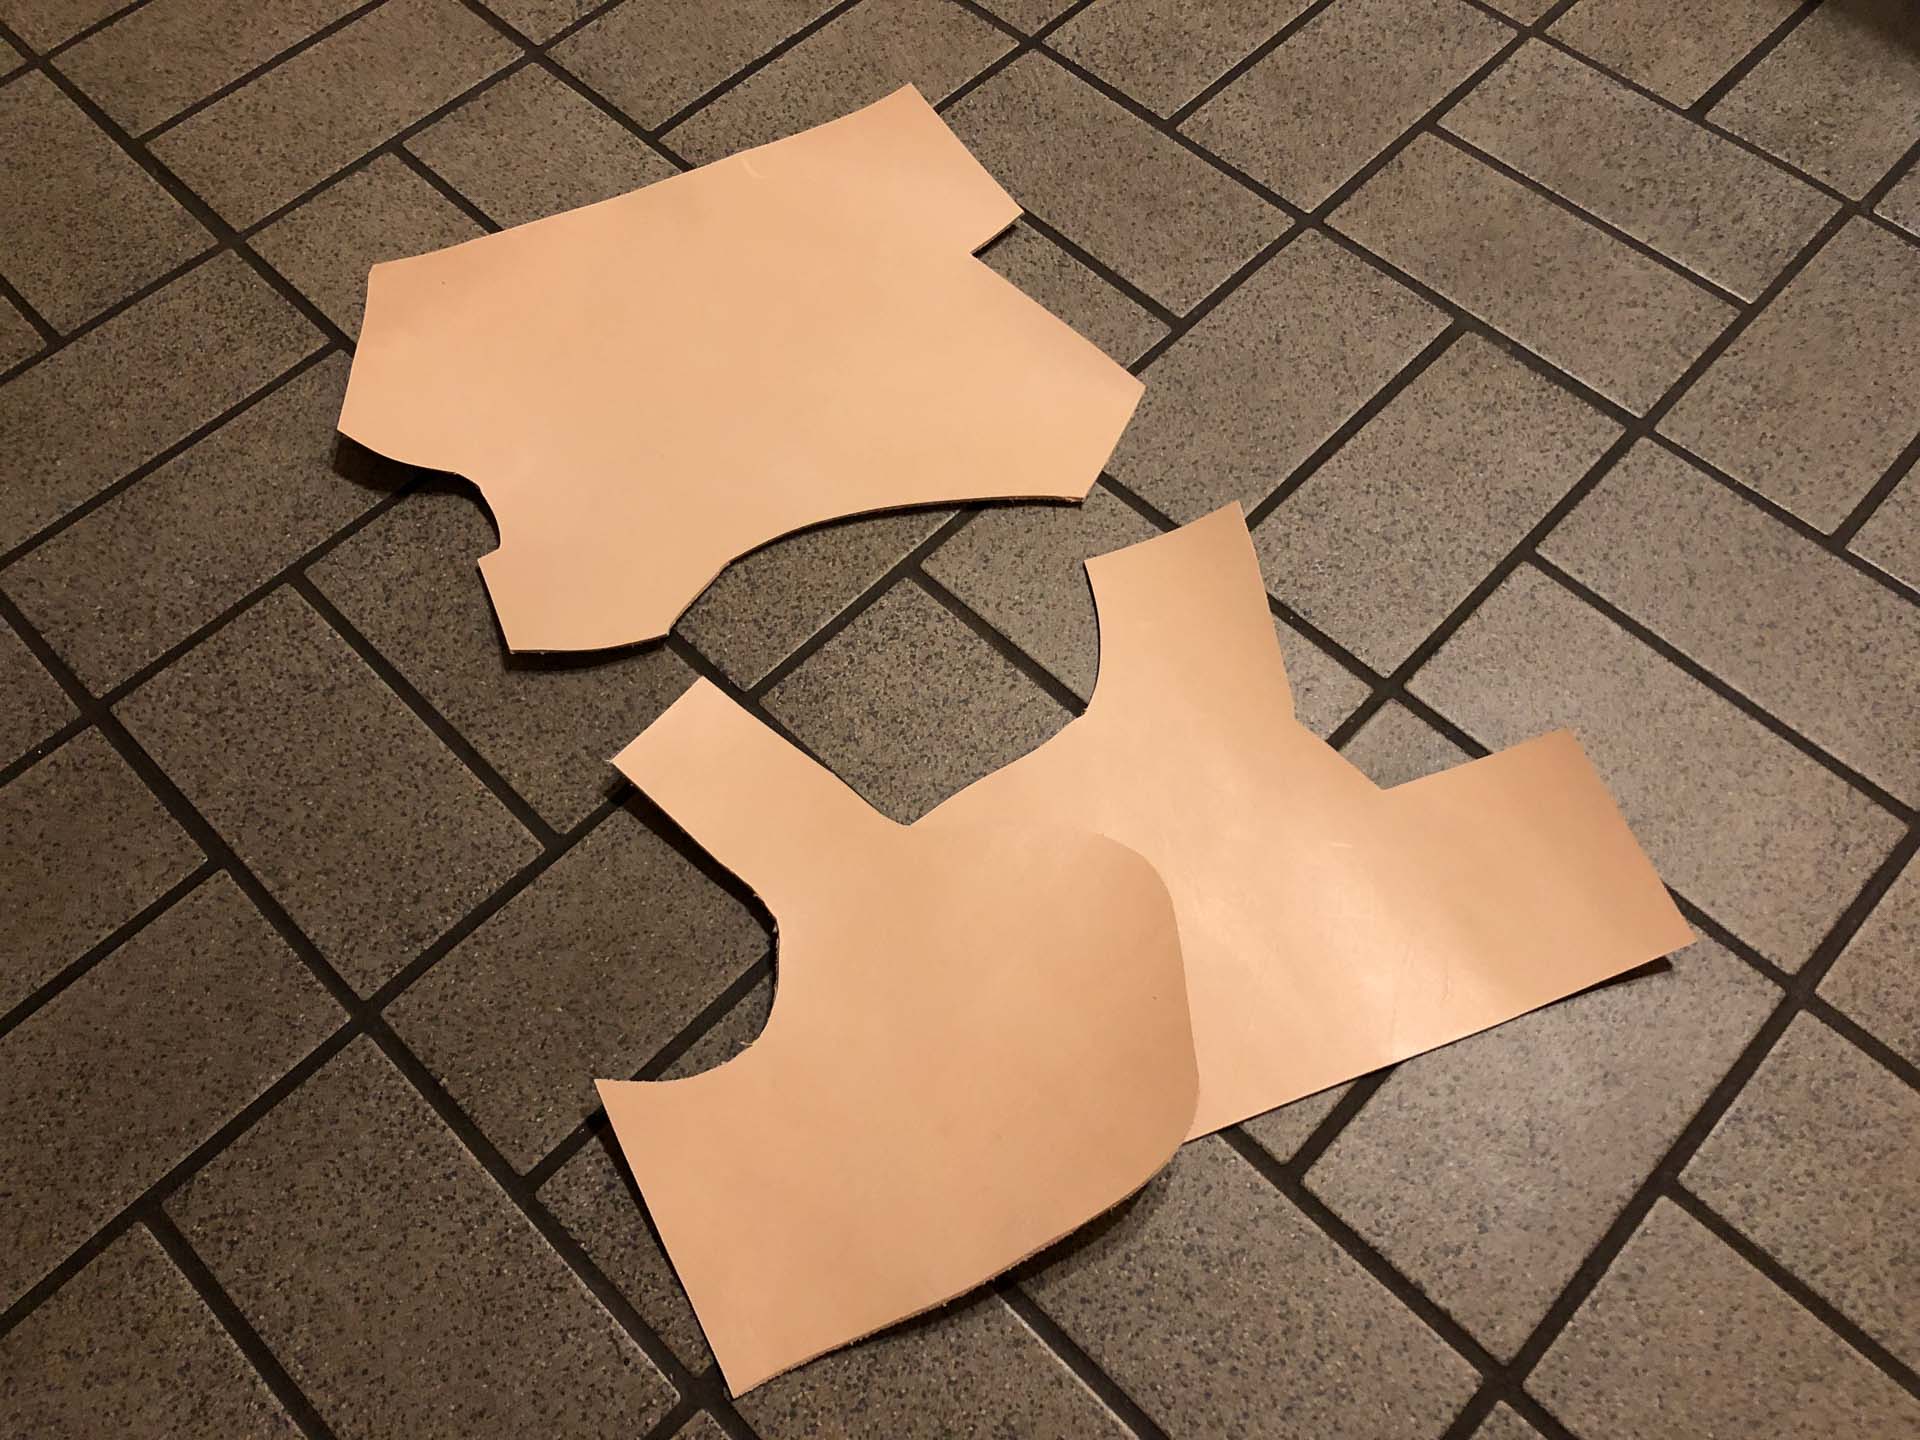
Now that we had made our leather armor pattern, it was time to get to work on the leather itself. We laid the leather flat and put our pattern on top of it to find the best placement. Part of working with leather is trying to create as few scraps as possible, and if you create scraps, you want them to be as big as possible so you’ll be able to use them later in your leather armor set.
Cutting the Leather
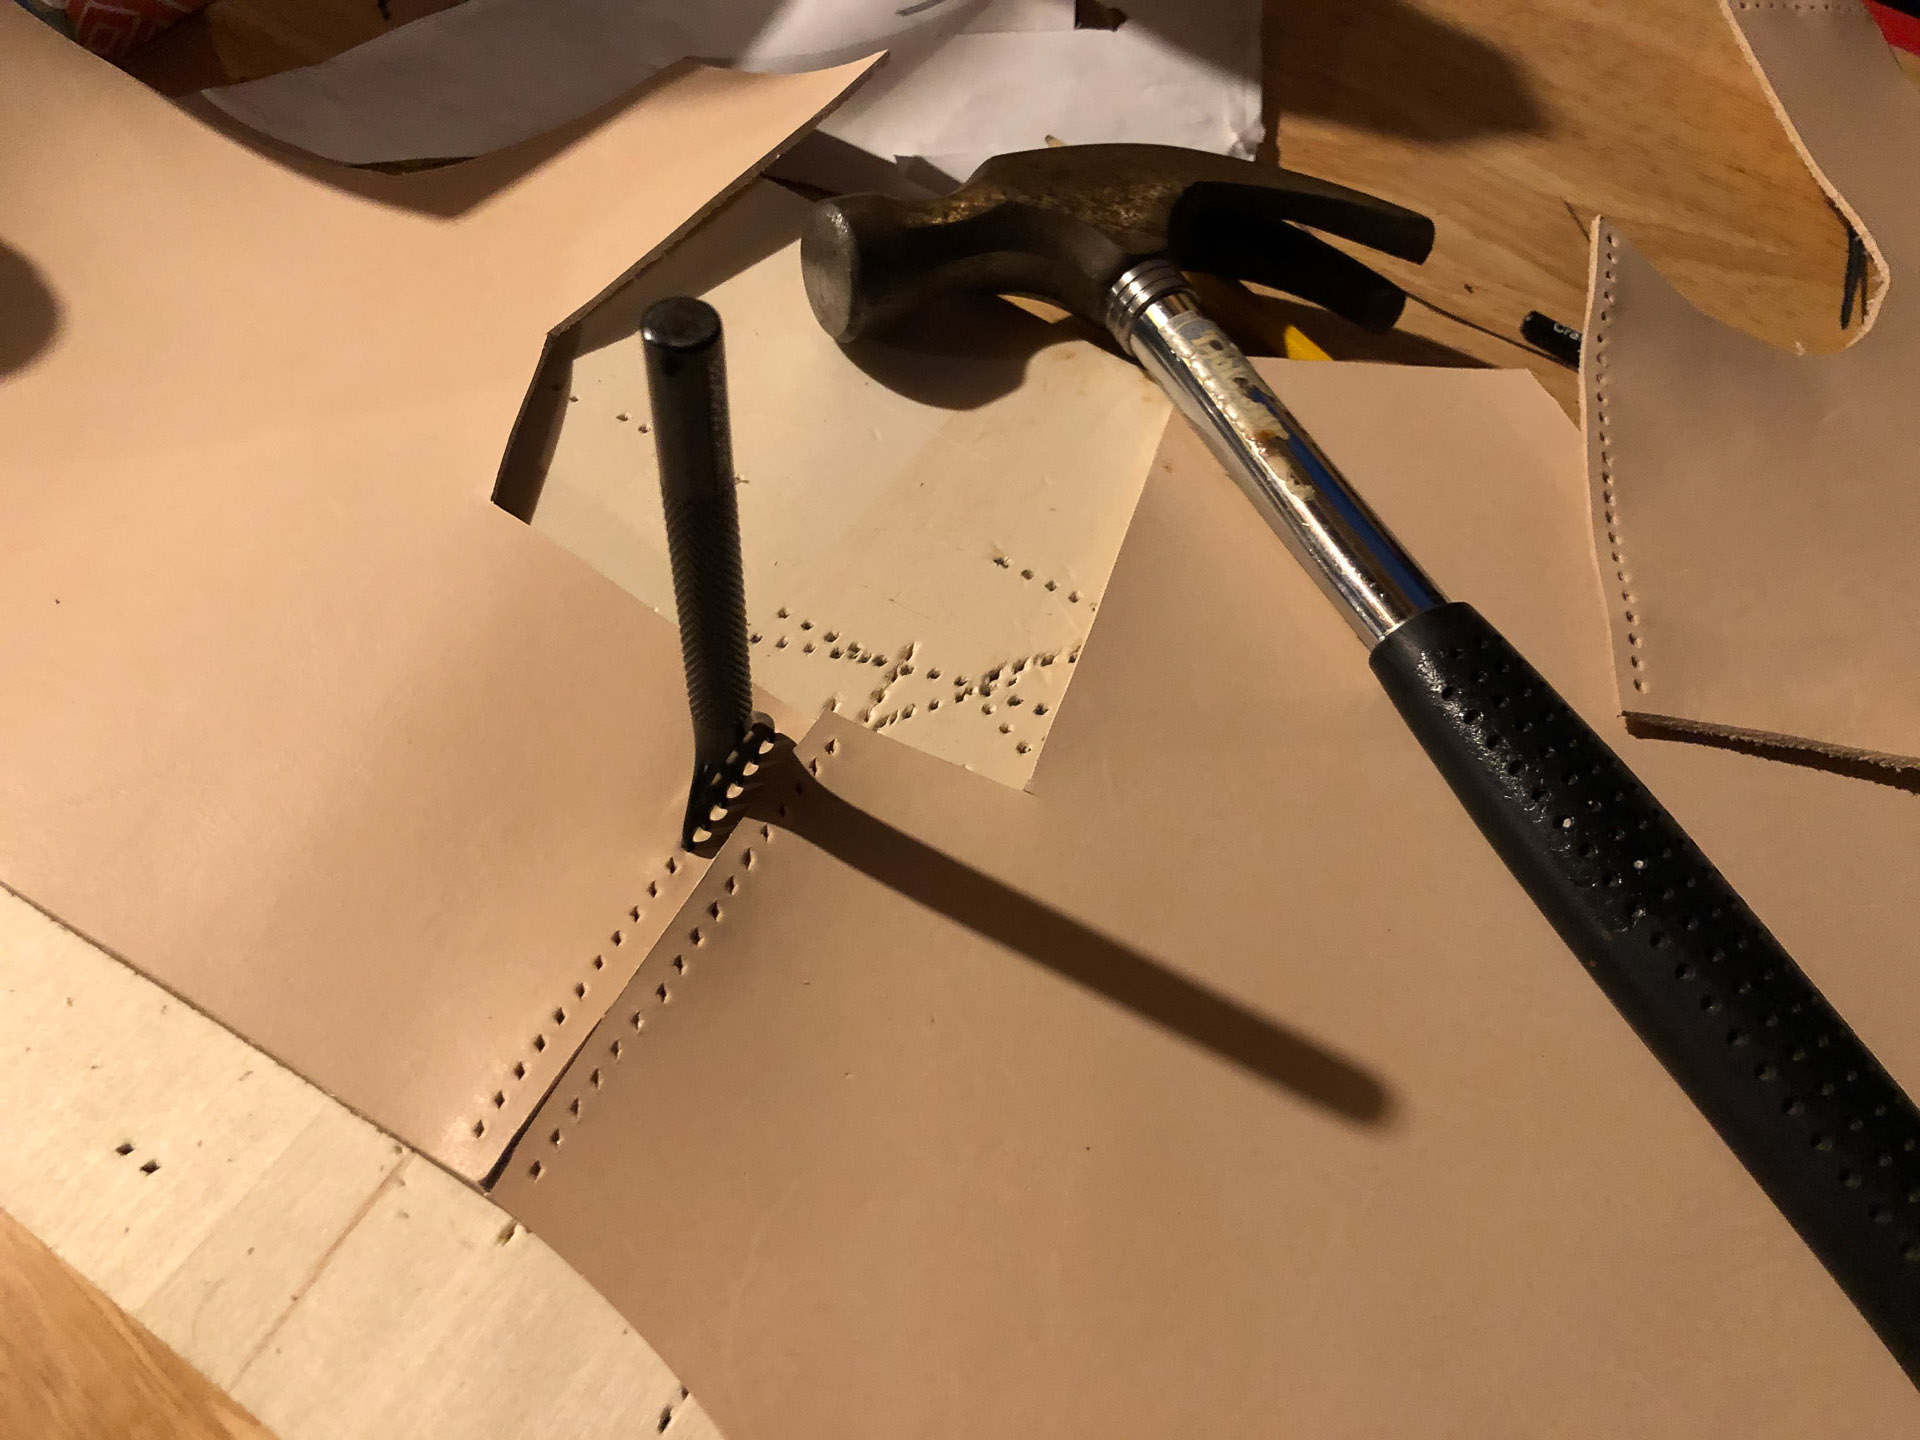
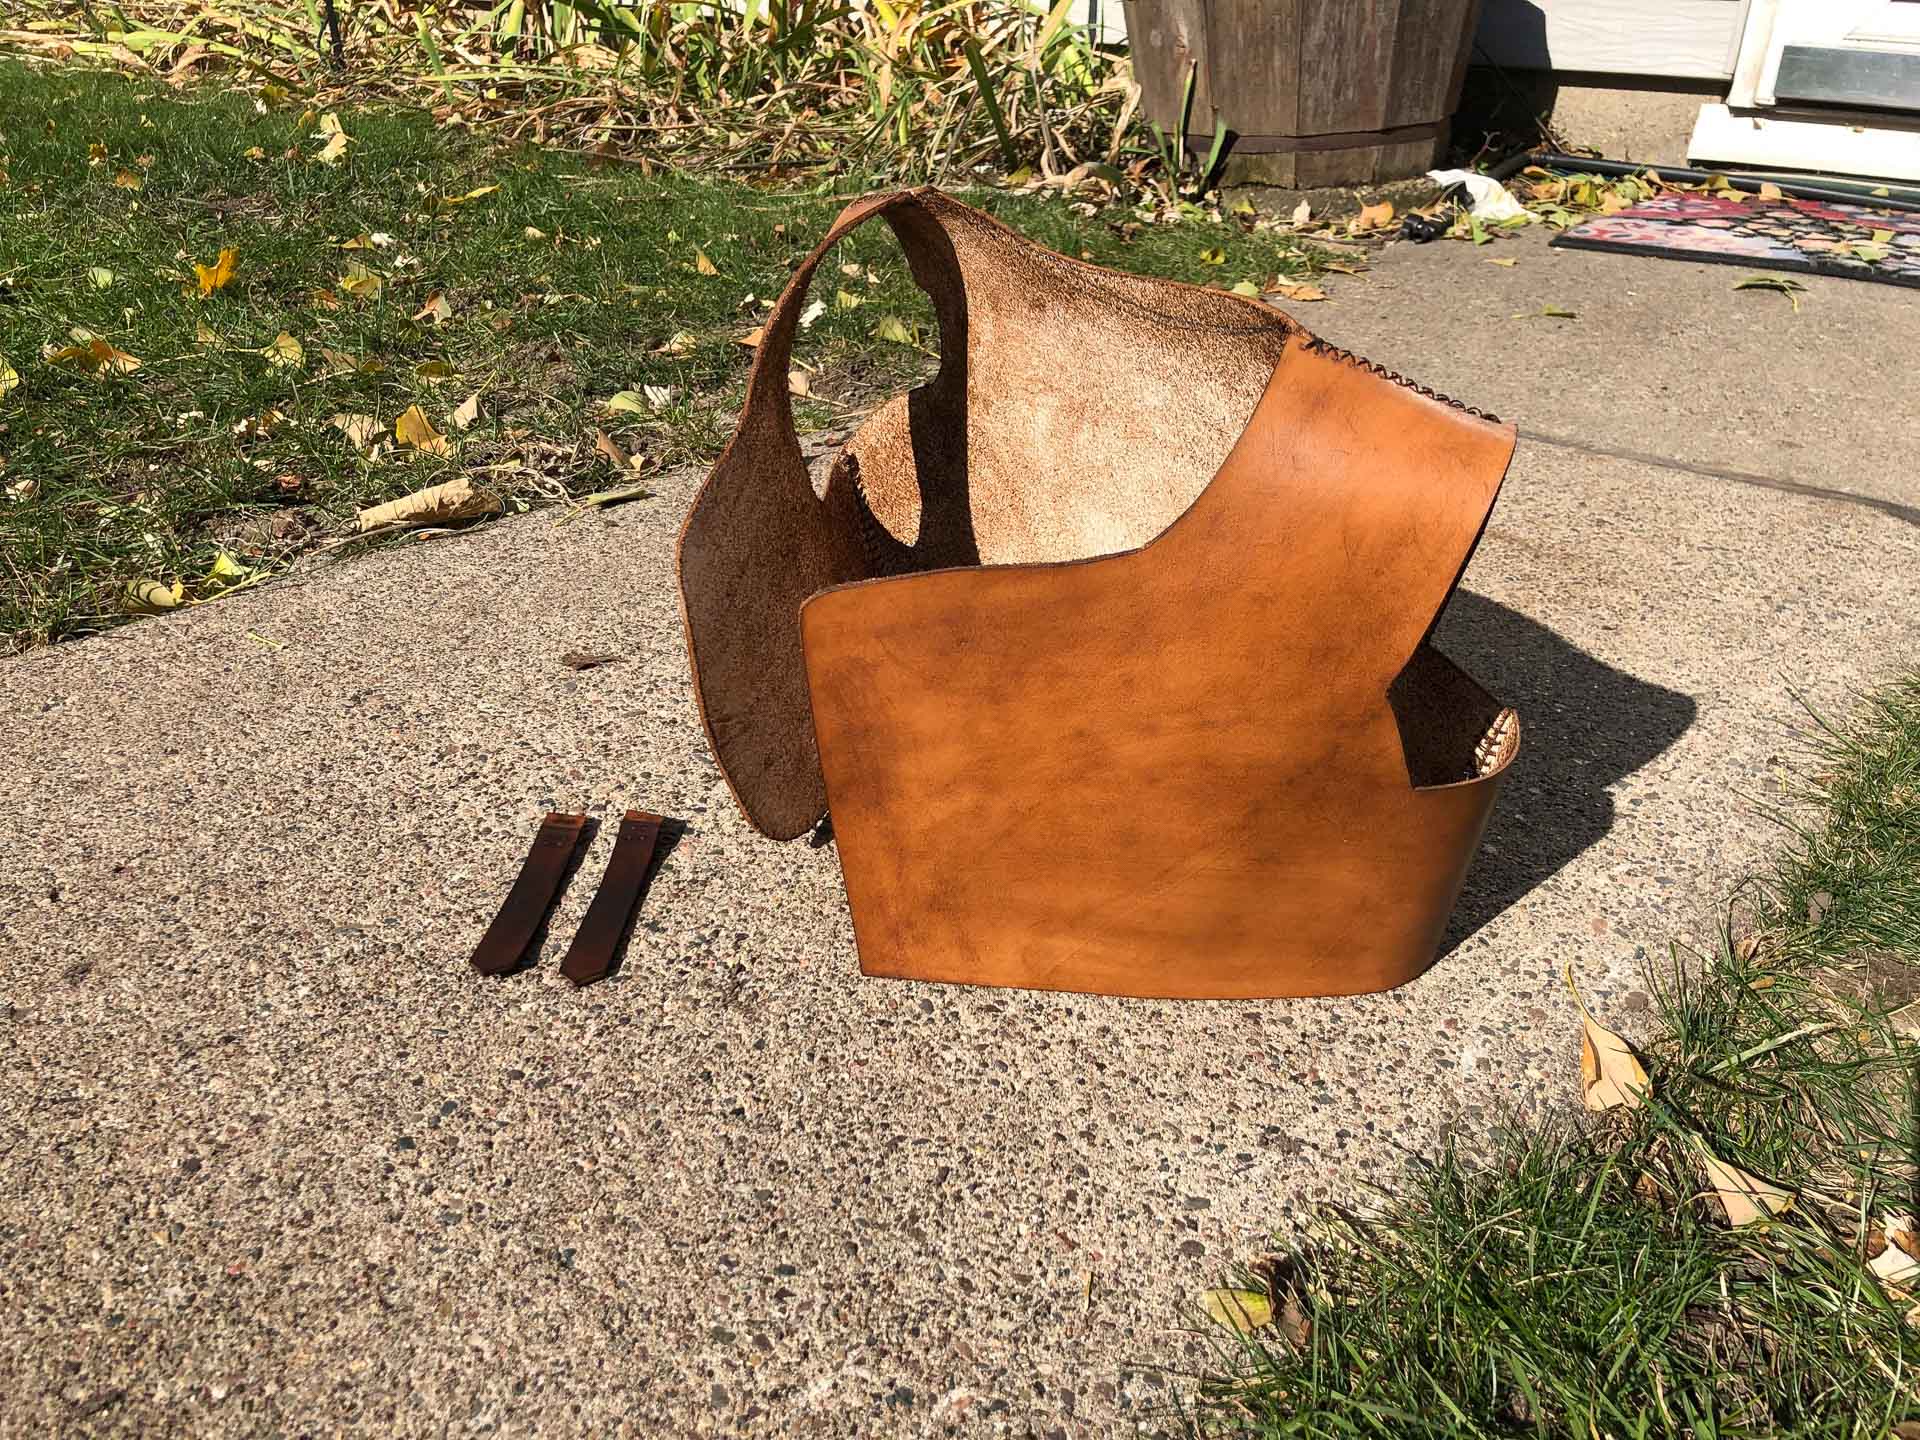
I laid out the pieces of the leather armor pattern on the cowhide and traced around them lightly with a pencil. Next it was time to cut. I used the rotary cutting blade on the leather, making sure my cutting mat was always behind the leather. The large patterns required me to move the cutting mat once in a while to ensure I wouldn’t cut through. After the pieces were cut I punched out the holes using the same hole punch I used on the helm. Leather armor for cosplay always looks best when spacing between holes is uniform.
It’s important to note that these rotary cutting blades are very sharp. If you choose to use one to make a leather armor set please be careful! Always retract the blade when it’s not in use and place it somewhere away safe while you are sewing or working on other parts of your pattern.
Dyeing Leather Armor
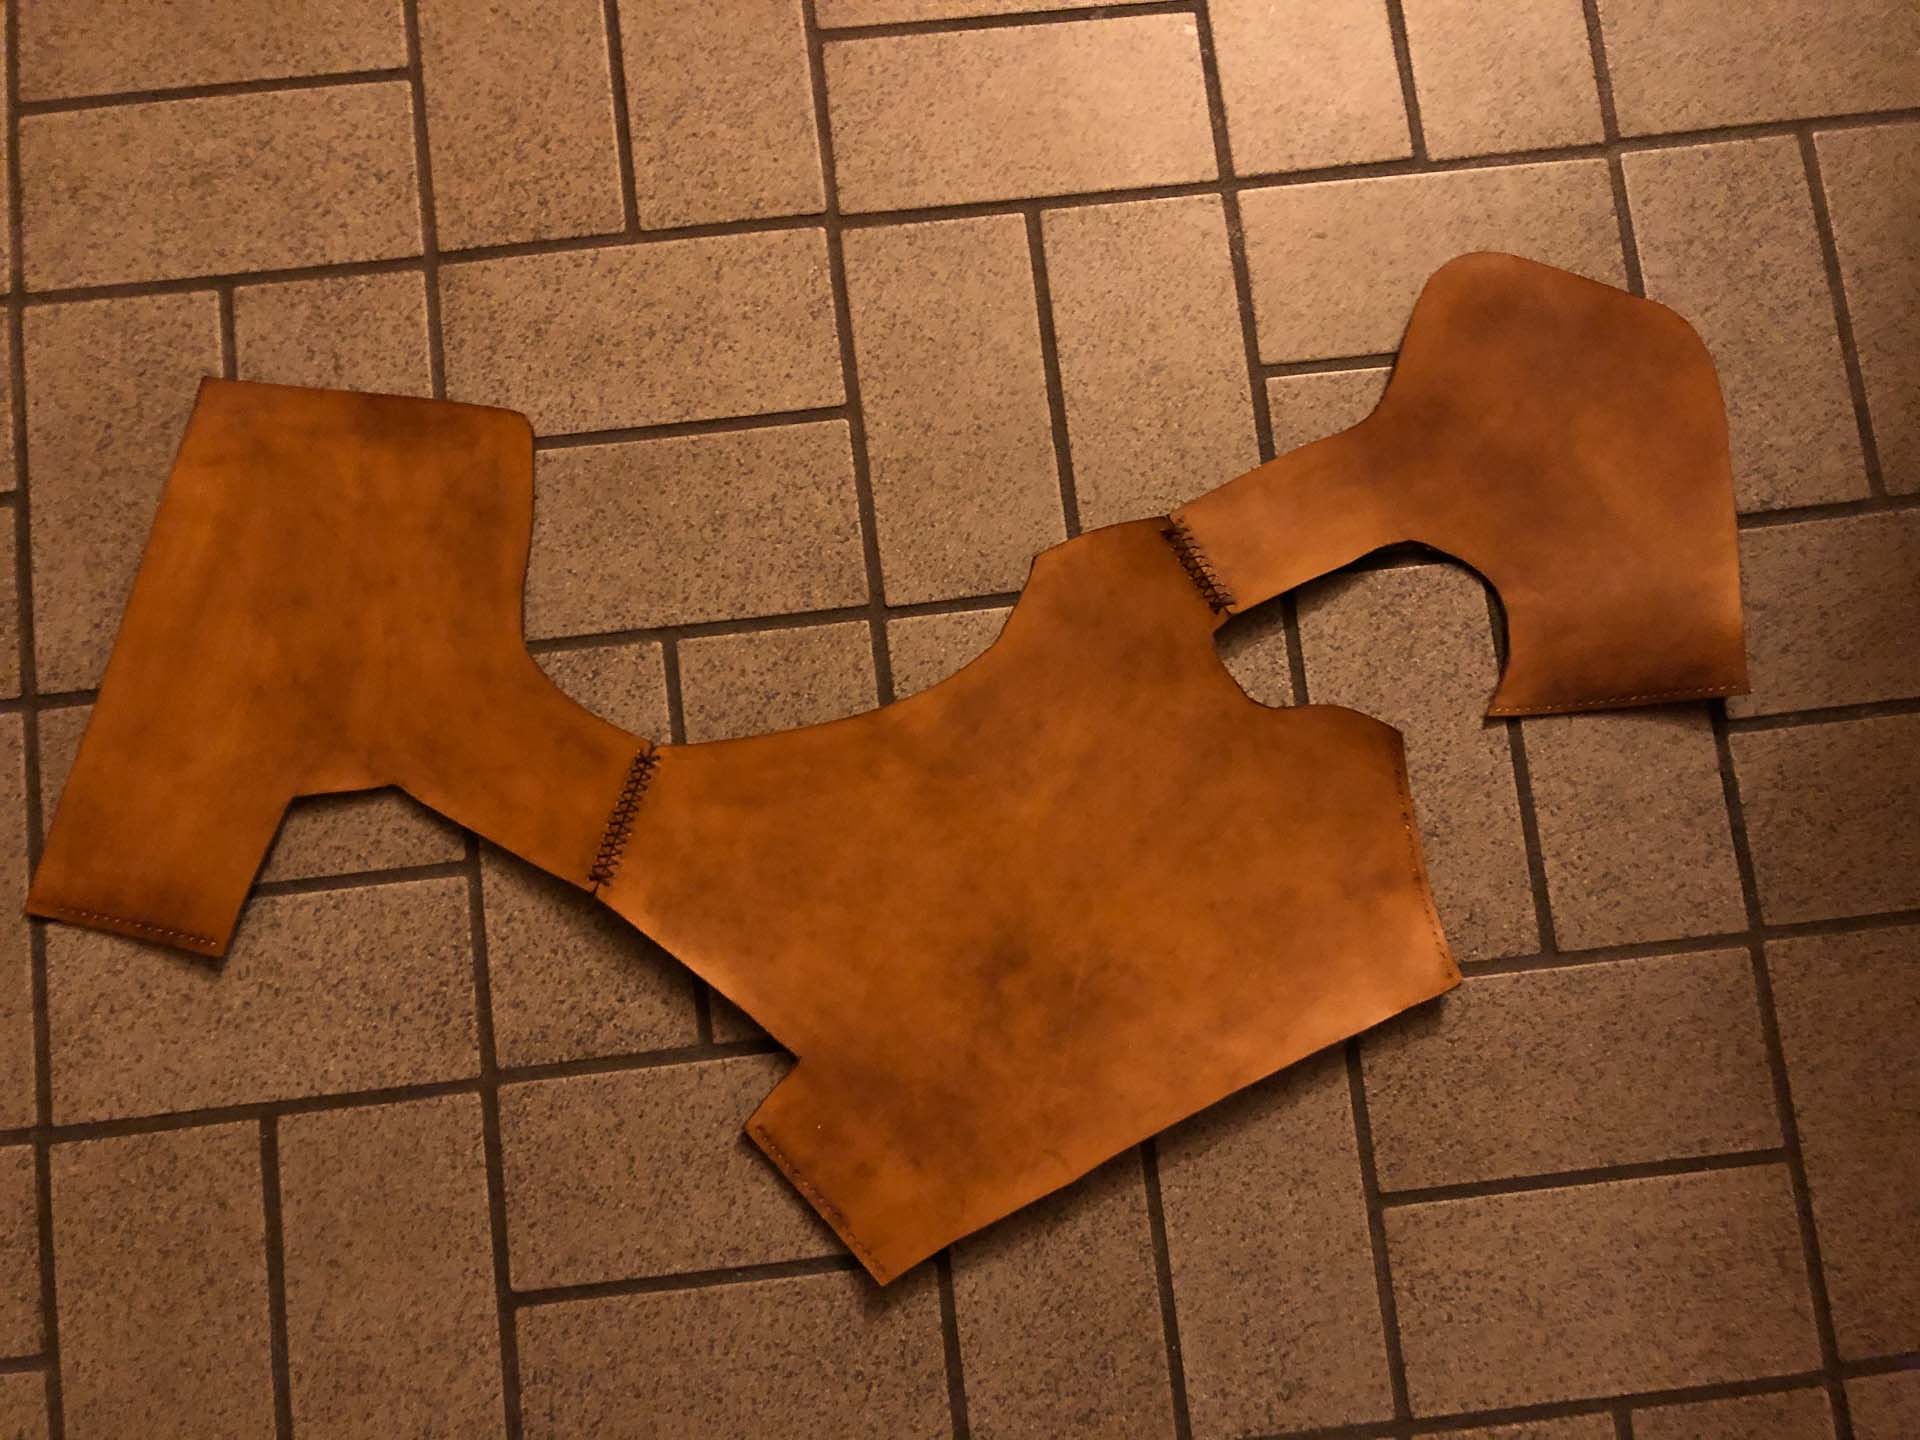
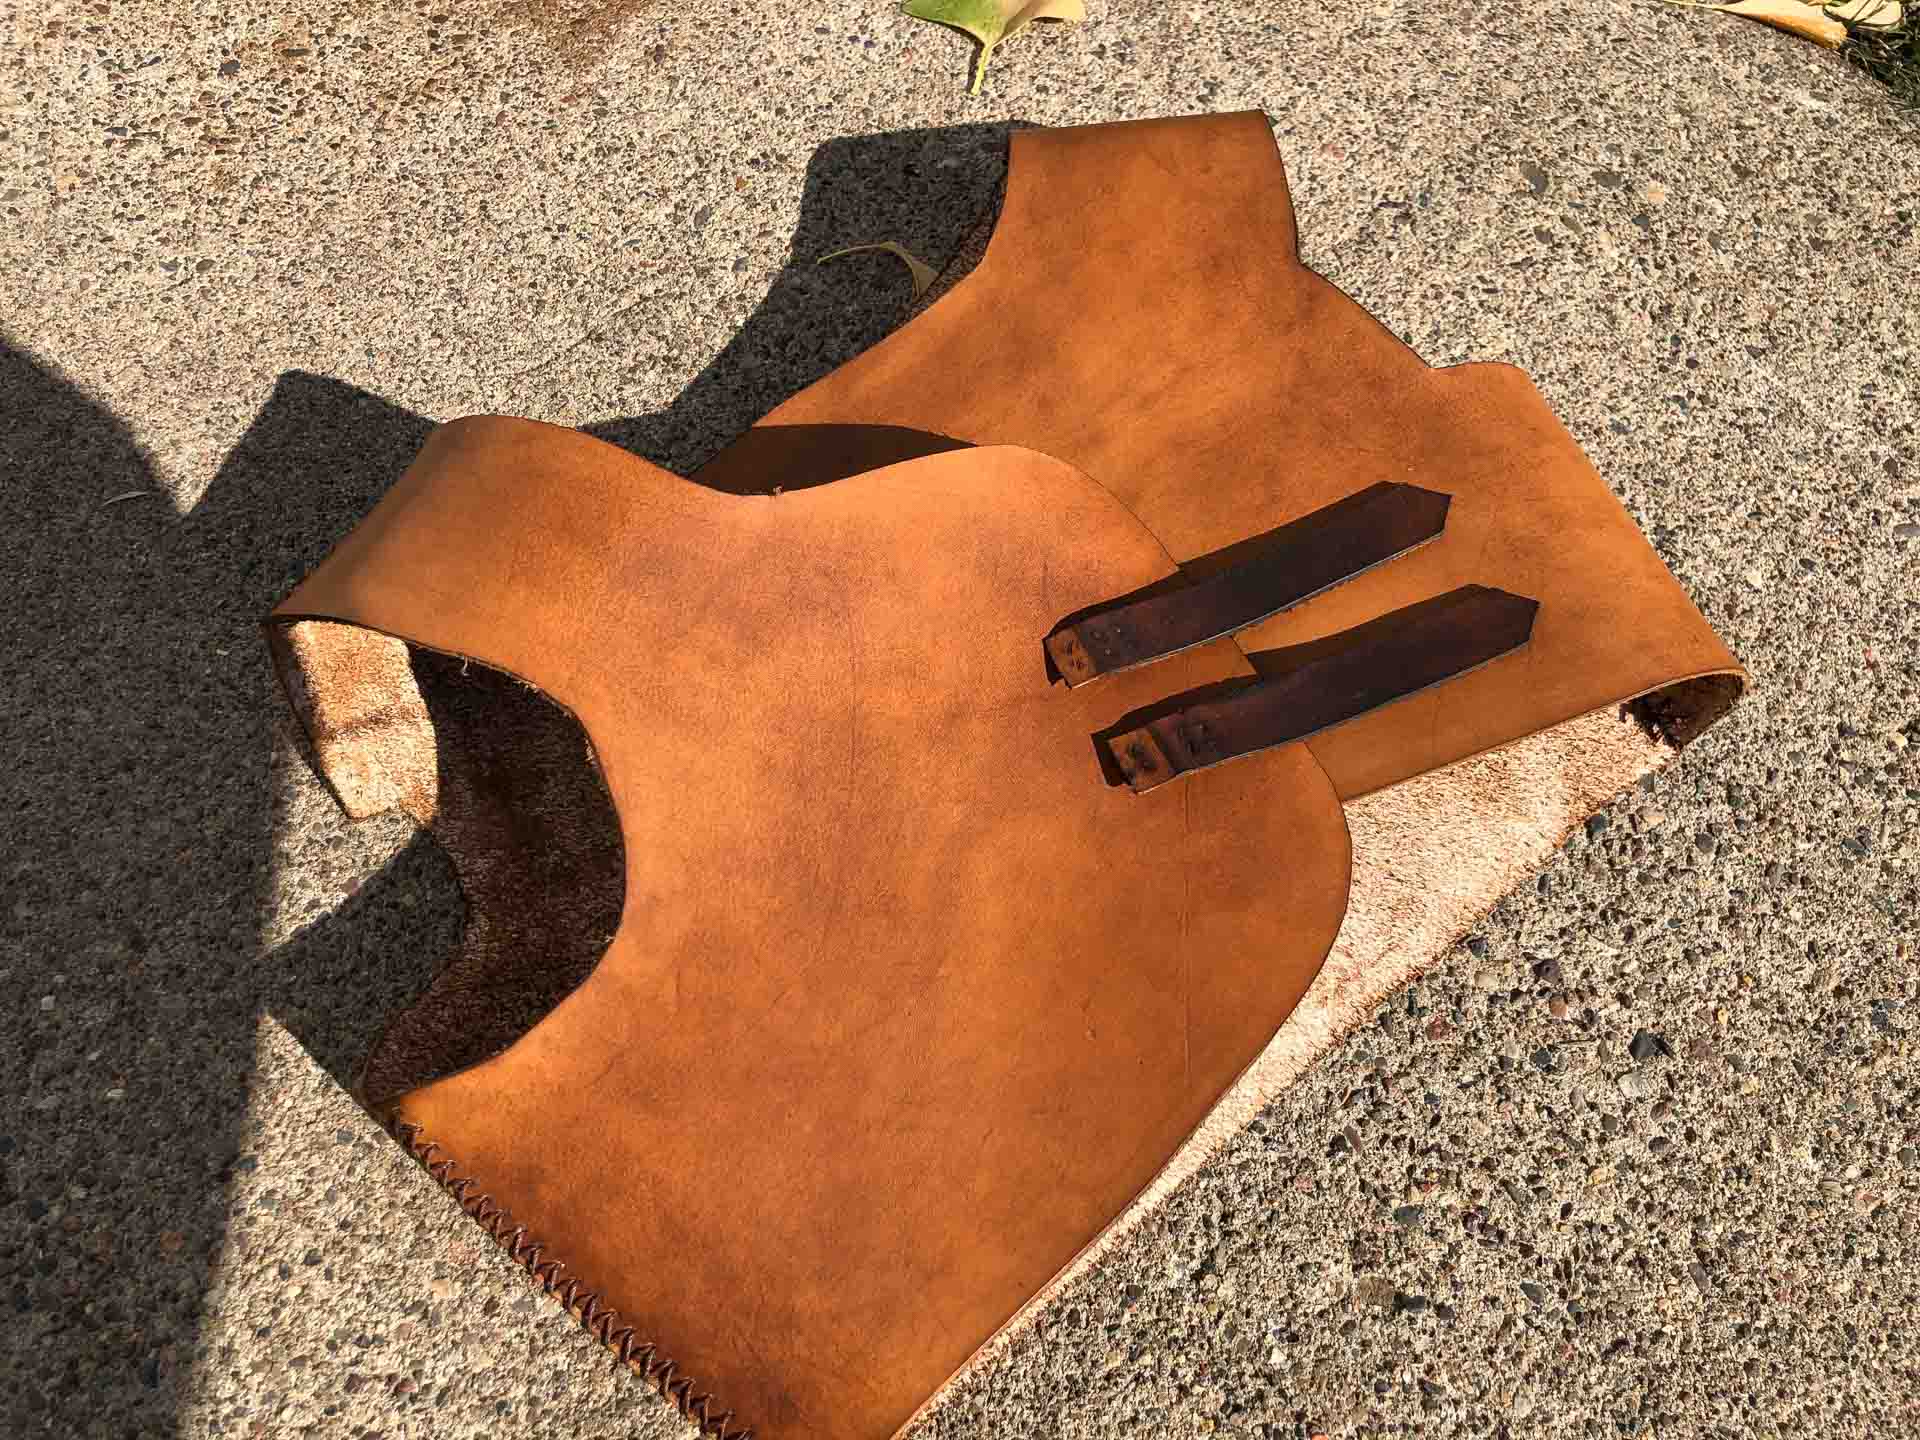
Dyeing leather armor always happens prior to sewing it. So my next step was to dye the leather! I used a cloth to dye the leather because it goes on smoothly and not too thick. When dyeing leather it’s best to place your clean cloth on top of the dye bottle, tip it over so the dye saturates the part of the cloth touching the bottom, then move your cloth over the leather in small circles. You’ll get an even coating this way, and if the color isn’t dark enough, you can apply a second or third coat. I applied two coats to this leather armor vest to achieve the brown color you see.
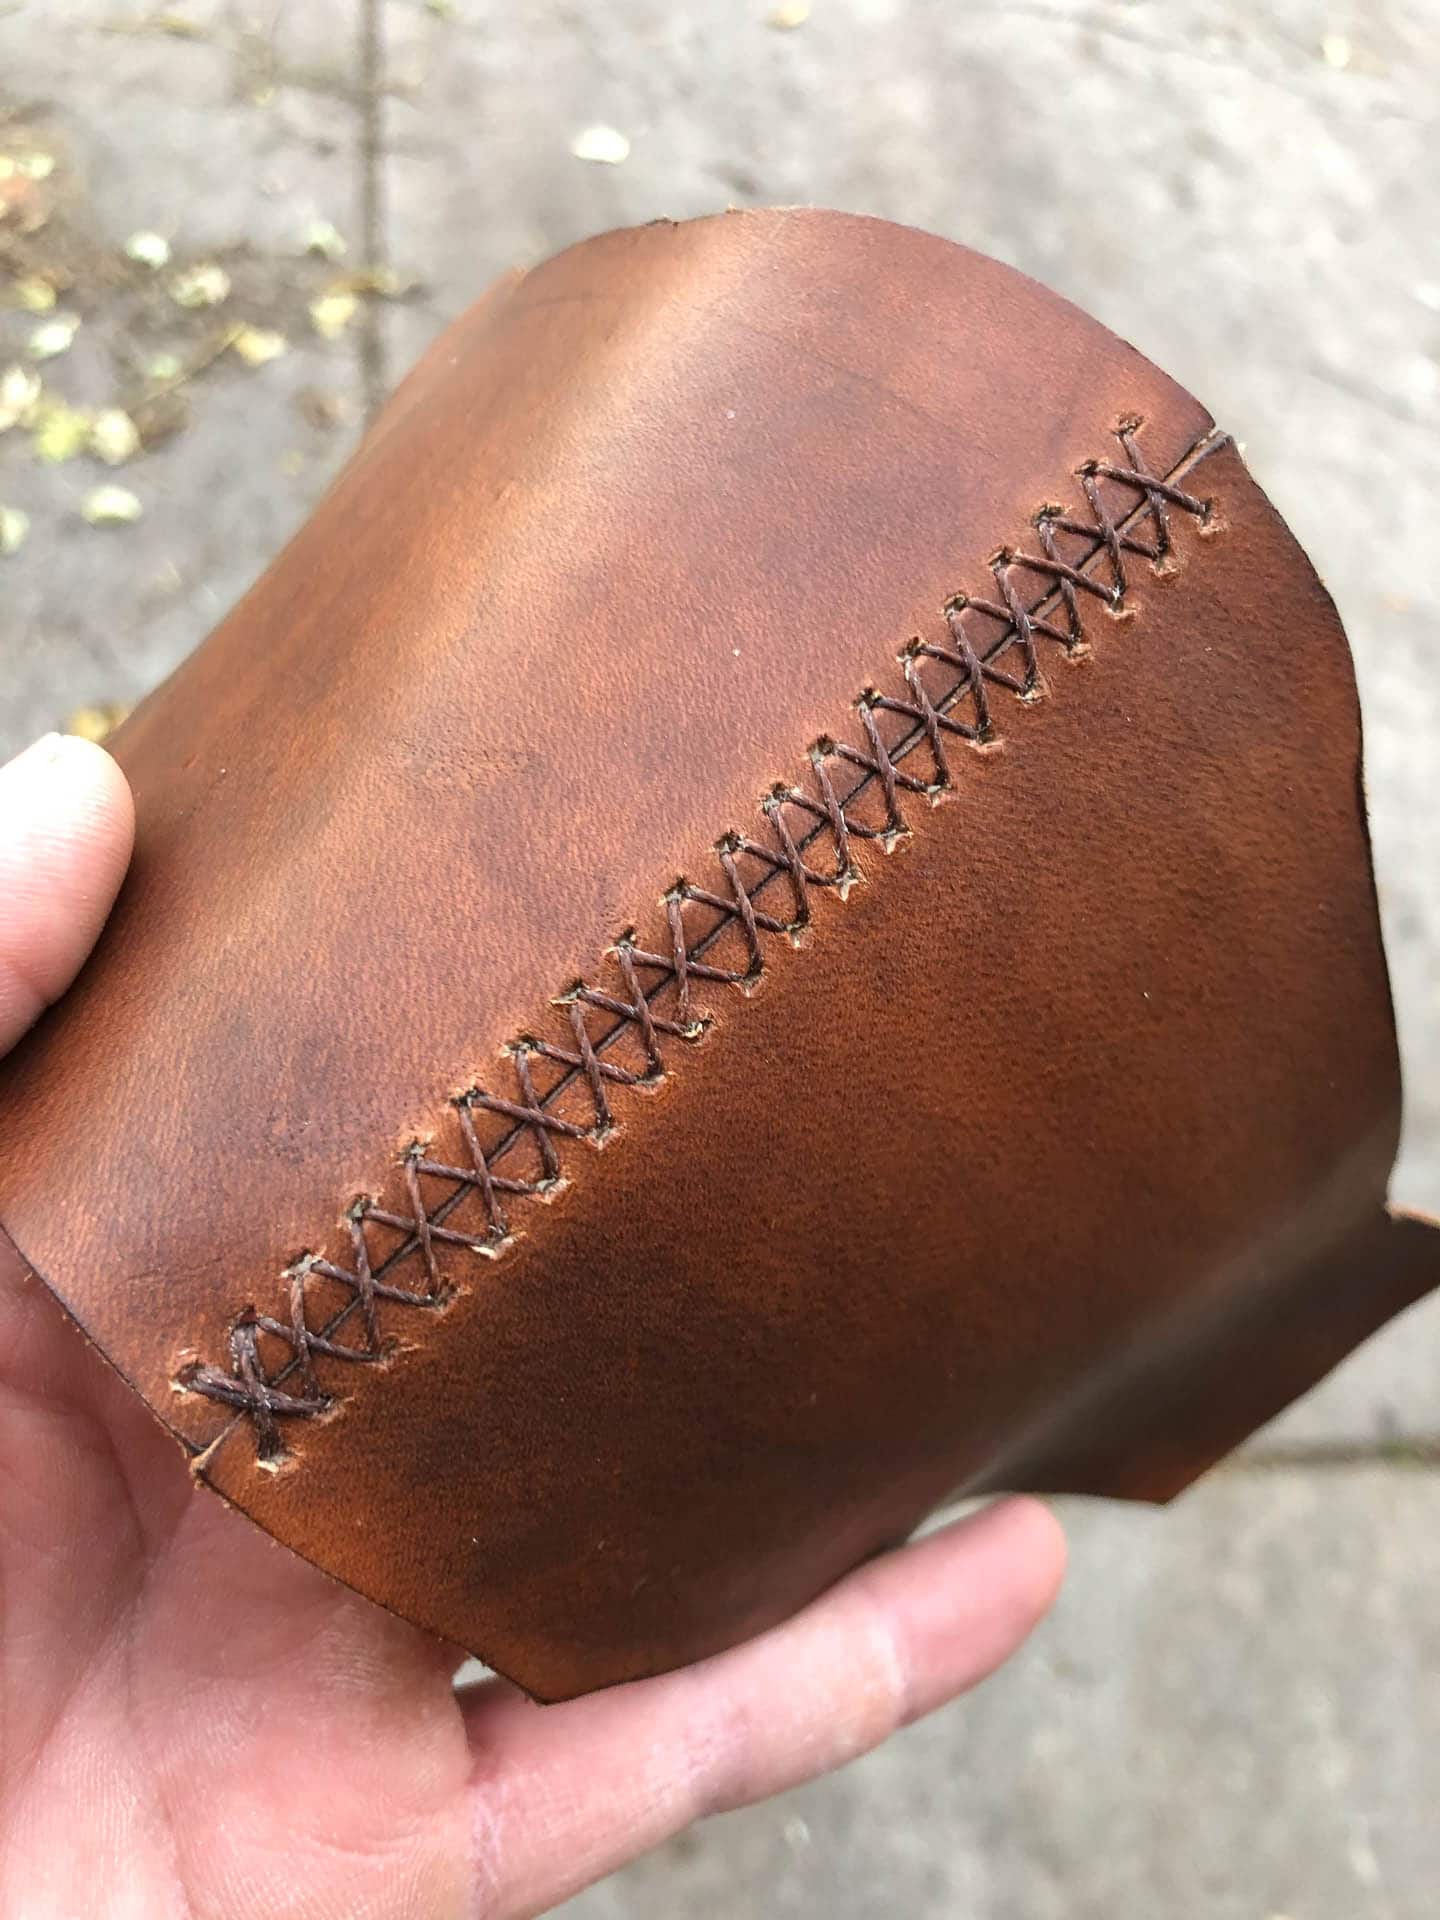
After dyeing the leather for these chest pieces, it was time to sew the leather armor vest together. I propped the leather between my knees to hold the pieces in place. It worked pretty well because the pieces were oddly shaped and a bit awkward to work with. I used the same X threading pattern for the vest that I did in the helm to keep the style the same. Once the pieces were sewn together it was time to try on the vest. It was a perfect fit! The plan for the leather armor pattern worked great.
Fasteners
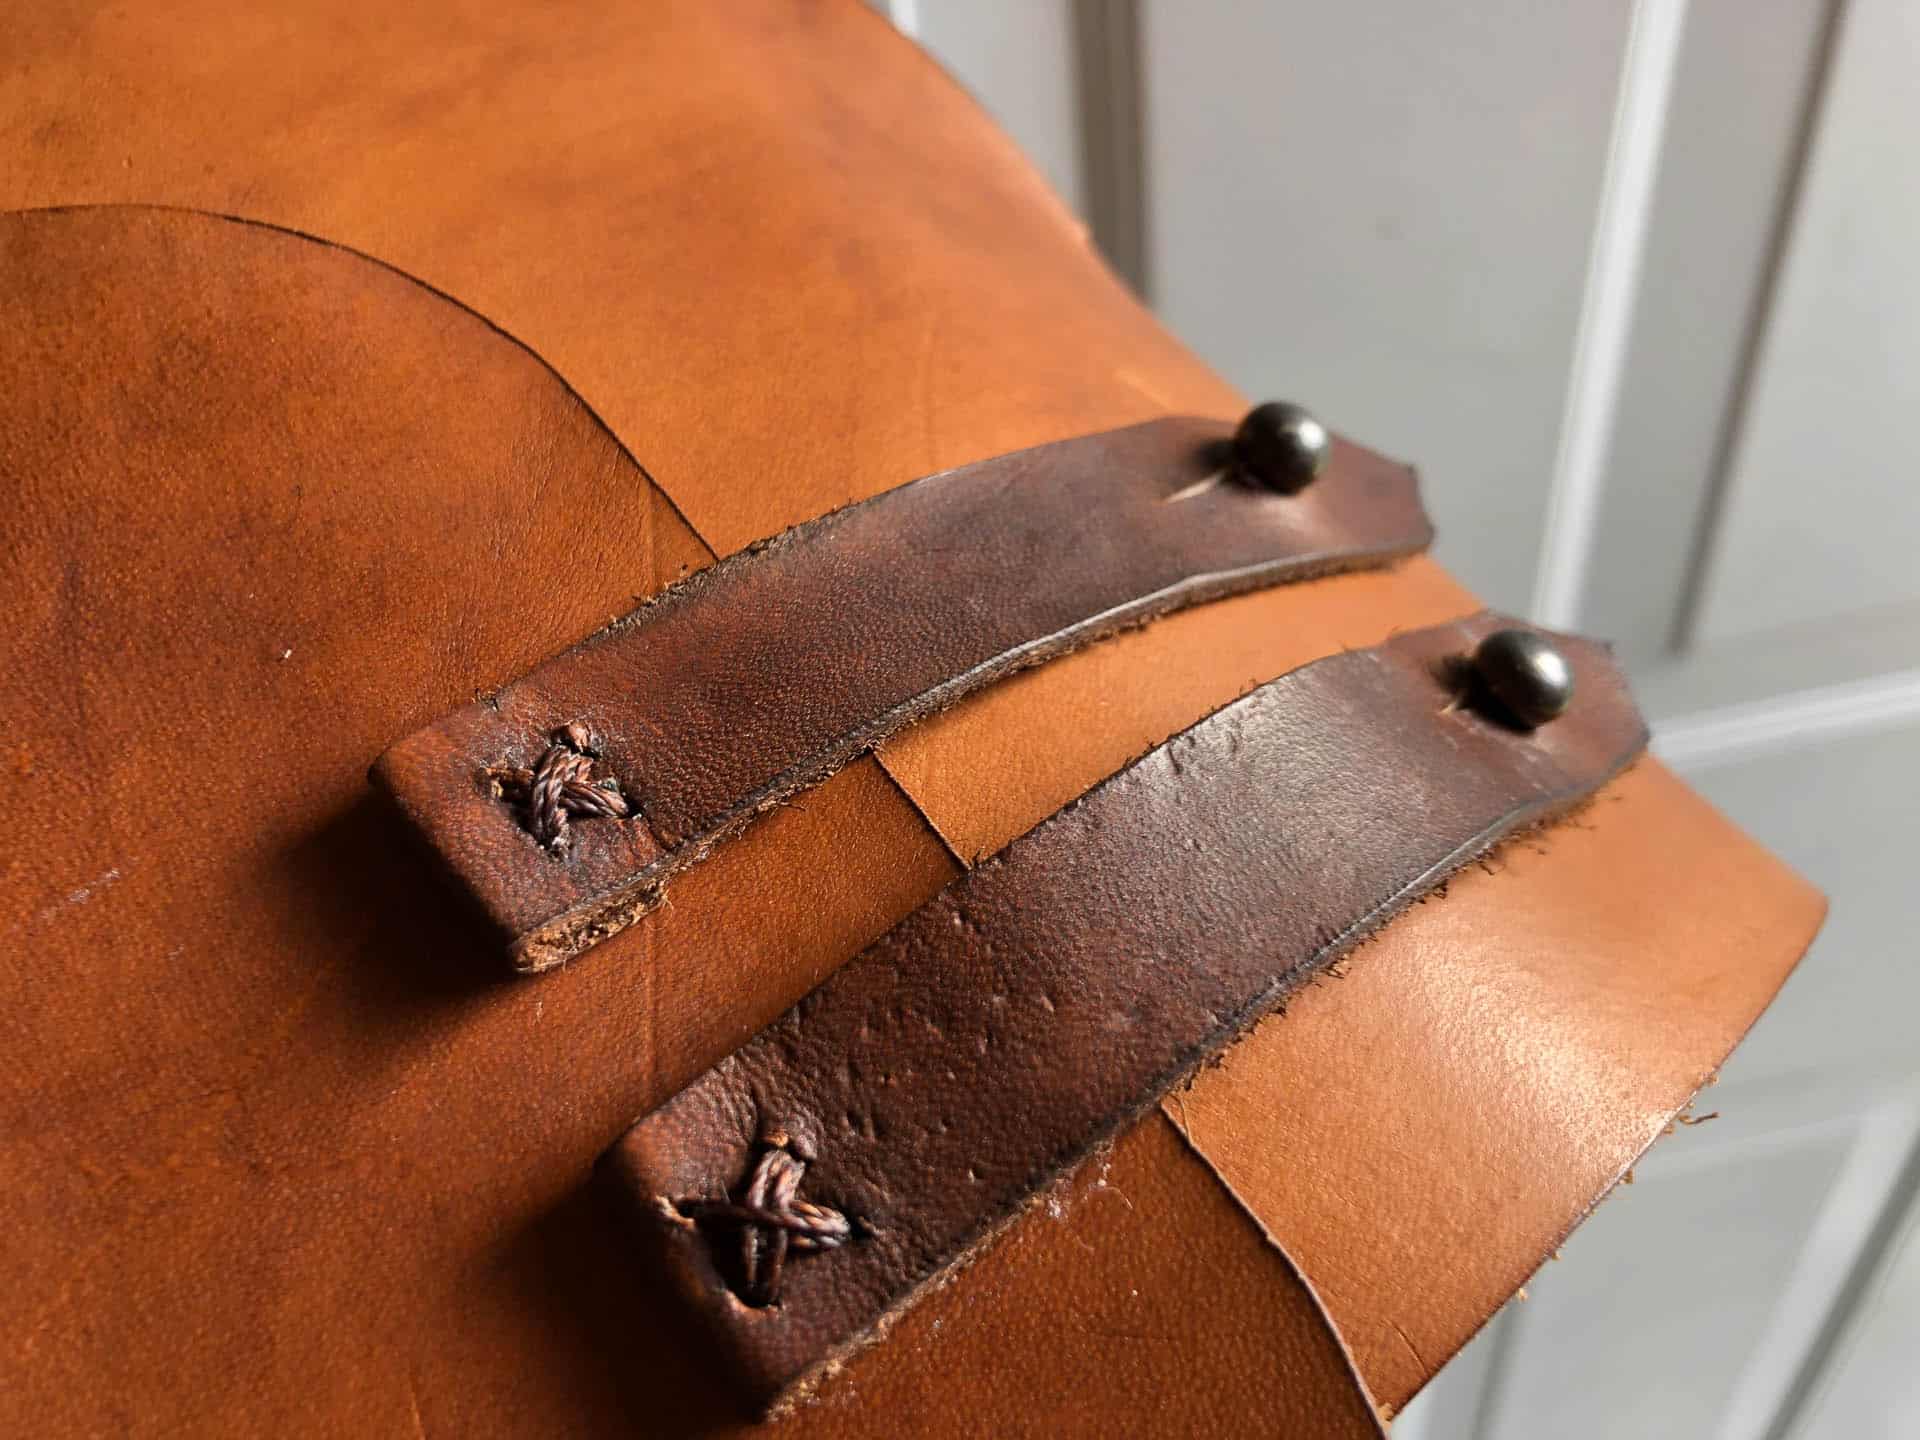
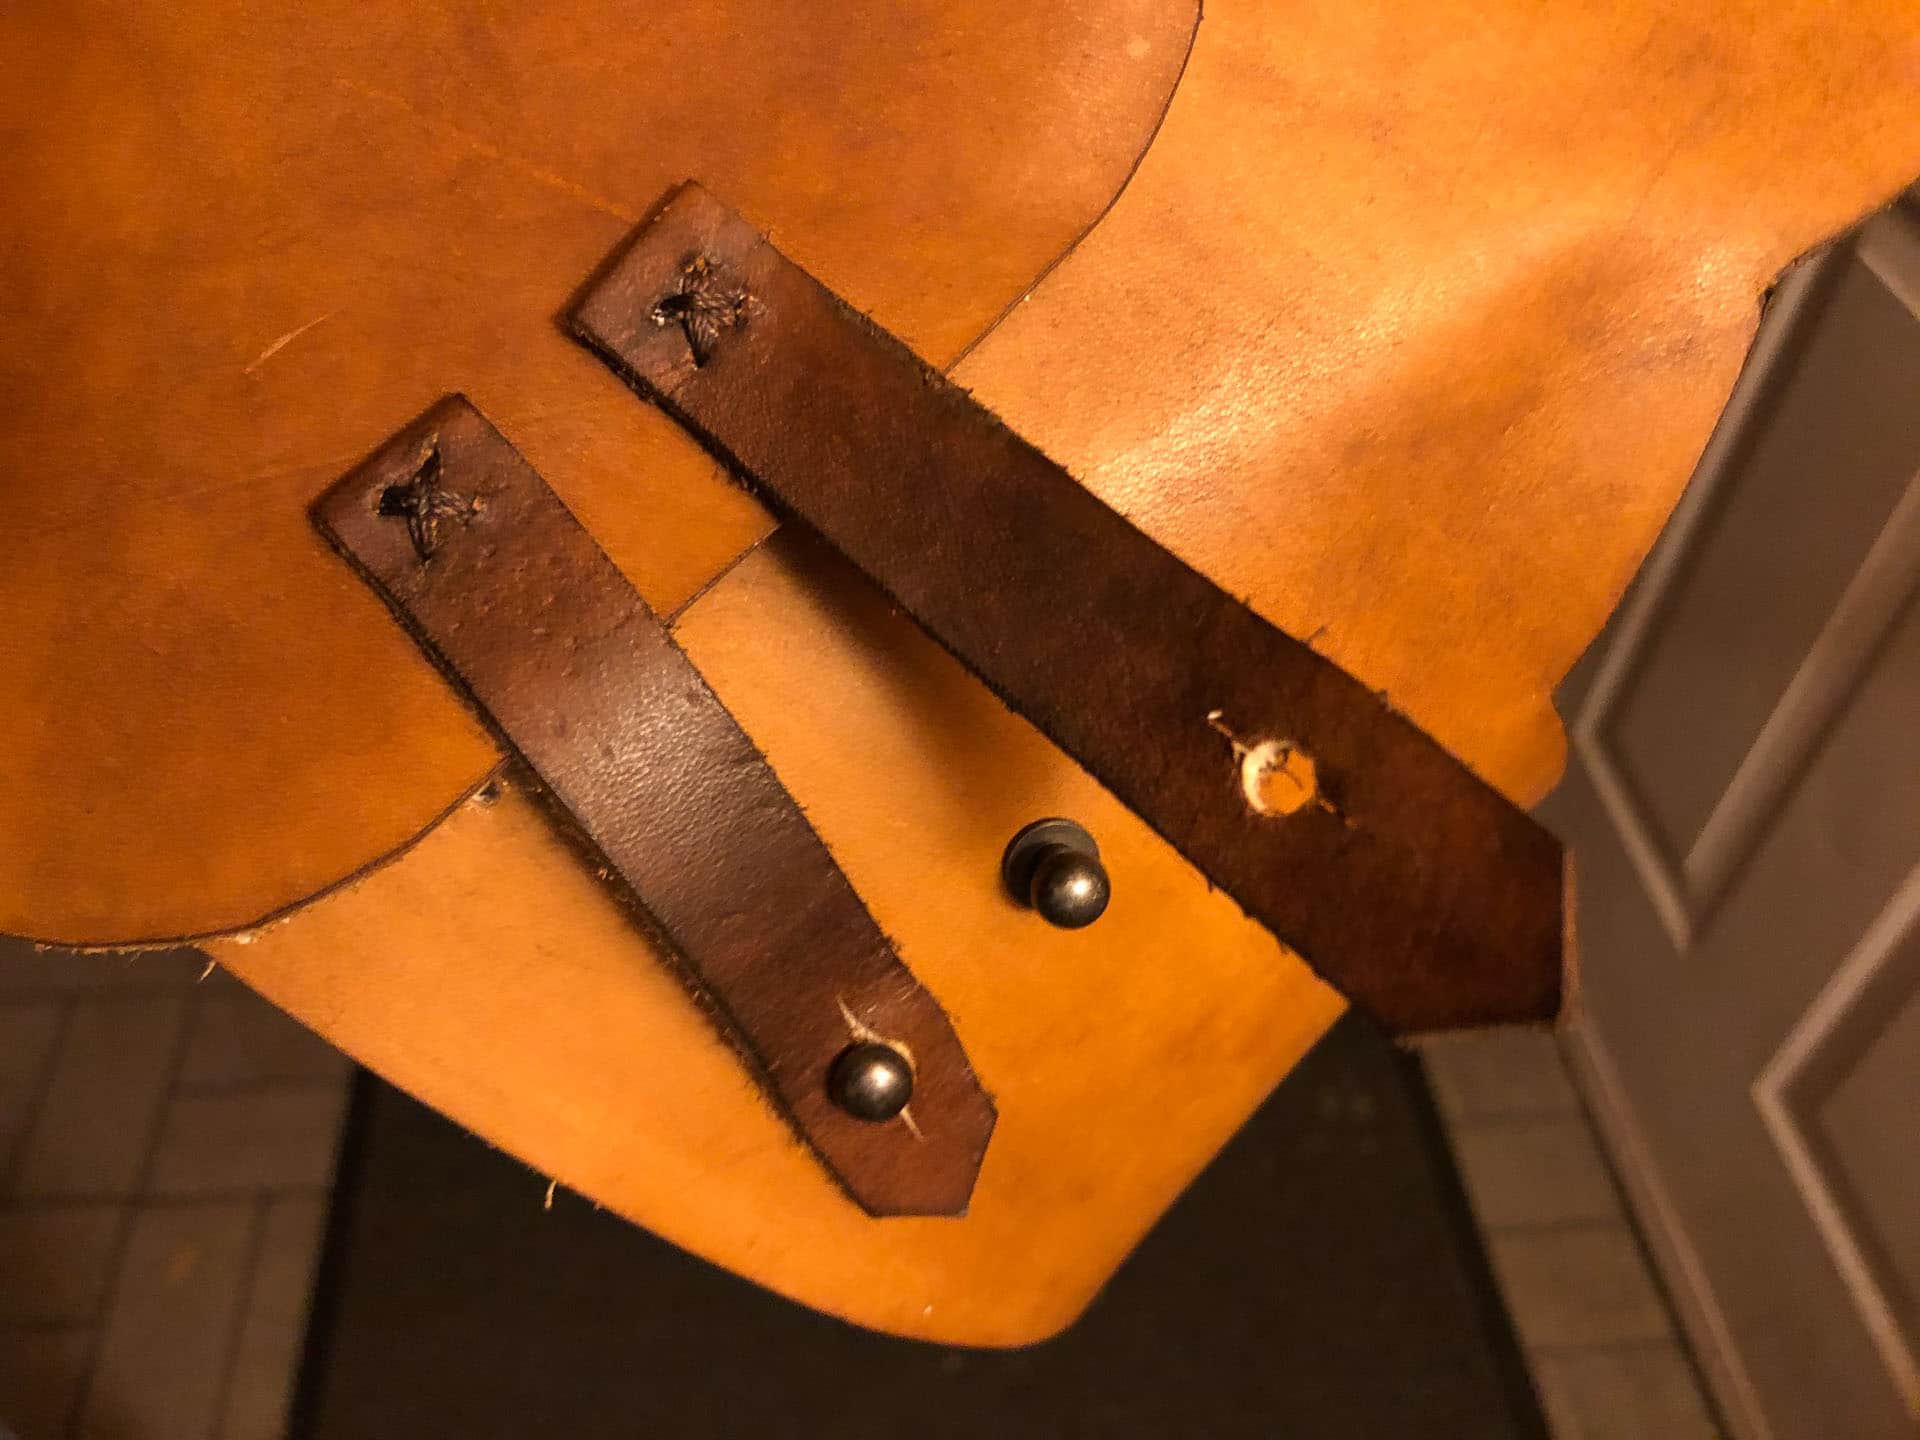
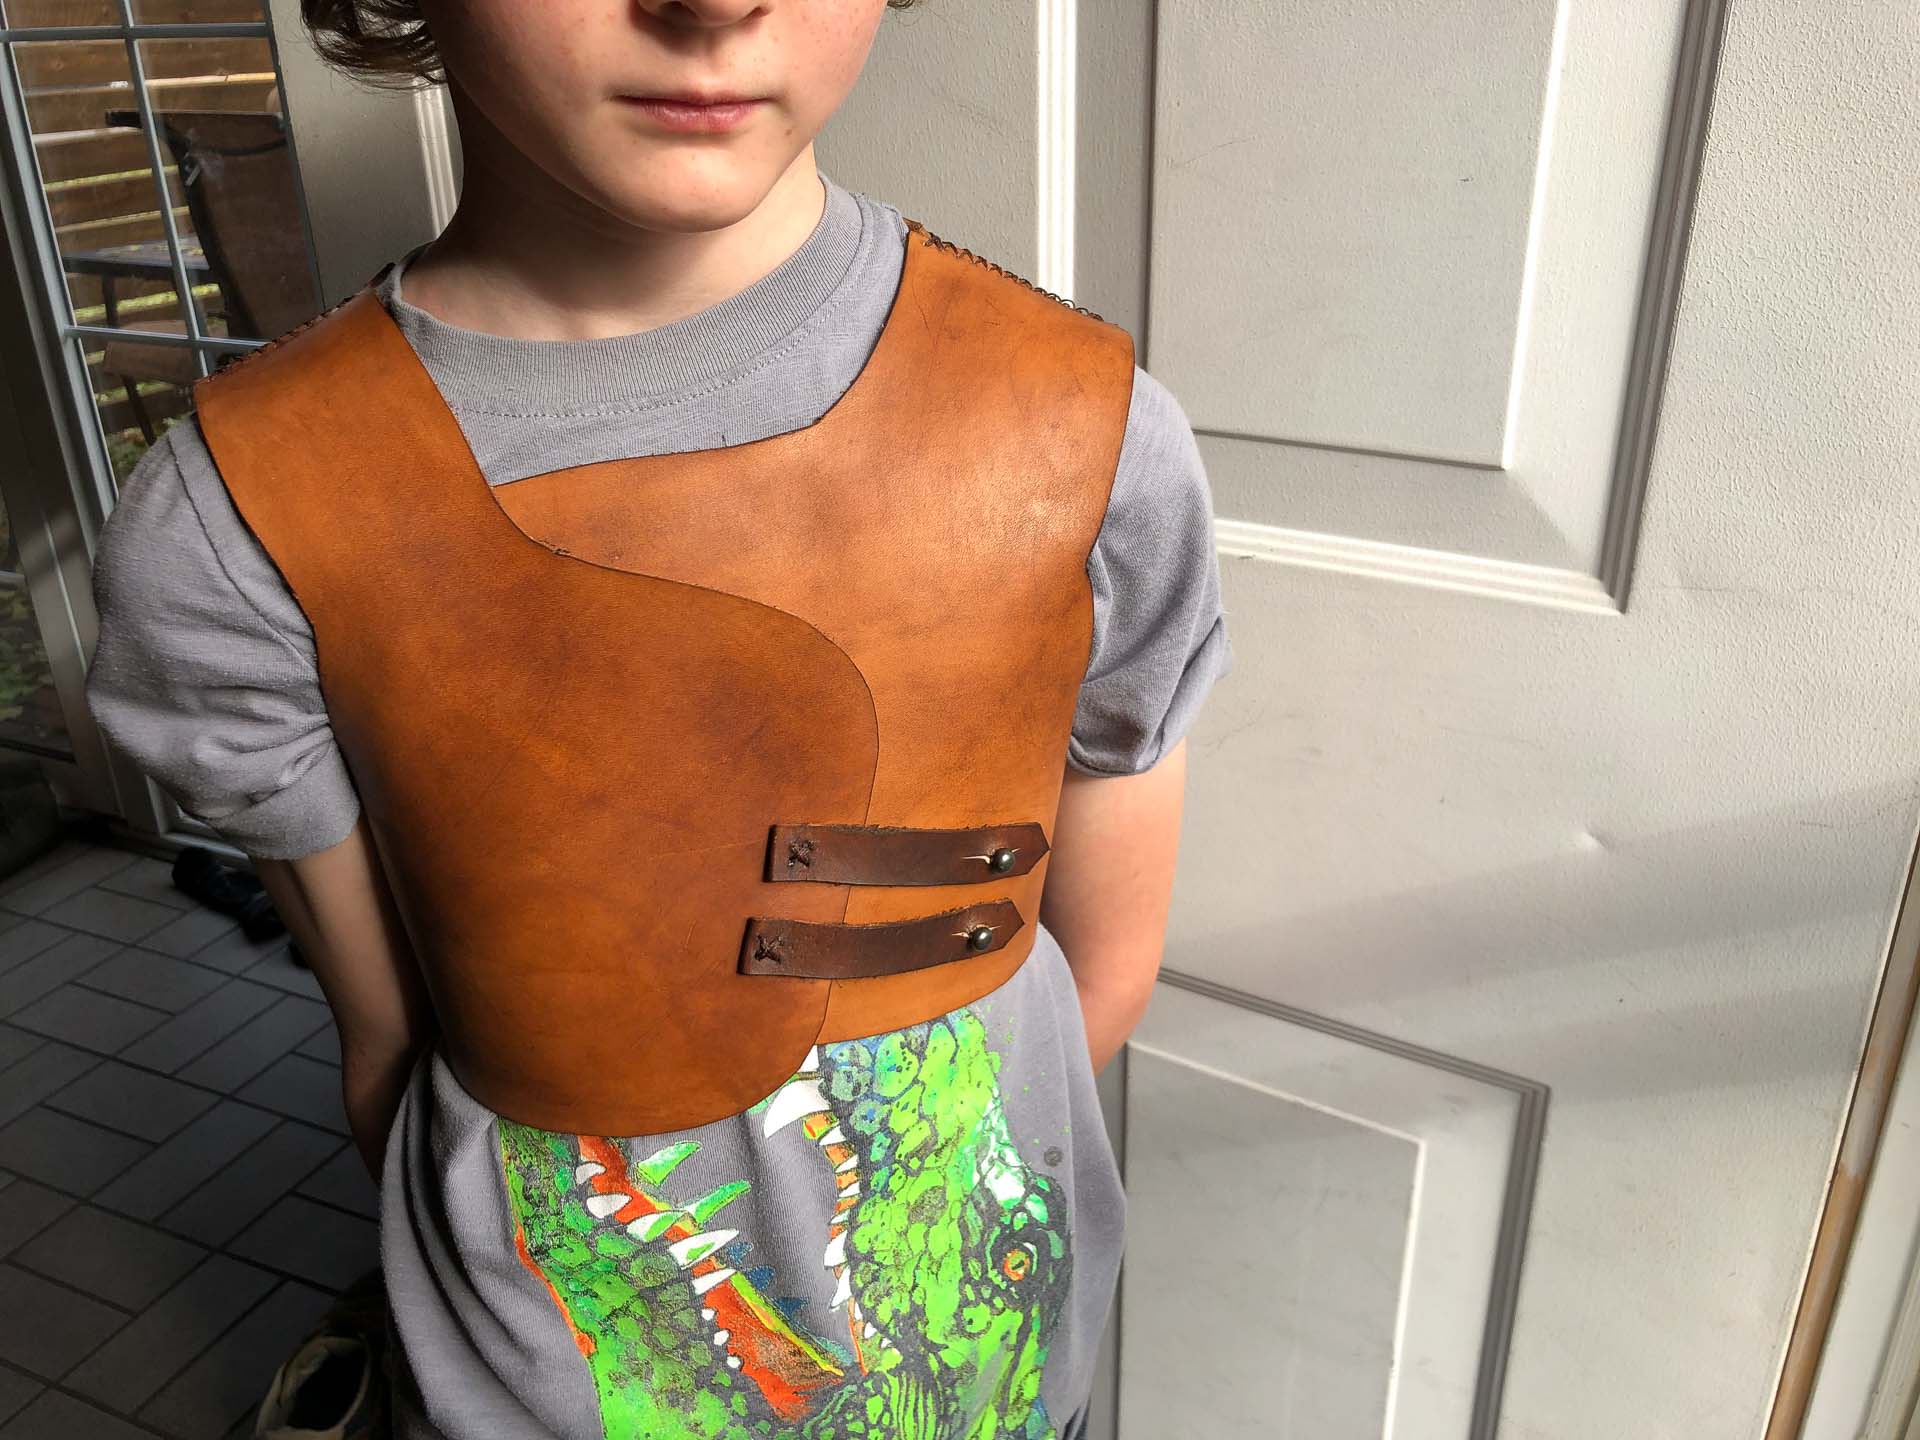
We needed to hold the leather armor vest closed so I cut out two small pieces of leather that I modeled after pieces on the helm. I had my son wear the vest while I found and marked the places to sew these pieces on. He took the vest off and I punched four holes in the vest with a two spiked hole punch and punched the same four hole pattern in the small leather pieces. I wanted these fastener pieces to stand out from the vest itself so I put four coats of dye on them. I was able to achieve a dark brown color.
In order to fasten the straps to the vest, I added a couple of pole fasteners to the opposite side from which the straps were sewn on. I measured this out and marked the spots to place them. After punching the holes I screwed on these pole fasteners. These fasteners slide into a slit in the leather straps and stay in place because the end of the pole has a small ball on it. Once the fasteners were in place my son tried the leather armor vest on and it fit well! Not too tight and the fasteners worked great!
Leather Armor Set
I’ve finished the initial plan for this leather armor set; to create a leather armor vest and leather helm. I’ve been tossing around the idea of making leather bracers eventually, and maybe even working on a sword and doing some metal work. For now, I’m happy that my kids get to have a cool leather armor cosplay set to use for make believe outdoor play and events like Halloween!
